
The Best Way to Import WooCommerce Products from CSV

CSV is the universal format for product data. Suppliers send catalogs in it, other platforms export to it, and nearly every migration between eCommerce systems passes through a CSV file at some point. When it’s time to build or refresh a WooCommerce store, that file is usually already on hand.
The catch is that WooCommerce’s built-in importer is strict about how the file needs to be formatted, and expects your CSV to follow its exact column schema.
In this article, I’ll show you how to import WooCommerce products from CSV without restructuring your file, and how to keep your catalog updated from the same file over time.
Why the Built-in WooCommerce Importer Is Not Enough for Product CSV
Unlike its handling of product Excel files, WooCommerce’s native importer does read CSV files. The problem is not file support. It is how strictly the importer dictates what’s inside the file.
The built-in tool expects every CSV to follow its exact published schema, with predefined column headers such as ID, Type, SKU, Name, Published, Regular price, Categories, and Attribute 1 name. Any column whose header does not match that schema is ignored during import.
That means custom data like supplier codes and brand names only reach the database if you manually rename each column header with a meta: prefix before importing. Variable products add more rules, as every variation row needs a Type value of variation, a Parent column referencing its parent product by ID or SKU, and numbered attribute columns (Attribute 1 name, Attribute 1 value(s)). Since commas also separate fields, a category literally named Lights, Indoor must be escaped as Lights\, Indoor with backslashes. Most store owners discover that rule only after the import splits one category into three.
In short, the built-in WooCommerce importer reads your CSV but refuses to adapt to it. The file must adapt to the importer.
How to Import WooCommerce Products from CSV
WP All Import lets you import WooCommerce products from CSV regardless of structure. It handles any column names, delimiters, and encoding, and automatically maps the file to WooCommerce fields on upload.
Where the built-in importer stops, WP All Import continues. There is no fixed column schema to satisfy, so headers like Product Name, Item Cost or any supplier’s naming convention map to the correct WooCommerce fields without renaming anything. Custom data reaches the database without meta: prefixes, because the plugin detects custom post meta registered by Advanced Custom Fields, Meta Box, and SEO plugins automatically. Variable products import from a single file: the plugin links each variation row to its parent by SKU and other methods and sets the Used for variations flag on attribute columns itself. It lets you import from a local upload, a supplier URL, an existing server file, or FTP/SFTP, and delimiter settings handle comma- or semicolon-separated files from any locale. The built-in importer offers none of this: no automated mapping, no preview, no scheduling, and no update matching beyond its basic checkbox.
Here is the workflow from upload to live products.
Step 1: Upload Your WooCommerce Product CSV File
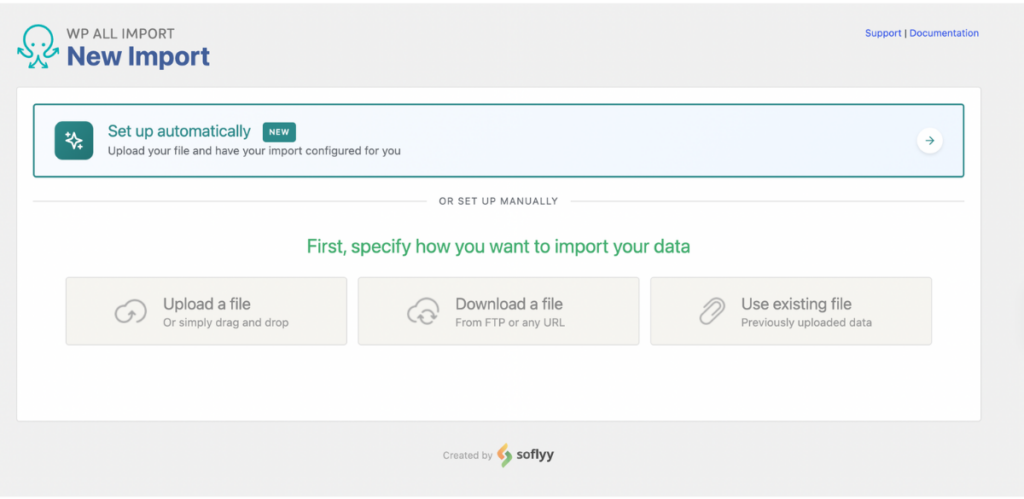
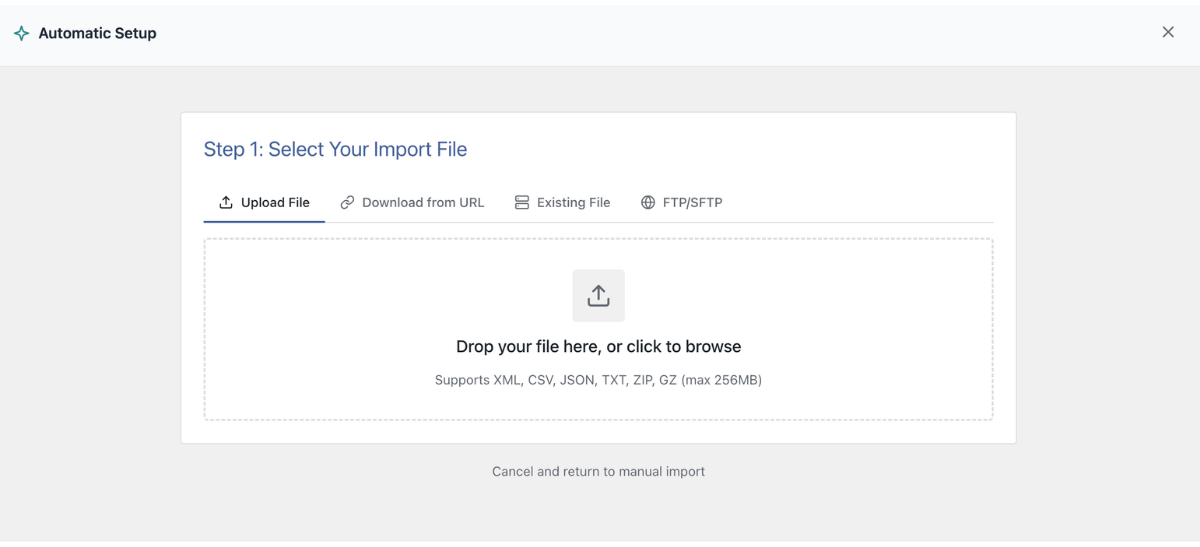
Navigate to All Import › New Import in your WordPress dashboard and click the Set up automatically banner at the top of the screen.
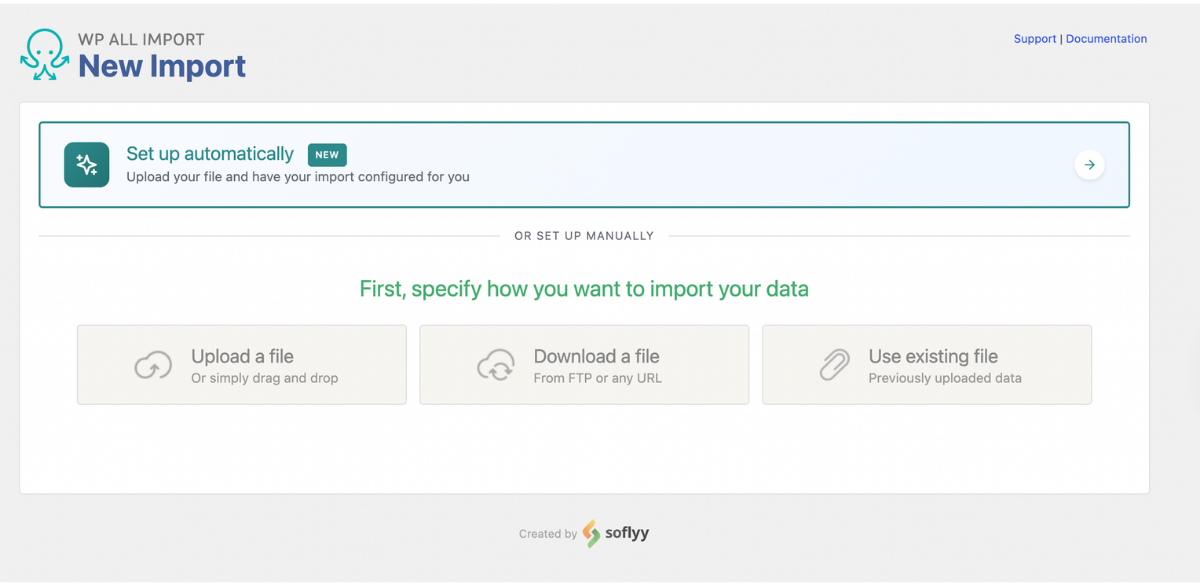
Choose your file source:
- Upload a file: Select the CSV directly from your computer (up to 256 MB).
- Download from URL: Enter a link to a supplier feed hosted on a remote server or a shareable Google Sheets export.
- Existing file: Reuse a CSV already uploaded to
/wp-content/uploads/wpallimport/files/. - FTP/SFTP: Pull the file directly from a supplier’s storage server.
Under Choose What to Import, select WooCommerce, then Products (Simple, Variable, Grouped).
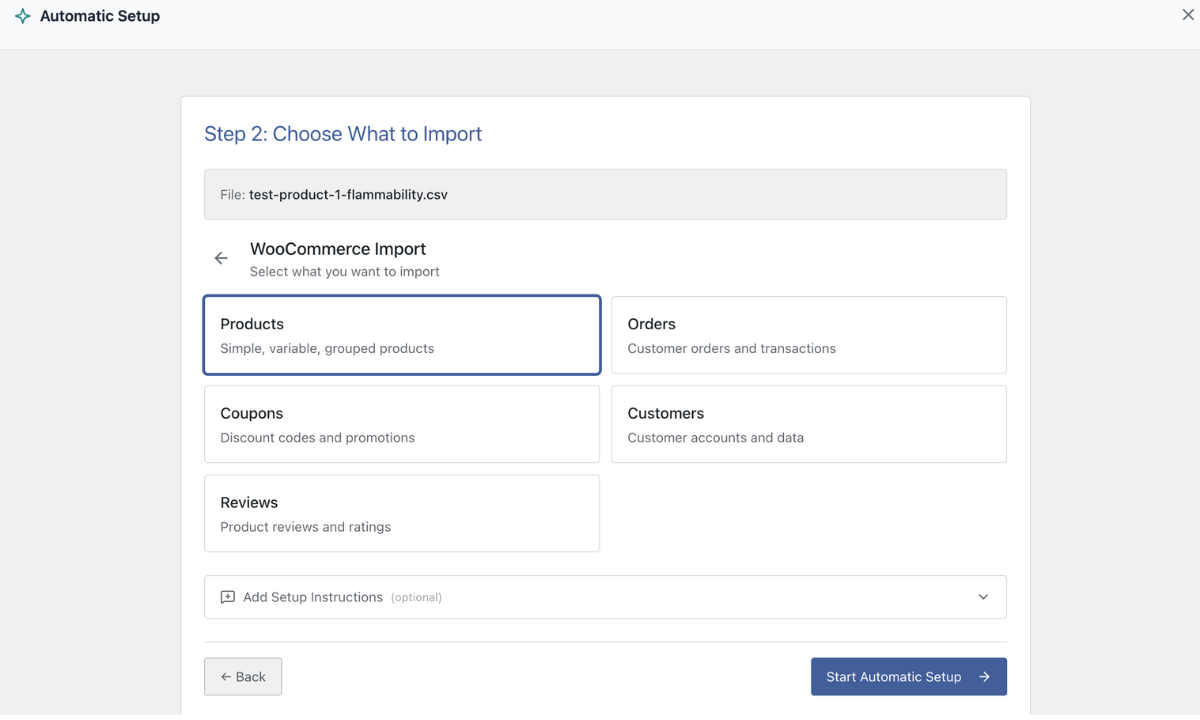

If your file uses unusual delimiters or has columns that need special handling, expand Add Setup Instructions and describe it in plain English, such as “Fields are separated by semicolons” or “Use the Item Cost column for regular price.” Then click Start Automatic Setup. The plugin parses the CSV, detects the column structure, and builds the field mappings automatically.
Step 2: Inspect the Automapped Product Fields
When the analysis finishes, the Your Import Is Ready card displays how many product records were detected and how many fields were mapped from your CSV.
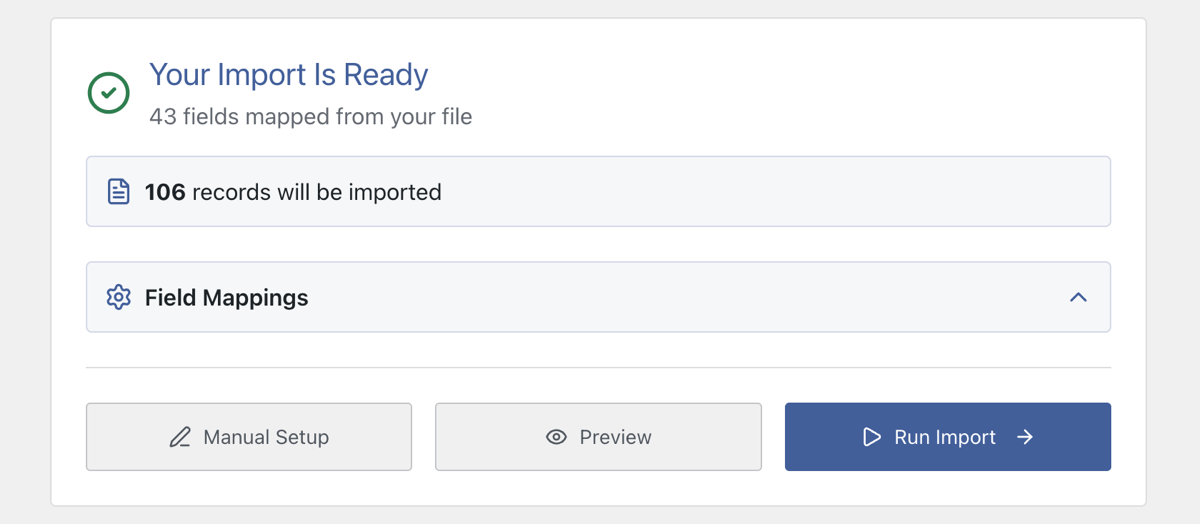
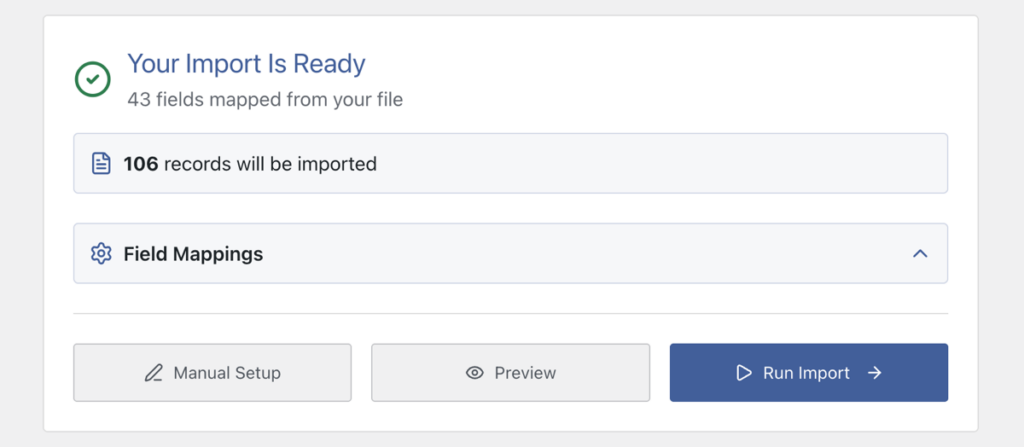
Click Field Mappings to expand the checklist and confirm that titles, SKUs, Regular Price, Sale Price, and image columns were paired with the correct WooCommerce fields. For variable products, verify that attribute columns were detected and the Parent SKU column was identified for linking.
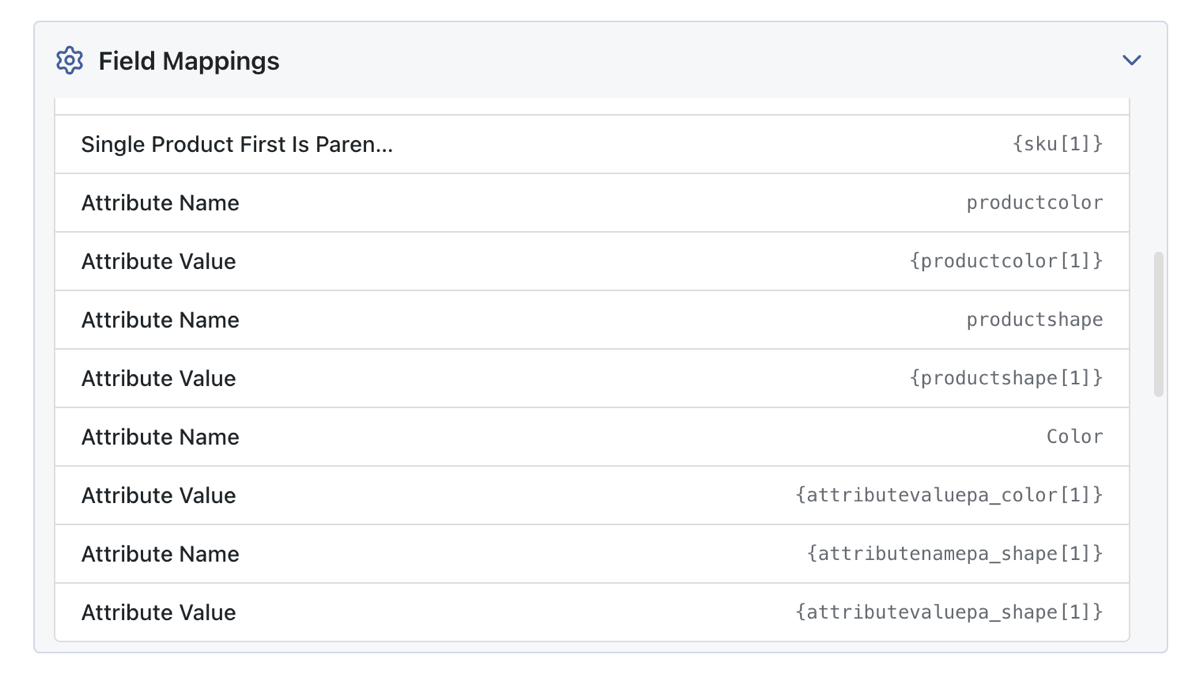
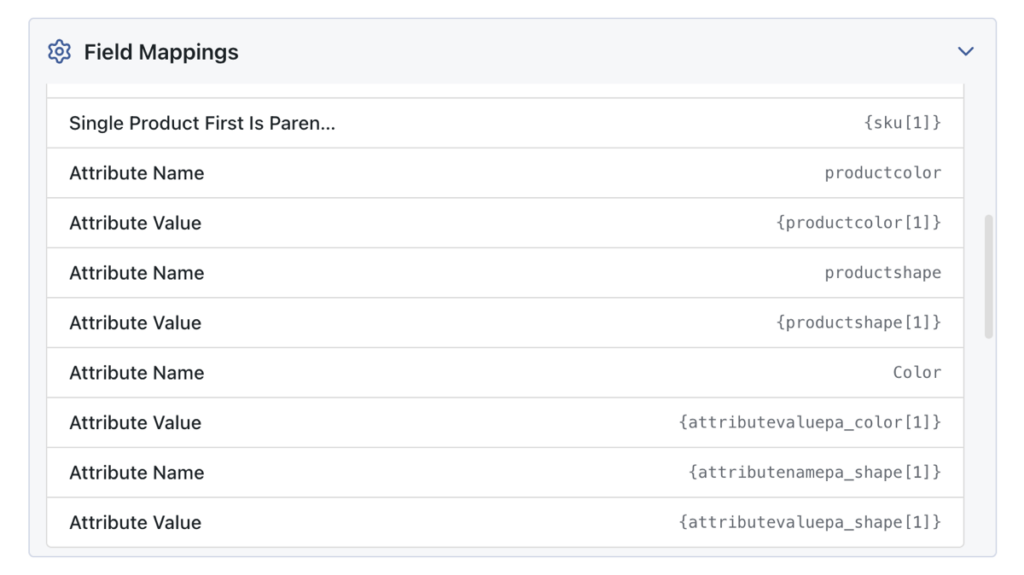
If the mappings match your catalog, click Run Import. If a column was misread, click Manual Setup to open the pre-filled template editor and adjust it.
Step 3: Preview the Mapped Products Live
Click the Preview button and a panel opens on the same screen beside your field mappings:
- Frontend View renders actual product pages from your theme, confirming that titles, prices, and image galleries display as shoppers will see them.
- WP Admin View shows the WooCommerce backend edit screen, confirming the CSV data landed in the correct Product Data fields, including General, Inventory, and Attributes.
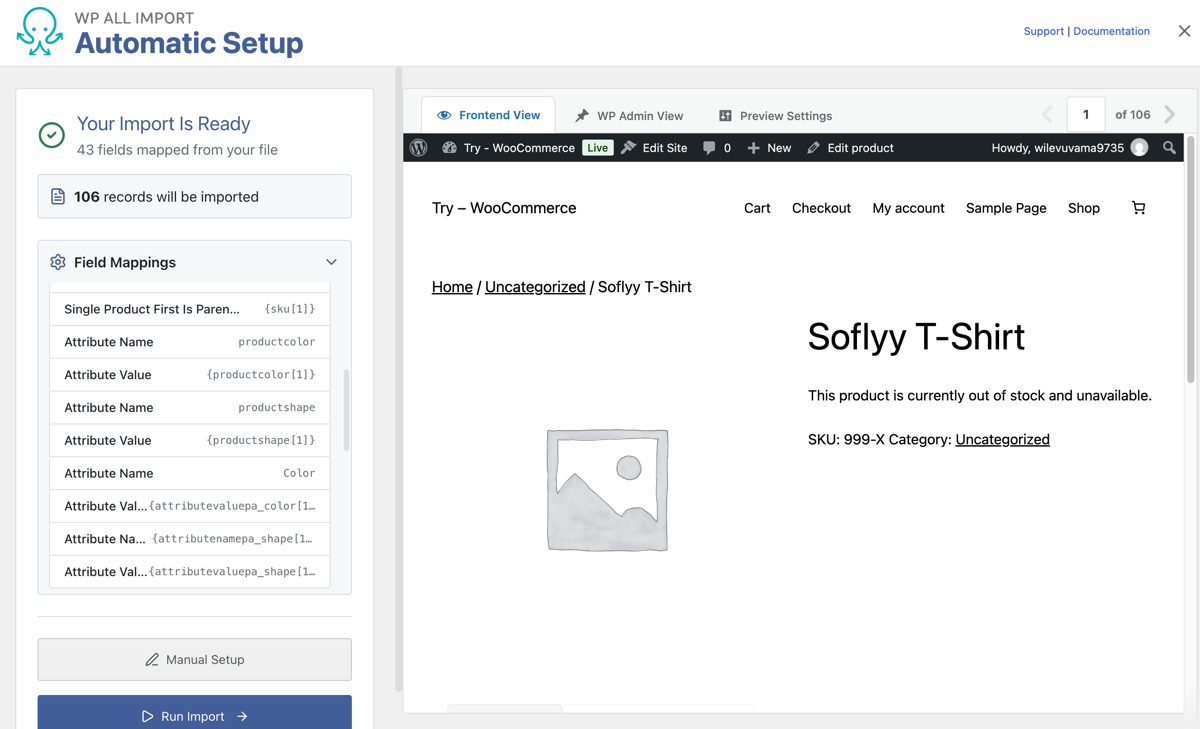
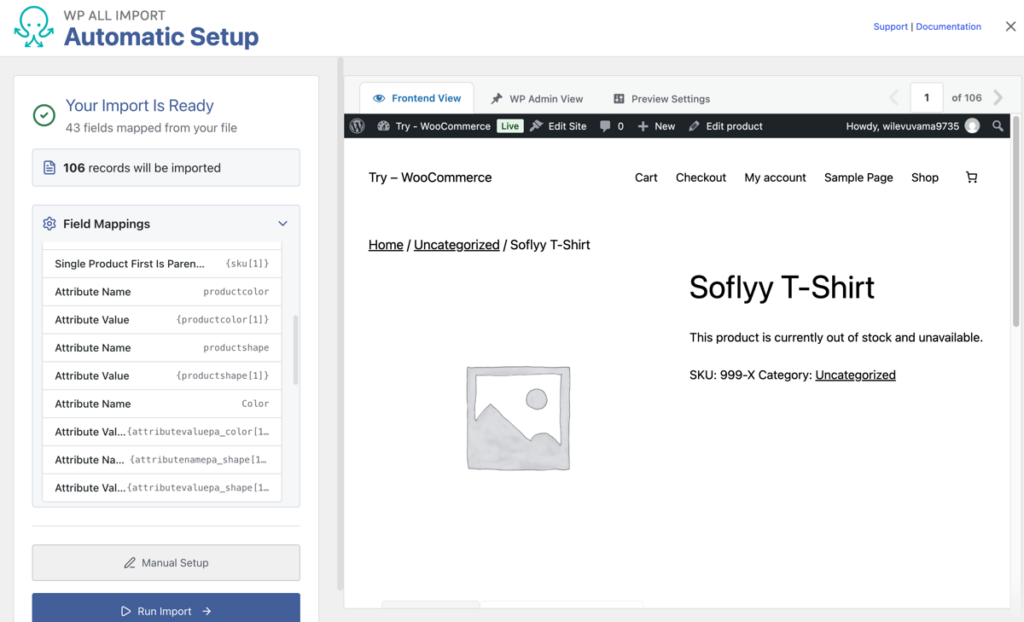
Step through several records with the pager before running anything, especially rows with long descriptions or multiple images.
Step 4: Run the WooCommerce CSV Product Import
Click the blue Run Import button on the summary card. WP All Import skips the intermediate configuration screens, takes you to the confirmation page, and processes the file in background batches to prevent server timeouts on large CSV files.
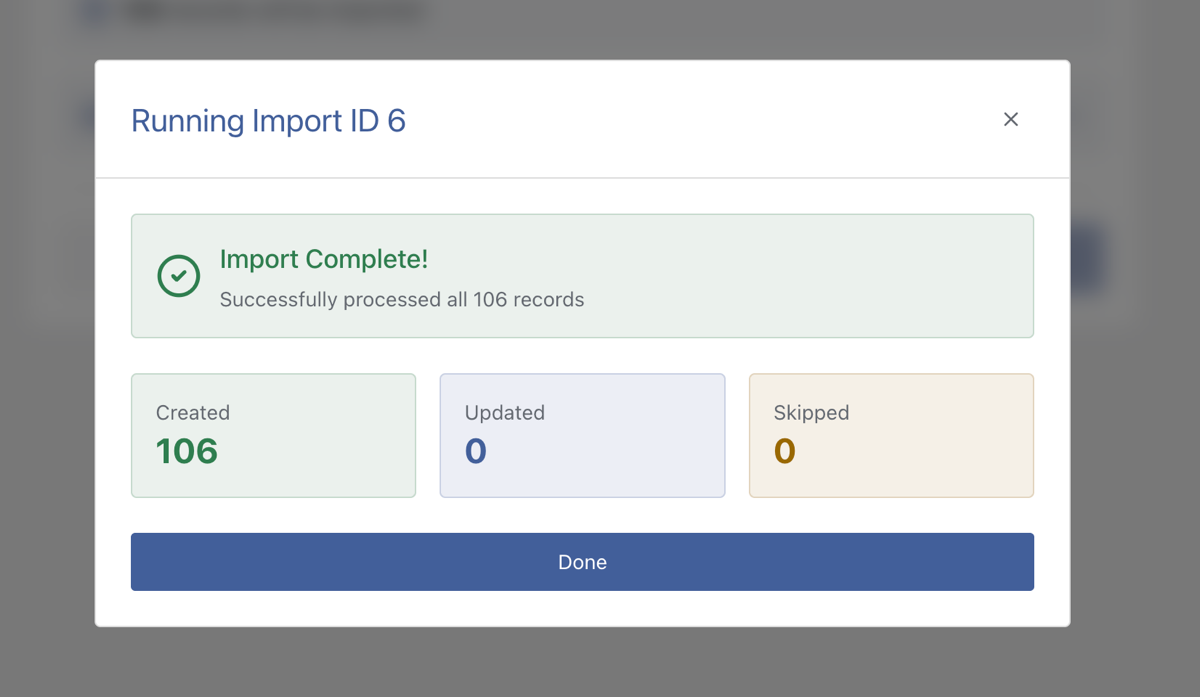
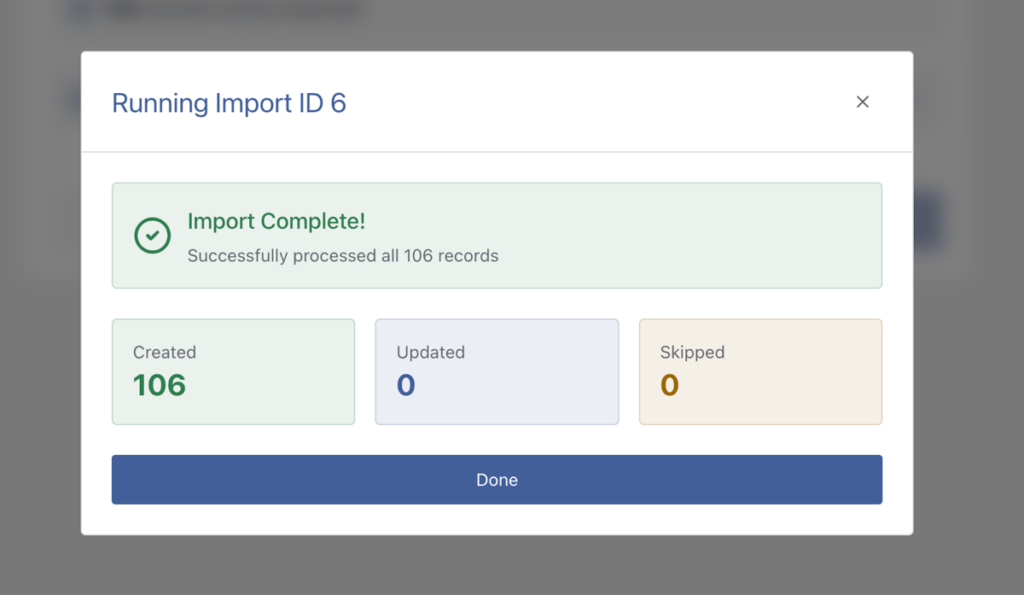
When it finishes, open Products › All Products and spot-check a few products against the original spreadsheet.
Opening the Template Editor for Complex CSV Product Files
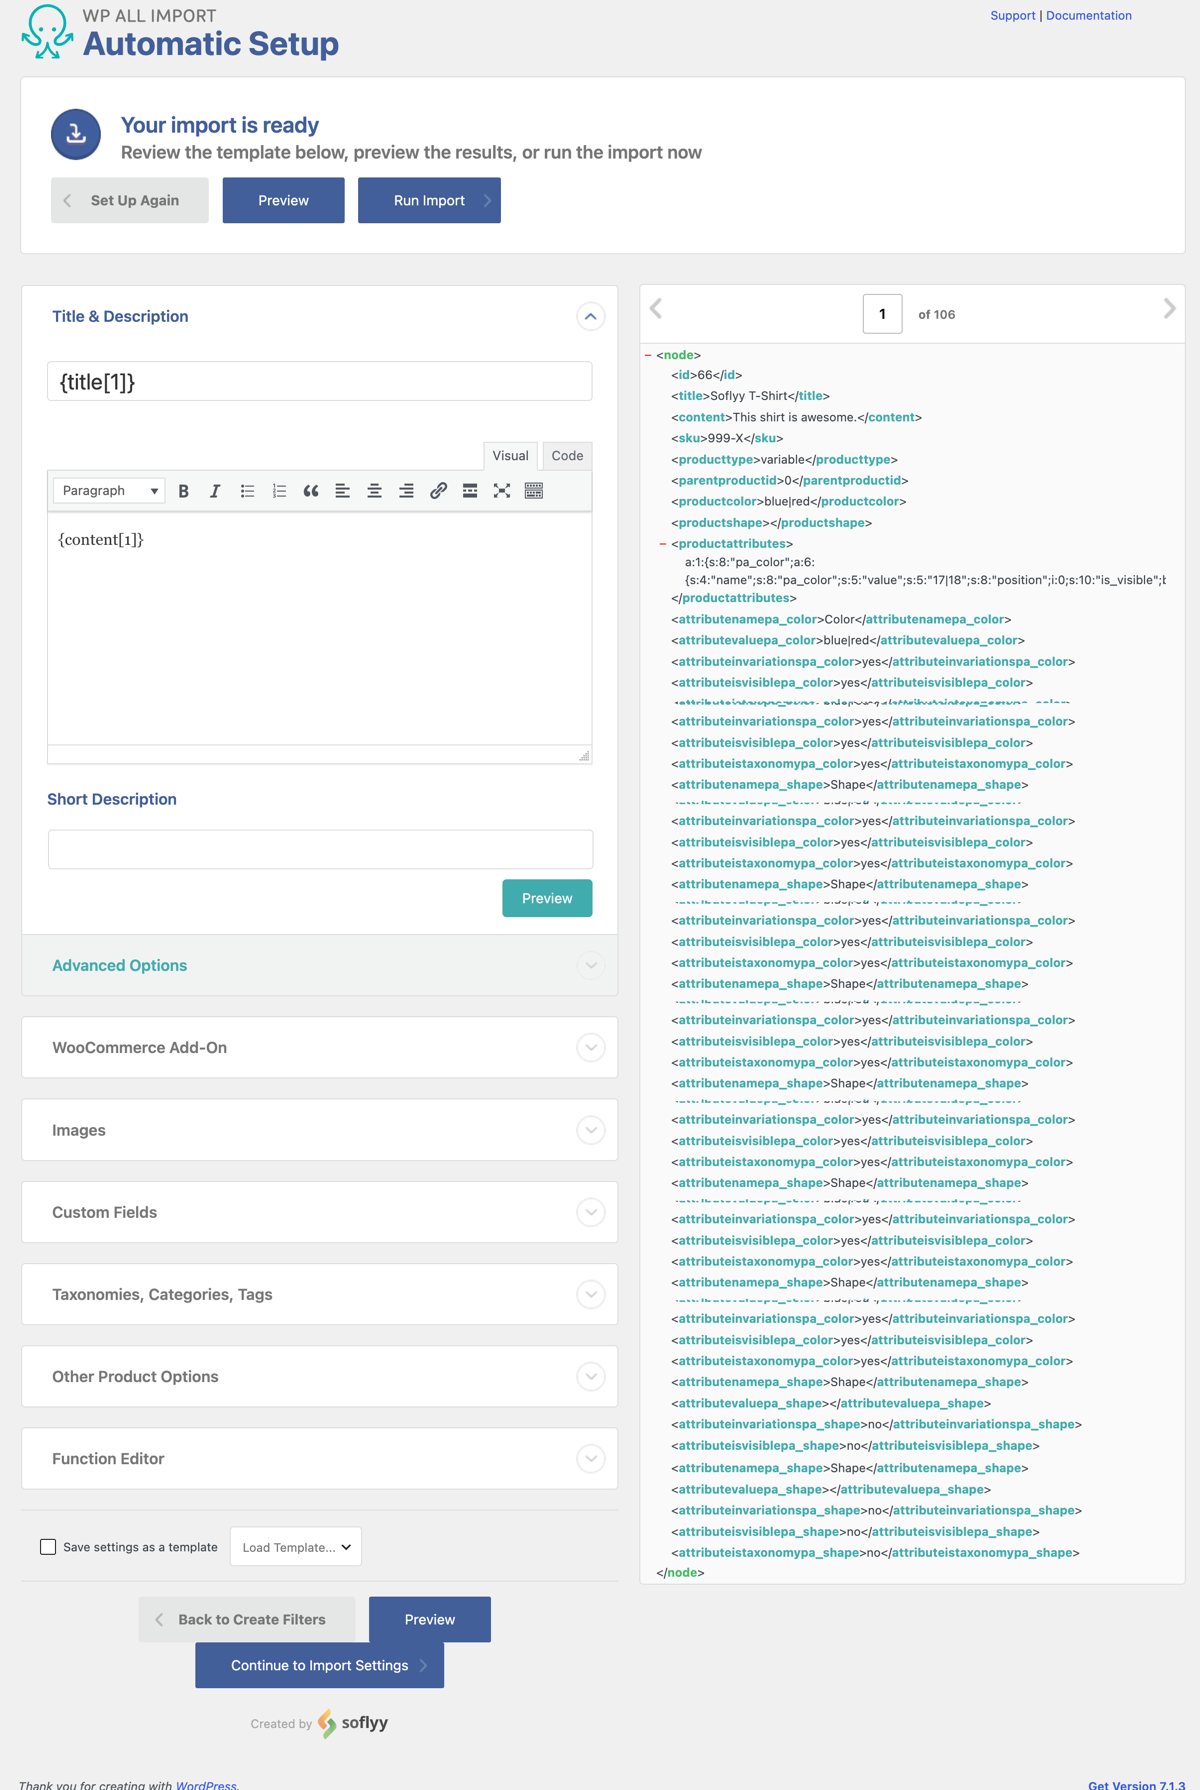
Automatic Setup handles most CSV files on upload, but some spreadsheets arrive with quirks that deserve a closer look: mismatched price columns, attribute data split across multiple headers, or variation rows grouped in unusual ways. Clicking Manual Setup on the summary card opens the pre-filled template editor, where every field Automatic Setup mapped can be inspected and adjusted.
How the Template Editor Is Organized
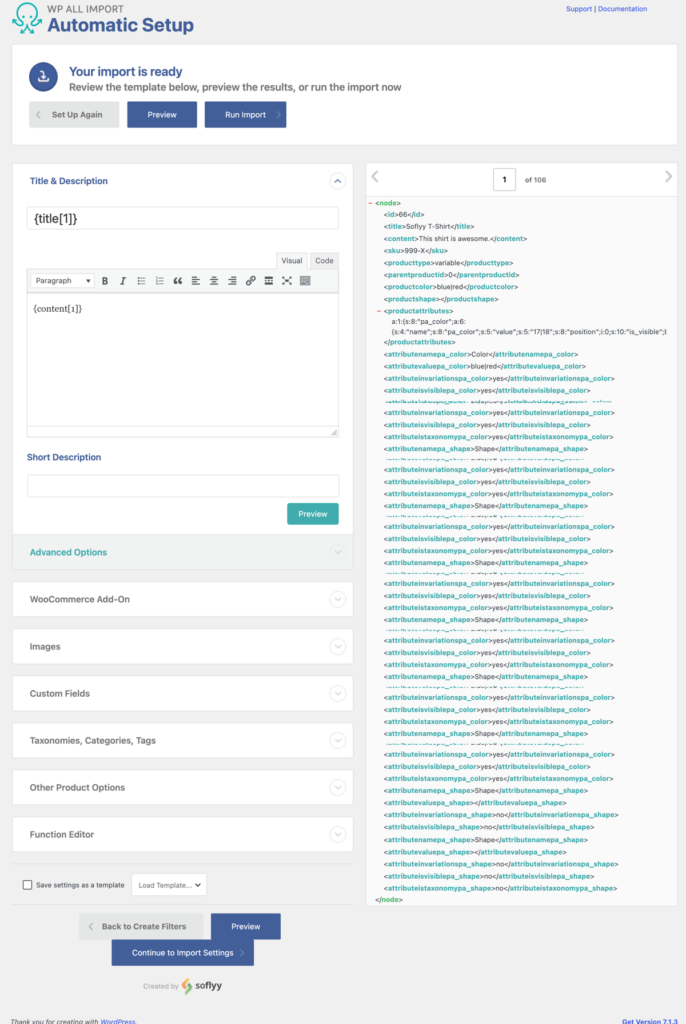
The layout splits the screen in two. Incoming CSV columns appear on the right, and WooCommerce target fields appear on the left, grouped into panels by data type:
- Title & Description: Maps the product name, full description, and short description from your CSV columns.
- WooCommerce Add-On: The central panel, covered below.
- Images: Controls how product photos are imported.
- Custom Fields: Maps supplier columns to custom post meta.
- Taxonomies, Categories, Tags: Maps categories, tags, and product attributes used for filtering.
The WooCommerce Add-On Panel
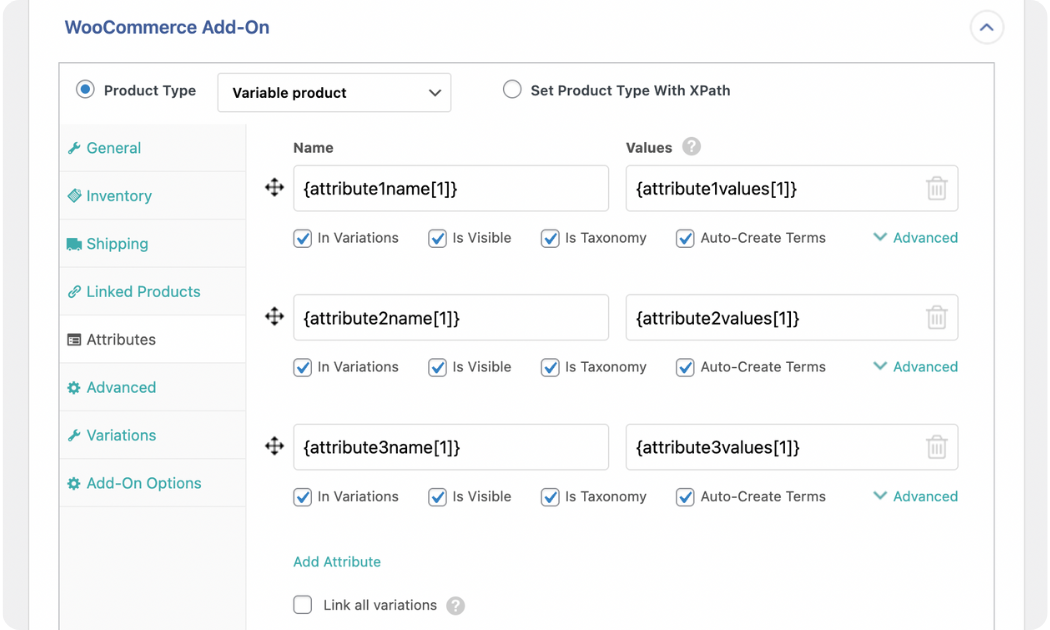
This panel mirrors the WooCommerce product edit screen, so anyone familiar with adding products manually will recognize the fields. Start by reviewing the Product Type dropdown: Simple, Variable, Grouped, or External/Affiliate. The tabs below adjust to match:
- General tab: Maps the SKU, Regular Price, Sale Price, Tax Class, and Tax Status.
- Inventory tab: Controls Manage Stock, Stock Quantity, Stock Status, Low Stock Amount, and Backorders Allowed. Mapping a stock column here keeps inventory counts synchronized on every re-import.
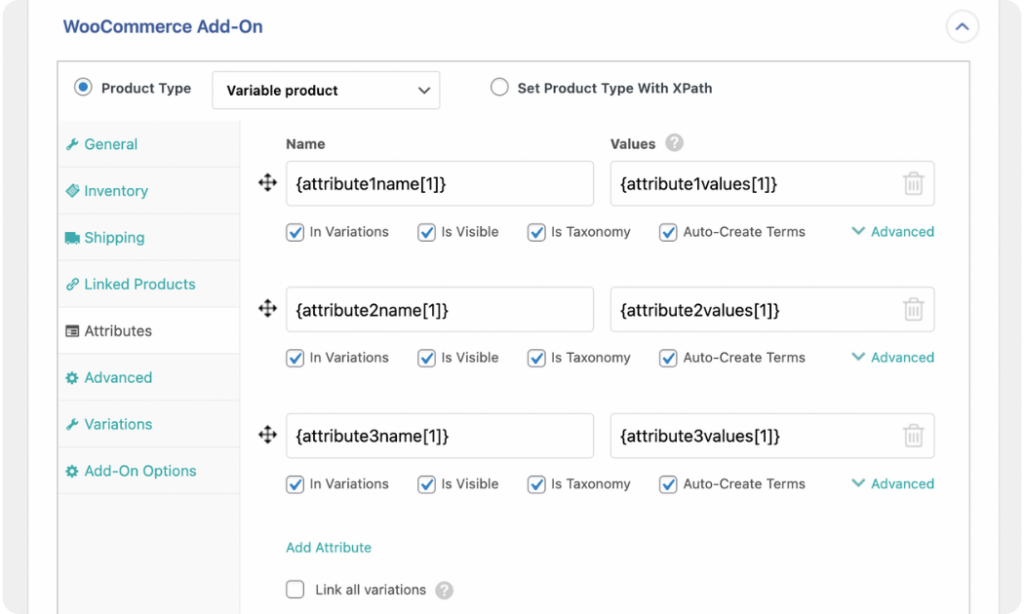
- Attributes tab: Add an attribute row, name it (for example, Size or Color), and drag the CSV column holding the values into the Value field. Checking Used for variations tells WooCommerce to build variation dropdowns from that attribute; leaving it unchecked creates a display-only attribute.
- Variations tab: For variable products, this tab defines how child rows link to their parents. The linking method matters depending on the file: match by parent SKU when the file includes a Parent SKU column, or by product title when variations are grouped under repeated product names.
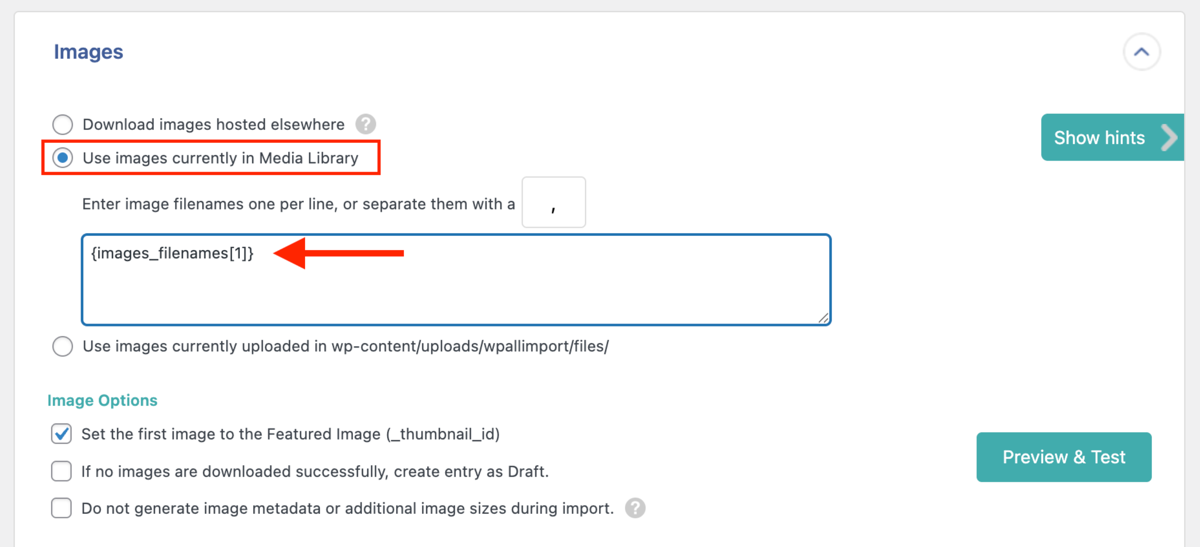
The Images panel sits just below. Download images hosted elsewhere is selected by default, fetching each URL from your CSV and saving the file to the Media Library. Multiple image URLs in one cell can be split using a comma or pipe delimiter, with the first image set as the featured photo.
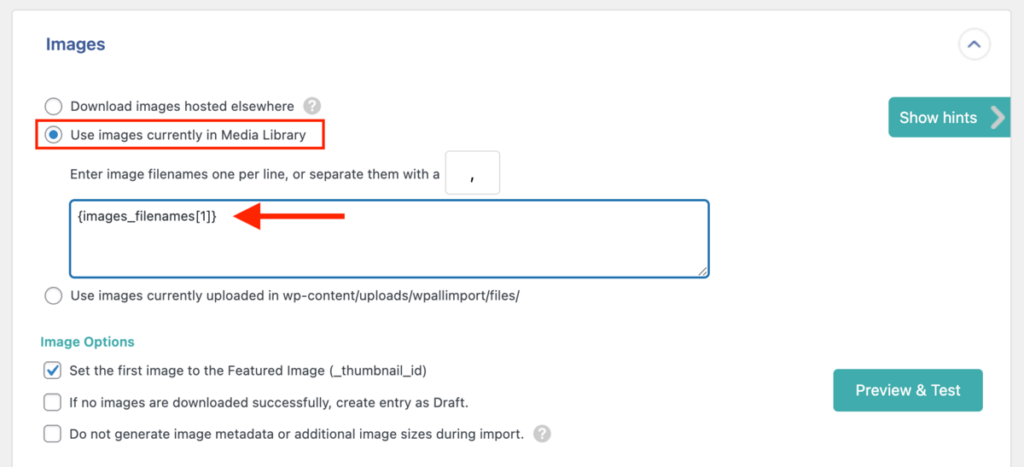
At the bottom of the editor sits the Function Editor, where CSV values can be passed through PHP functions for data cleanup during import, such as stripping currency symbols from price columns or reformatting dates.
Scheduling Recurring CSV Product Imports
If the same CSV file gets updated regularly by a supplier or data provider, the import can run without manual repetition. On the Import Settings screen, the Scheduling Options panel provides two paths:
- Automatic Scheduling service ($19/month): Runs the import on a set daily, weekly, or monthly schedule from WP All Import’s own infrastructure. It works even when no one visits the site, and it triggers and monitors the run without any server configuration.
- Manual scheduling (free): Provides the Trigger and Processing cron URLs for the import, which you can register in cPanel or your server’s crontab at no additional cost.
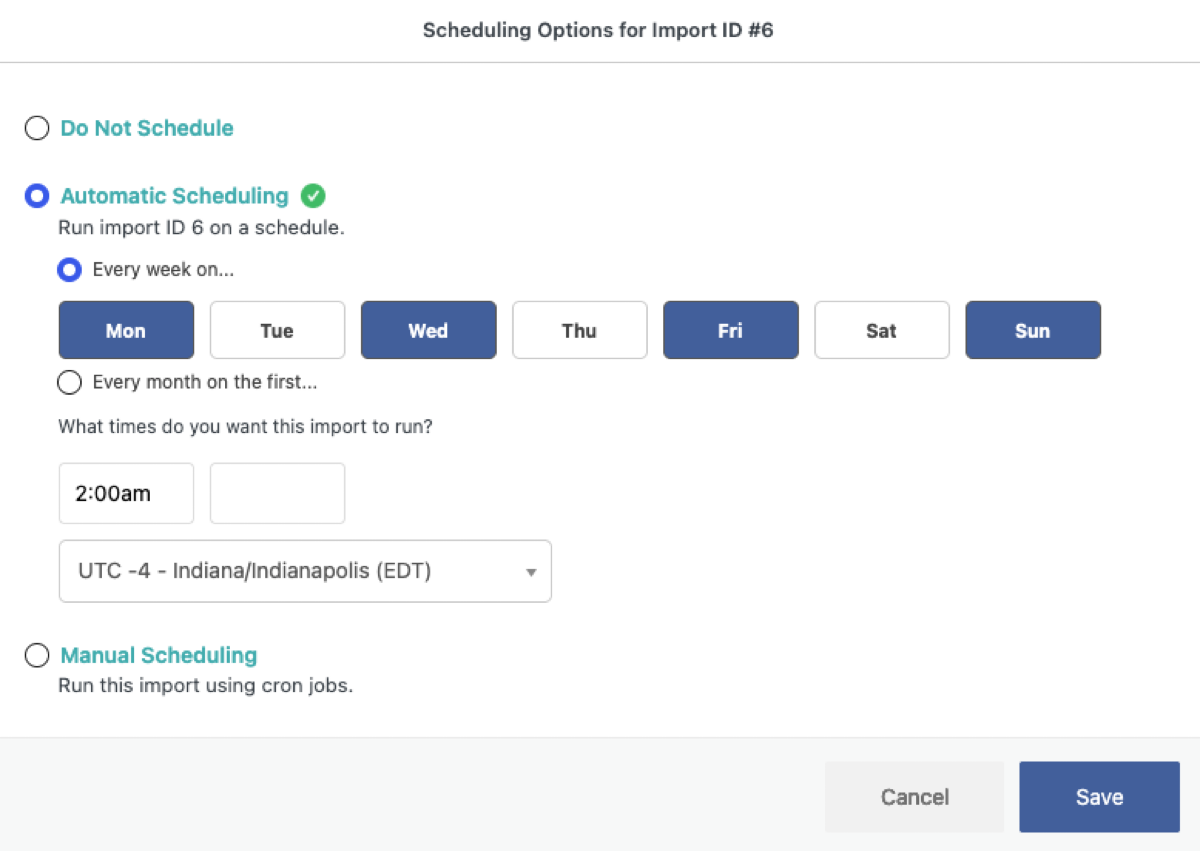
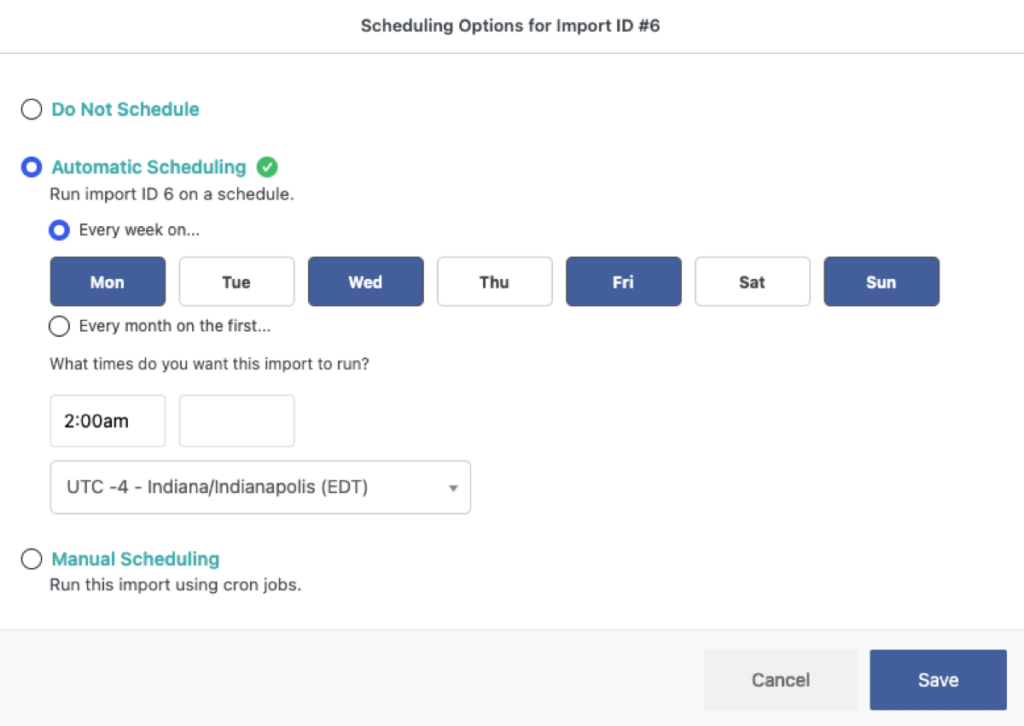
Both options send completion emails when a run finishes, so a silent failure in a supplier file does not go unnoticed.
What Is the Best Way to Import WooCommerce Products from CSV?
The built-in WooCommerce importer reads CSV files but demands that every file conform to its exact column schema, complete with meta: prefixes, backslash-escaped categories, and a rigid variation structure. For a simple catalog that already matches the schema, it works. For a real supplier file, restructuring the CSV takes longer than the import itself.
WP All Import lets you import WooCommerce products from CSV because it reads any file structure with any column names, maps columns to WooCommerce product fields automatically on upload, and pairs every import with a Unique Identifier so the same file can update the catalog repeatedly without duplicates. Your supplier’s CSV stays exactly as they sent it, and your store stays current with every re-import.
More Questions on Importing WooCommerce Products from CSV
Can WooCommerce import products from a CSV file for free?
Yes. WooCommerce includes a free CSV importer under Products › All Products › Import. It requires the CSV to follow its exact published column schema, and any unrecognized columns are skipped unless manually renamed with a meta: prefix. WP All Import imports CSV files with any column structure without reformatting.
Why do special characters look wrong after importing a CSV into WooCommerce?
Character encoding is usually the cause. A CSV saved in Windows-1252 instead of UTF-8 delivers accented letters and currency symbols like € and é as garbled text. WP All Import reads CSV files in any encoding and preserves special characters during the import.
How do I import custom fields from a CSV into WooCommerce?
WP All Import detects custom post meta registered by plugins like Advanced Custom Fields, Meta Box, and SEO extensions, and maps incoming CSV columns to those meta keys automatically. Unlike the built-in importer, which requires renaming columns with a meta: prefix, no manual renaming is needed.
What columns does a WooCommerce product CSV need?
At minimum, include columns for product name, SKU, and regular price. Recommended additions are description, short description, stock quantity, category, and image URLs. For variable products, add attribute columns like Size and Color plus a Parent SKU column on each variation row.
How do I update existing WooCommerce products from a CSV without duplicates?
Set the SKU column as the import’s Unique Identifier using the Auto-detect button. When you rerun the import with an updated CSV, WP All Import matches incoming rows to existing products by SKU and updates them in place instead of creating duplicate listings.
Further Reading
- The Best Plugins to Import Products with Images to WooCommerce
- The Best Plugins to Import Variable Products to WooCommerce
- A Quick Look at Importing Variable Products into WooCommerce
- How to Import Product Categories to WooCommerce
- How To Import Attributes for WooCommerce Variable Products
- Exporting WooCommerce Products: The Complete Step-by-Step Guide
- The 5 Best WooCommerce Product Import Plugins
Get Oxygen
Build it your way with Oxygen.
Not per year, not per site, not per seat. 60 day money back guarantee.