
The Best Way to Export WooCommerce Products with Images

You export your products, open the file, and the image column is a text of pipe-separated URLs. There’s no alt text, and nothing marks which URL is the featured photo.
The file looks complete right up until you try to use it.
In this article, I will show you how to export WooCommerce products with images, including the image URL, attachment ID, alt text and gallery order that a default CSV leaves behind.
What a WooCommerce Export Does With Images
WooCommerce never stores a photo inside a product. Each image slot on a product holds the ID of a Media Library attachment, and the file itself sits in wp-content/uploads/.
Two fields do the linking. _thumbnail_id holds the attachment ID for the featured image, and _product_image_gallery holds the gallery as an ordered list of IDs. The attachment keeps its own record too, with the file path in _wp_attached_file and the alt text in _wp_attachment_image_alt.
An export file can only carry references to that record, never the photo itself. That’s the part most people miss. A URL, an attachment ID and a server path all describe the same image, and each one survives the export differently:
- Image URL. Resolves anywhere the file is publicly reachable, and breaks the moment the store moves to a new domain.
- Attachment ID. Means something only on the site that issued it, where ID 412 is the mug photo and not a banner.
- Server path. Resolves only against a filesystem with the same uploads folder.
A product export gives you a map back to the images, not the images themselves. What you can do with that map depends on which of the three references your exporter lets you select.
What Product Data WooCommerce Exports on Its Own
WooCommerce ships its own exporter. Go to Products › All Products, click Export beside Add new product, and choose which product columns go into the file.
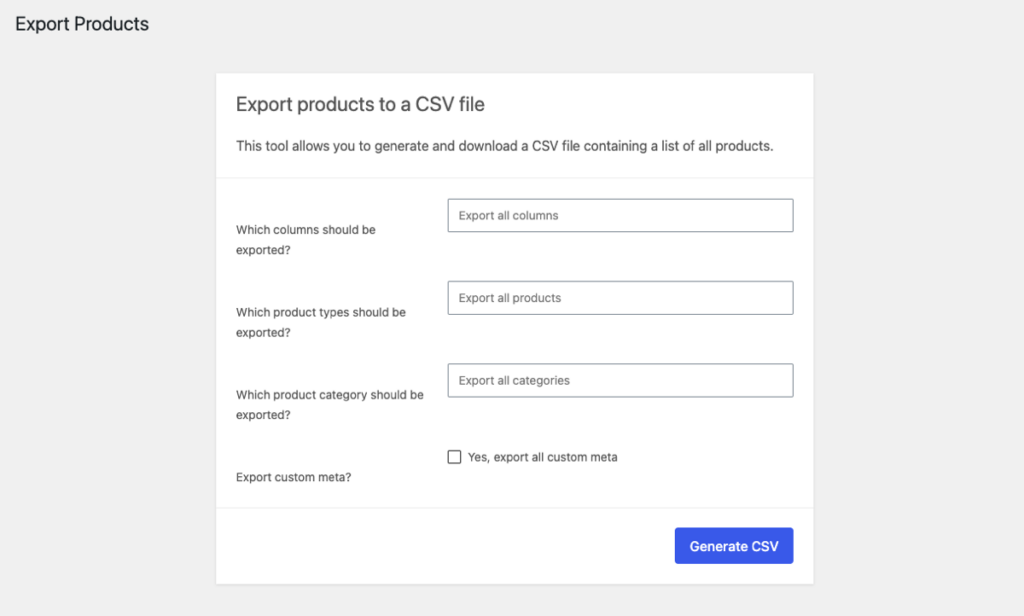
That run covers every product column except meta data, and one of those columns is Images. It holds a comma-separated list of URLs for each product, with the featured image first and the gallery after it in display order.
Where it fails for an image export is in the detail. The Images column gives you links, and almost nothing beside them:
- Alt text, title, caption and description stay behind in the Media Library. WooCommerce’s own documentation states the core CSV importer can’t add, edit or update alt text for product images.
- Attachment ID, filename and server path aren’t offered. The column carries URLs only.
- Gallery order survives, but nothing labels where the featured image ends and the gallery starts, beyond position one.
- Filtering covers product type and category. “Products with no gallery image” isn’t a filter you can run.
- Scheduling isn’t part of it. Every export is a manual run.
So the file works as a backup of links, and not as a working sheet for image SEO, because the alt text you’d want to edit never enters it.
How to Export WooCommerce Products With Images in WP All Export
Choose the Products and the Image Fields
Before we start, two plugins need to be active first: WP All Export, and the WooCommerce Export Add-On that adds the product post type to it. Both put All Export in the admin sidebar.
- Go to All Export › New Export and select WooCommerce Products from the post type list. With no filters, that covers the whole catalog.
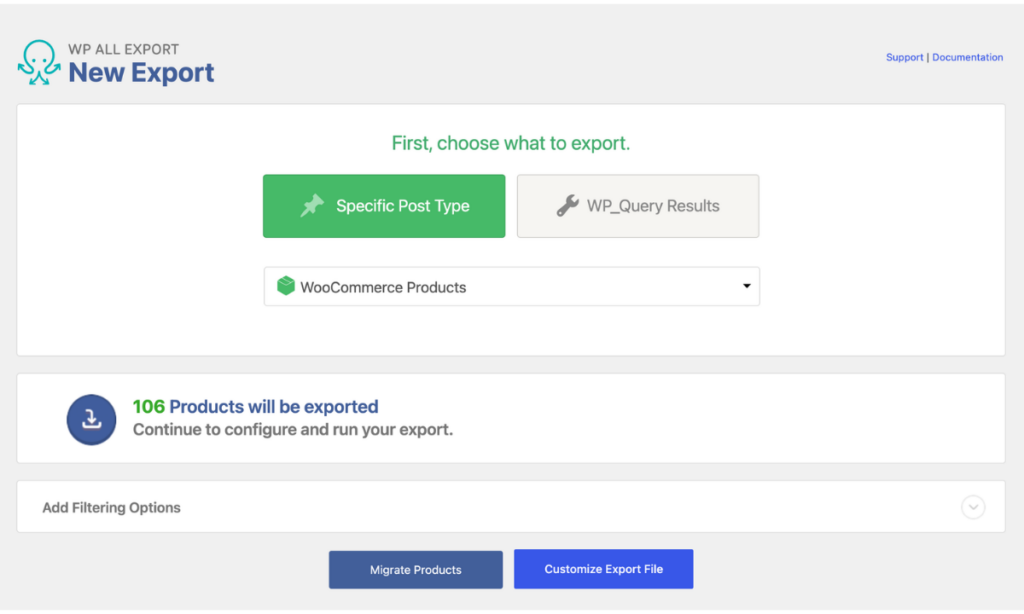
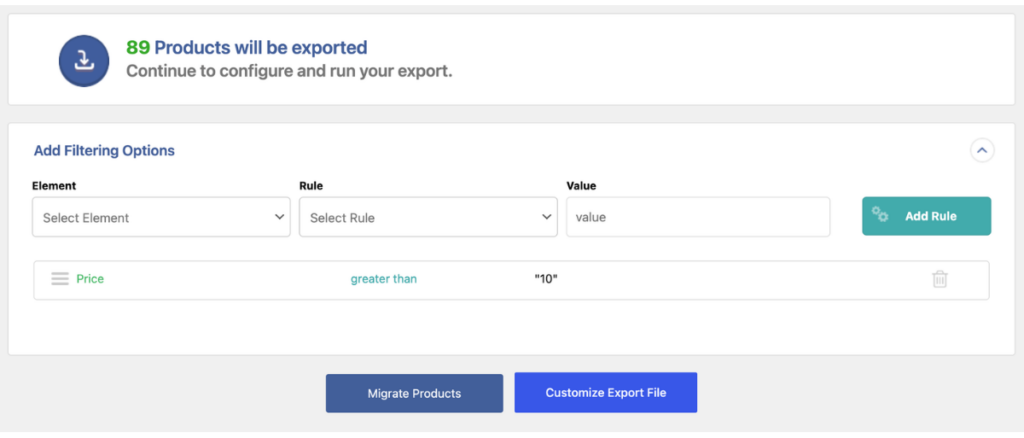
- Expand Add Filtering Options to add a rule on product category, product type or stock status. Filters are Pro, and they save with the export, so a scheduled run reuses them.
- Click Customize Export File to reach the Drag & Drop screen. Product fields sit in the Available Data panel on the right.
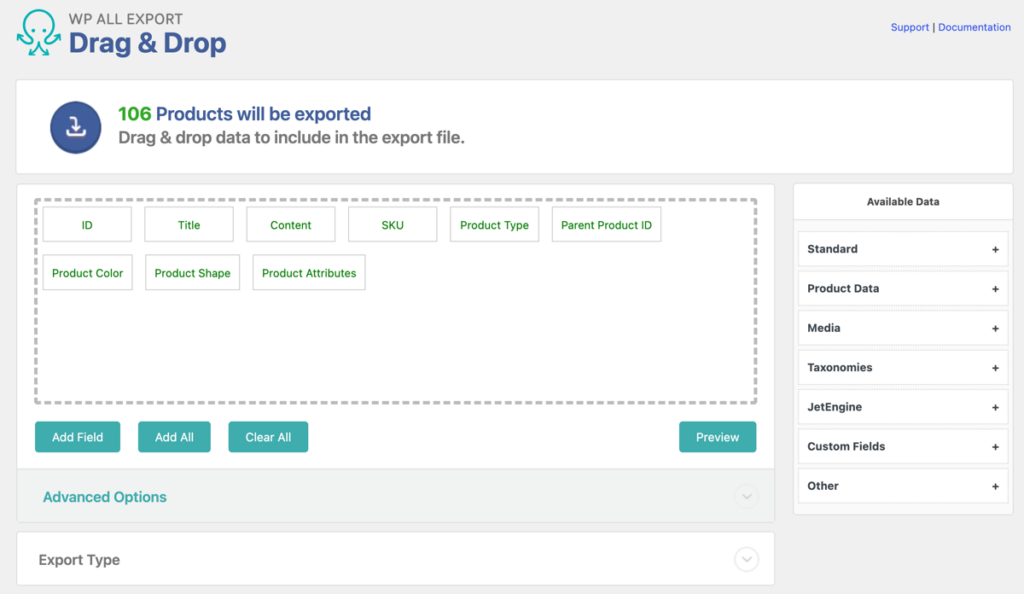
- Expand Media › Images and drag URL, Alt Text, Title and Featured into the column area on the left. Add ID if the file is going to another site, or Filename if a script resolves files later.
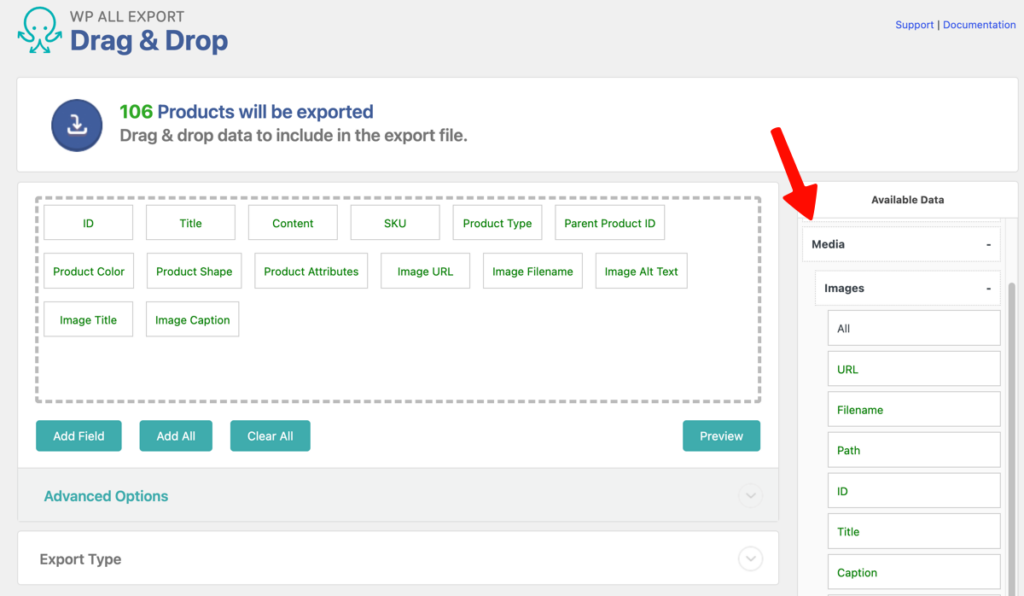
- Click Preview below the columns to see the first ten rows before anything is written.
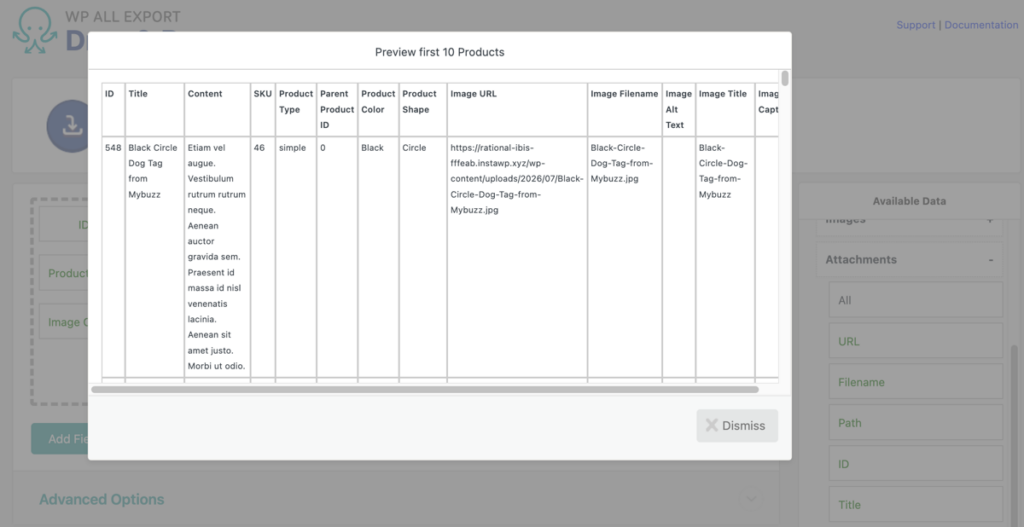
Set the Export Type and the Settings
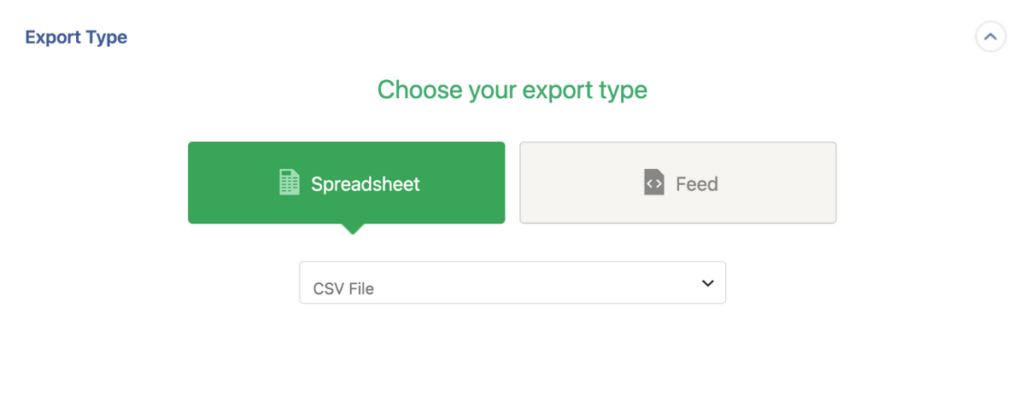
Under Export Type, CSV File is the default and covers most spreadsheet work. Excel File is also available as XLX and XLSX format, and Feed › Simple XML Feed builds structured XML for a marketplace or another importer.
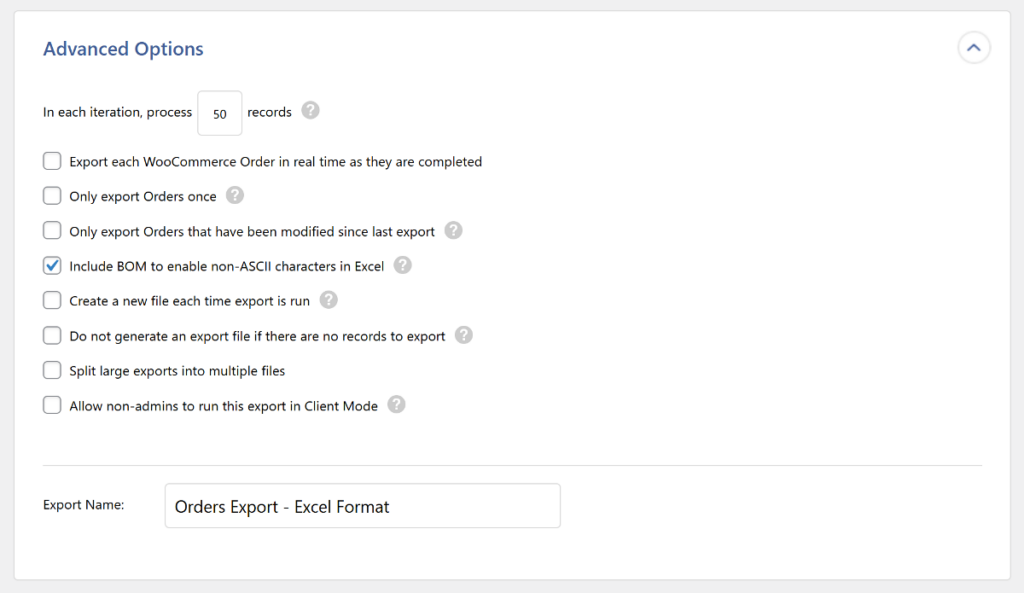
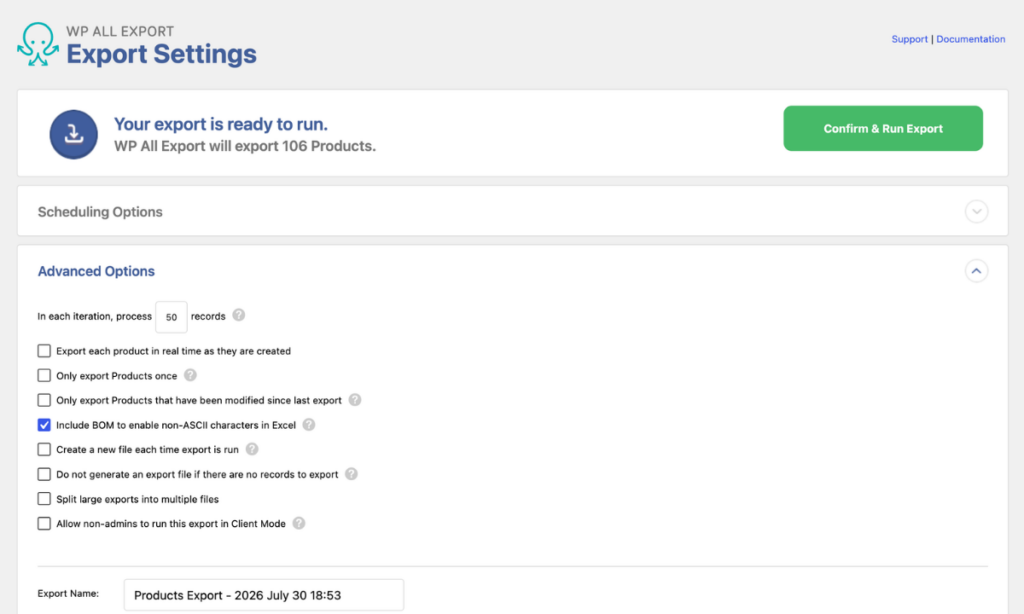
Click Continue for the Export Settings screen. Advanced Options holds the batch size, the split-large-exports setting, and an option to export only new or modified products.
Scheduling Options holds Automatic Scheduling at $19 per month for unlimited sites, which rebuilds the file weekly or monthly without cron jobs.
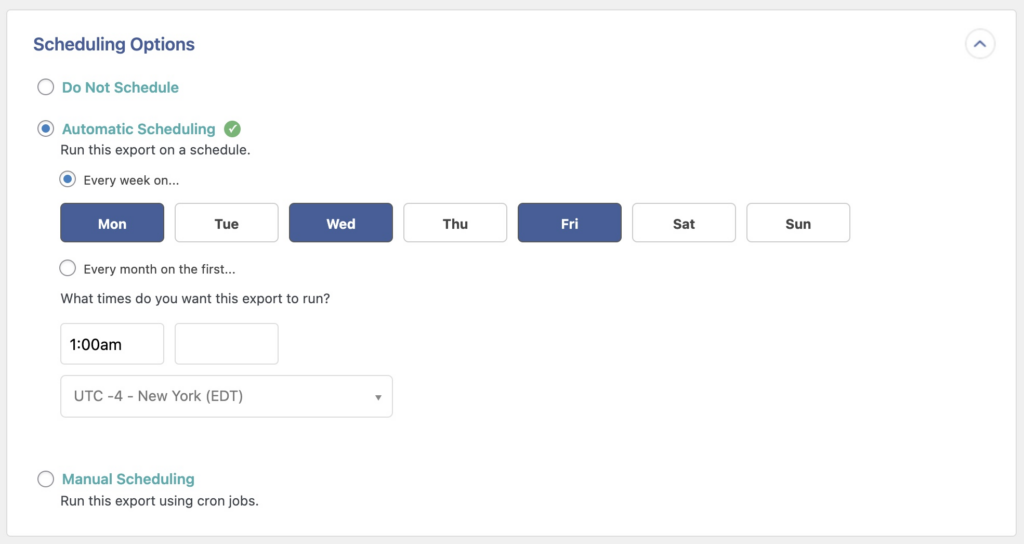
Run the Product Image Export and Check the File
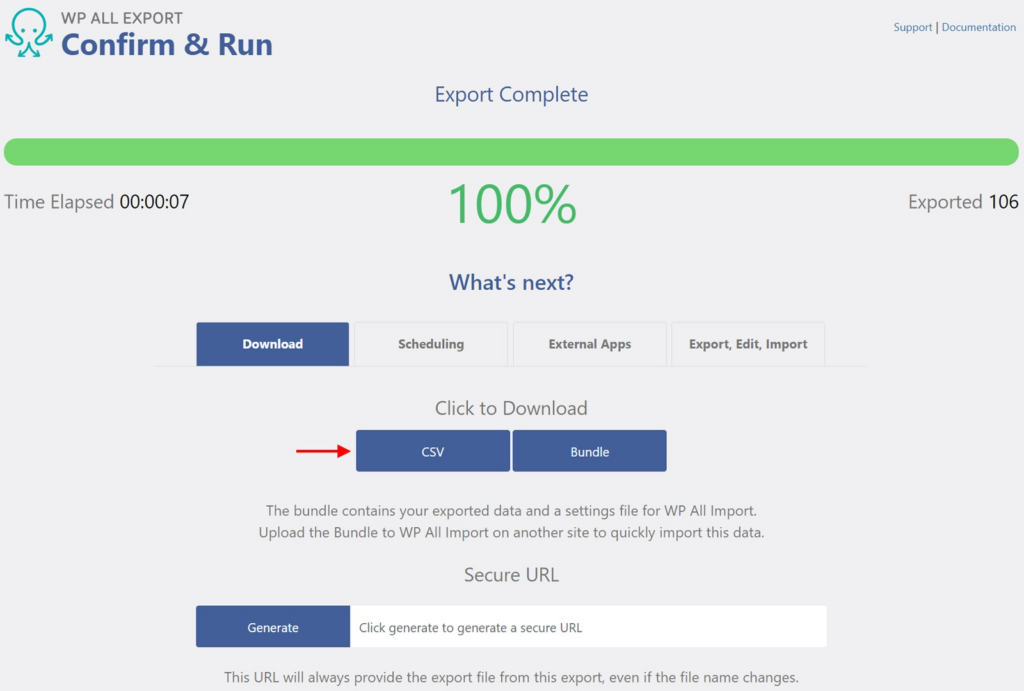
Click Confirm & Run Export and watch the Confirm & Run screen until it reports Export Complete.
Click to Download then offers the file in your chosen format, plus Bundle, a zip containing the export and an import template.
I always open the file before I do anything else with it. Three checks cover it:
- Row count matches the product count on Products › All Products.
- URL is populated for every product with photos, and the first URL matches the thumbnail in that list.
- Alt Text is filled where the catalog has it, and blank where it doesn’t, which points at the media record rather than the export.
The Image Fields Worth Dragging Into the Product Export
Media › Images holds nine fields, and each one answers a different question about the same file:
- URL. The public link, and the field a re-import or a marketplace feed reads.
- ID. The attachment’s post ID, for scripts that look the file up by number.
- Filename. The bare file name, which a script can prefix with a folder path.
- Path. The server location, for rebuilding links from a copy of the uploads folder.
- Title. The image title, editable in a spreadsheet and re-imported in bulk.
- Caption. The caption shown with the image, exported for copy checks.
- Description. The attachment description, which some themes and galleries read.
- Alt Text. The accessibility and SEO text, and the field WooCommerce’s own exporter omits.
- Featured. The featured image’s URL, so the main photo is marked and not inferred.
These fields sit under Available Data > Media. The URL field returns a product’s gallery as one delimited string, so Featured is the only explicit marker of the main photo.
How to Split WooCommerce Gallery Images Into Columns
Four URLs, one cell, one delimiter. Sorting that sheet by image means editing a string, and a comma inside a CDN URL splits a link in half.
The URL field returns the gallery as a single delimited value, so no column separation happens by default. A custom export field fixes it. The my_get_image() helper in WP All Export’s documentation takes that string and returns one position at a time.
Add a field for each image on the Drag & Drop screen, then call it as [my_get_image({Image URL},”1″)], followed by “2” and “3” in their own fields. Rename the columns Image 1, Image 2 and Image 3 so the file reads cleanly.
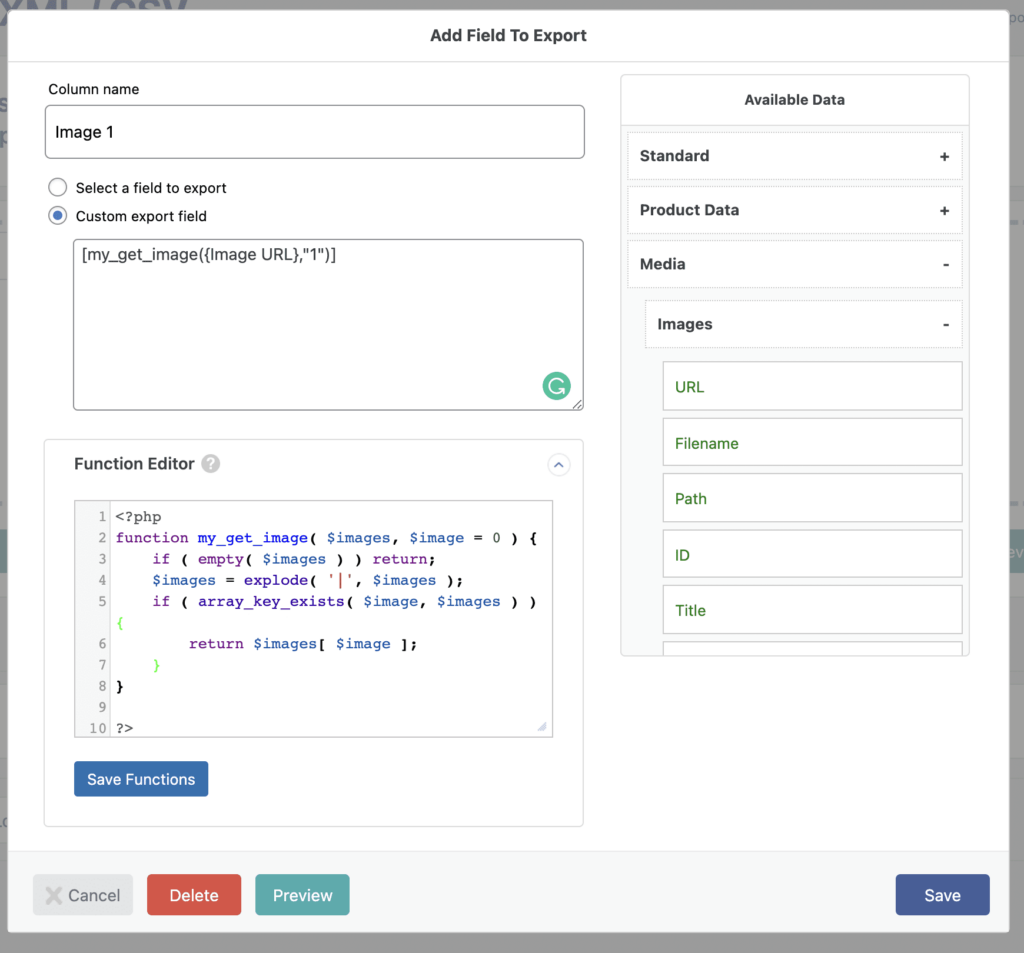
Products with fewer photos leave the later columns blank, which is the correct result. Custom export fields and PHP functions are Pro.
Exporting Products and Images for a Site Migration
This is the job most people buy an exporter for: a client store moving to a new host, or a catalog handed to a new owner.
Take Bundle from the Click to Download section rather than the plain CSV. The zip holds the export file and an import template that already knows which column feeds which field.
On the destination store, upload the zip in All Import › New Import and run it. WP All Import creates the products and fetches each image from the URL your export recorded, so the images arrive in the new Media Library with their titles and alt text attached.
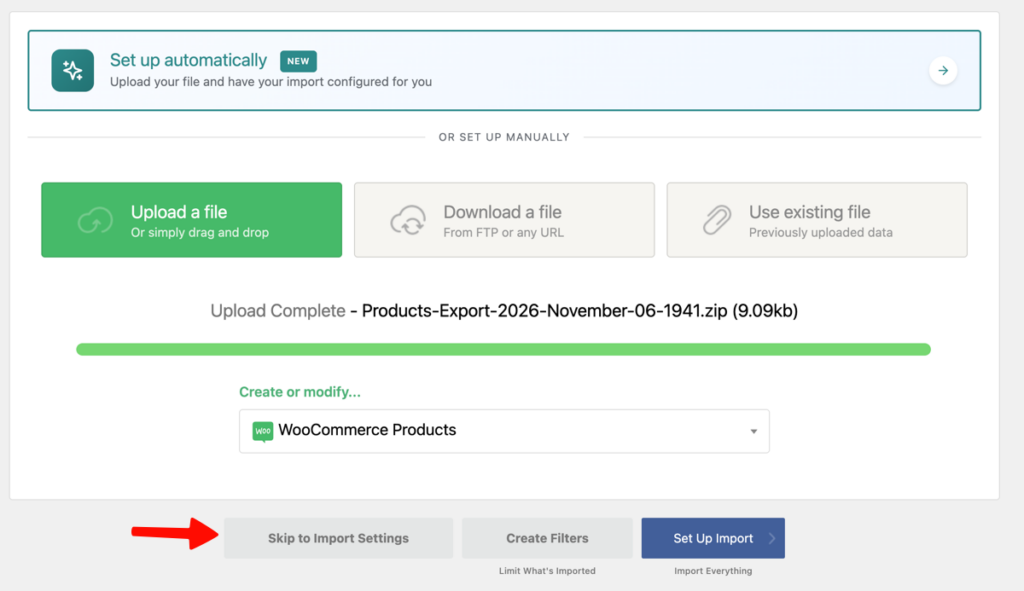
That fetch is the step to plan around. If the old store goes offline, or wp-content/uploads/ is moved before the import finishes, every row lands with an empty thumbnail. Keep the source site reachable until the import report says it completed.
Check Products › All Products once the import finishes. Thumbnails should be filled, and one product page should show the gallery in the original order.
Best Way to Export WooCommerce Products With Images
The default export tells a comfortable lie. Every product is in the file, the rows look right, and the image data is one column of links with no alt text, no attachment ID and no way to split a gallery across columns. You find out when you try to use it.
WP All Export closes that gap with fields the product screen never shows you. Available Data › Media › Images exposes URL, Filename, Path, ID, Title, Caption, Description, Alt Text and Featured, so the file carries the image record rather than a pointer to it.
Export Type covers CSV File, Excel File and Feed › Simple XML Feed, which means one export template serves a spreadsheet audit, a marketplace feed and a WP All Import run. Filtering rules save with the export and repeat on every scheduled run, so a category feed rebuilds itself without anyone clicking Customize Export File again.
Custom export fields split a gallery into Image 1, Image 2 and Image 3 through the my_get_image() helper. Bundle pairs the file with an import template, and WP All Import downloads each image from its recorded URL on the destination site. Automatic Scheduling costs $19 per month for unlimited sites, and Manual Scheduling works through cron if you’d rather keep it in-house.
Two limits, stated plainly: the WooCommerce Export Add-On has to be active beside WP All Export, and Excel, filtering and custom export fields are Pro. The image files themselves are never in the archive.
For a catalog where images matter beyond thumbnails, that’s the difference between a backup and a file you can work in.
Frequently Asked Questions – Export WooCommerce Products With Images
Can WooCommerce export product images on its own?
Yes. WooCommerce includes an exporter under Products › All Products, and its Images column lists each product’s image URLs with the featured image first. The column carries links only, so alt text, captions, attachment IDs and file paths never leave the site through it.
How do I export WooCommerce products with images and alt text?
WP All Export exports alt text because its image fields go past URLs. In a product export, open Available Data › Media › Images and add URL, Alt Text, Title and Caption to the column area, then run the export. The file carries the text needed for image SEO work, not just links.
Can I export the image files themselves rather than URLs?
No. WP All Export exports image data, not the files, so every export gives you a URL for each image alongside its ID, path and metadata. Copy wp-content/uploads/ over FTP when you need the actual files, then use the exported URLs or paths to reconnect them.
How do I get each gallery image into its own column?
Use a custom export field with the my_get_image() helper from WP All Export’s documentation. Add one field per image, calling [my_get_image({Image URL},”1″)], then “2” and “3”, and rename the columns Image 1, Image 2 and Image 3. Products with fewer photos leave the extra columns blank.
Can a product export with images run on a schedule?
Yes. WP All Export’s Automatic Scheduling service runs a saved export weekly or monthly and checks that it completed. The service costs $19 per month and covers unlimited sites. Stores that manage their own server tasks can use Manual Scheduling with cron jobs instead.
How do I move products and their images to a new WordPress site?
Download the export as a Bundle, a zip holding the product file and a WP All Import template. On the new site, upload that zip in All Import › New Import and run it. WP All Import recreates the products and downloads each image from its exported URL.
Related Links
- How to Export and Import WooCommerce Products
- How to Import a WooCommerce Product Gallery
- Importing WooCommerce Products With Custom Fields
- Importing WooCommerce Products With WP All Import: Full Review
- Tutorial: How to Easily Migrate Your Oxygen Site
- Export WooCommerce Products With Images
Get Oxygen
Build it your way with Oxygen.
Not per year, not per site, not per seat. 60 day money back guarantee.