
Import Details for Each JetEngine Custom Field Type
To understand the process of importing data into JetEngine custom fields, please see A Complete Guide to Importing Data from JetEngine Custom Fields.
In this article, we describe what should be imported for each custom field type.
Table of Contents
JetEngine offers six distinct field types, each consisting of multiple fields. The field types are:
JetEngine Text Fields
- Text: This is a simple, plain text field.
- Text area: This is basically the same as the text field but provides a bigger writing area. Unlimited symbols are allowed, and the text is displayed in a monospaced font.
- Number: This is a numerical value.
- WYSIWYG: This is the typical What-You-See-Is-What-You-Get field, which allows adding most content types to it.
- HTML: This field allows storing HTML information to display statically.
For more information, see How to Import JetEngine Text Fields.
JetEngine Picker Fields
- Date: Define a date. Use any format supported by the PHP strtotime() function.
- Time: Define a specific time. Use any format supported by the PHP strtotime() function.
- Datetime: This is the combination of the two previous fields, allowing you to define a date and a time. Use any format supported by the PHP strtotime() function.
- Icon Picker: This field lets you define an icon by specifying an icon class name. For example, fa-user.
- Color Picker: This field lets you pick a color. Just specify the hex code for the color preceded by a #, e.g., #ea5f1a.
To learn more, see How to Import JetEngine Picker Fields.
JetEngine Choice Fields
- Switcher: This field lets you select a boolean (valid or false) statement. Import either
trueorfalse. - Checkbox: This field lets you import a choice or multiple choices across different options. For multiple values, separate with commas. If you have both values and labels in your field definition, use the values.
- Radio: This field lets you import a radio value. For multiple values, separate with commas. If you have both values and labels in your field definition, use the values.
- Select: This field lets you select a choice from different values. For multiple values, separate with commas. If you have both values and labels in your field definition, use the values.
For more information, see How to Import JetEngine Choice Fields.
JetEngine Content Fields
- Media: This field lets you add a single image or file. Input the URL to download it.
- Gallery: This field lets you import multiple images separated by a character, such as a comma.
To learn more, see How to Import JetEngine Content Fields.
JetEngine Repeater Fields
- Repeater: This field lets you add multiple fields and values within the same field. You will have an interface to import all the different fields available.
- Posts: This field lets you import or attach posts to the same field. You can match posts by ID, slug, or title and use a separator if there are multiple entries.
When importing JetEngine repeater fields, you can use three different modes:
Mode 1: Fixed Repeater Mode
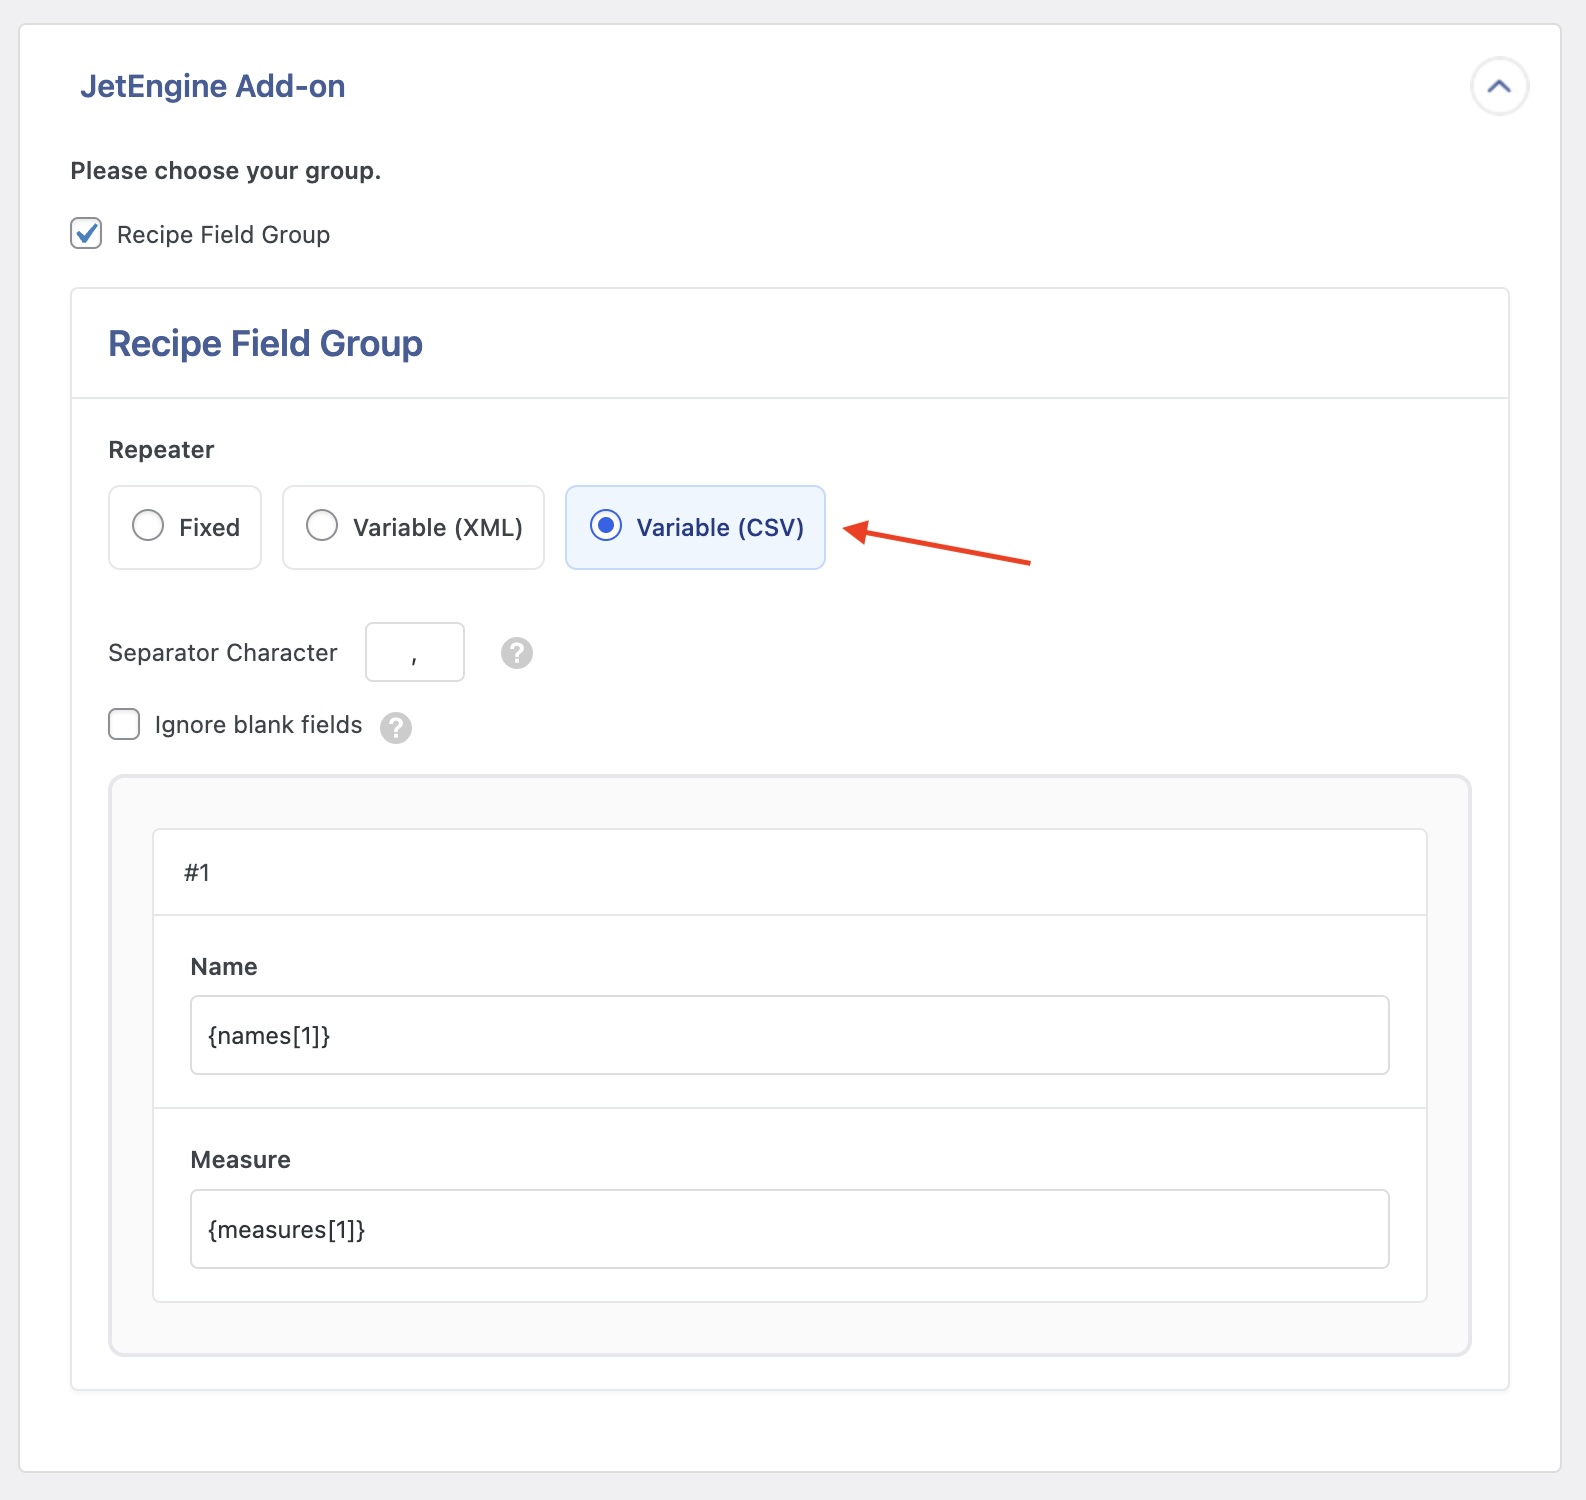
Use Fixed when each piece of your repeating data is in separate columns or elements. For example, if you have a repeater field containing an image, and your CSV file has five columns, i.e., image_1, image_2, image_3, etc.:
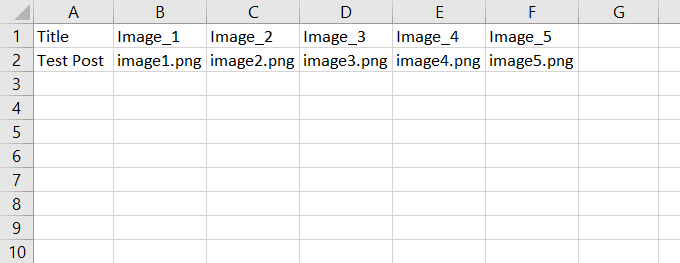
In this situation, manually add five rows to the repeater by clicking Add Row:
Then, drag & drop image_1 to the first row, image_2 to the second row, and so on.
Check the Ignore blank fields checkbox if some of the records in your file don’t contain values for its image. For example, if image_3 and onwards are blank for a certain record, WP All Import will only add two rows to the repeater.
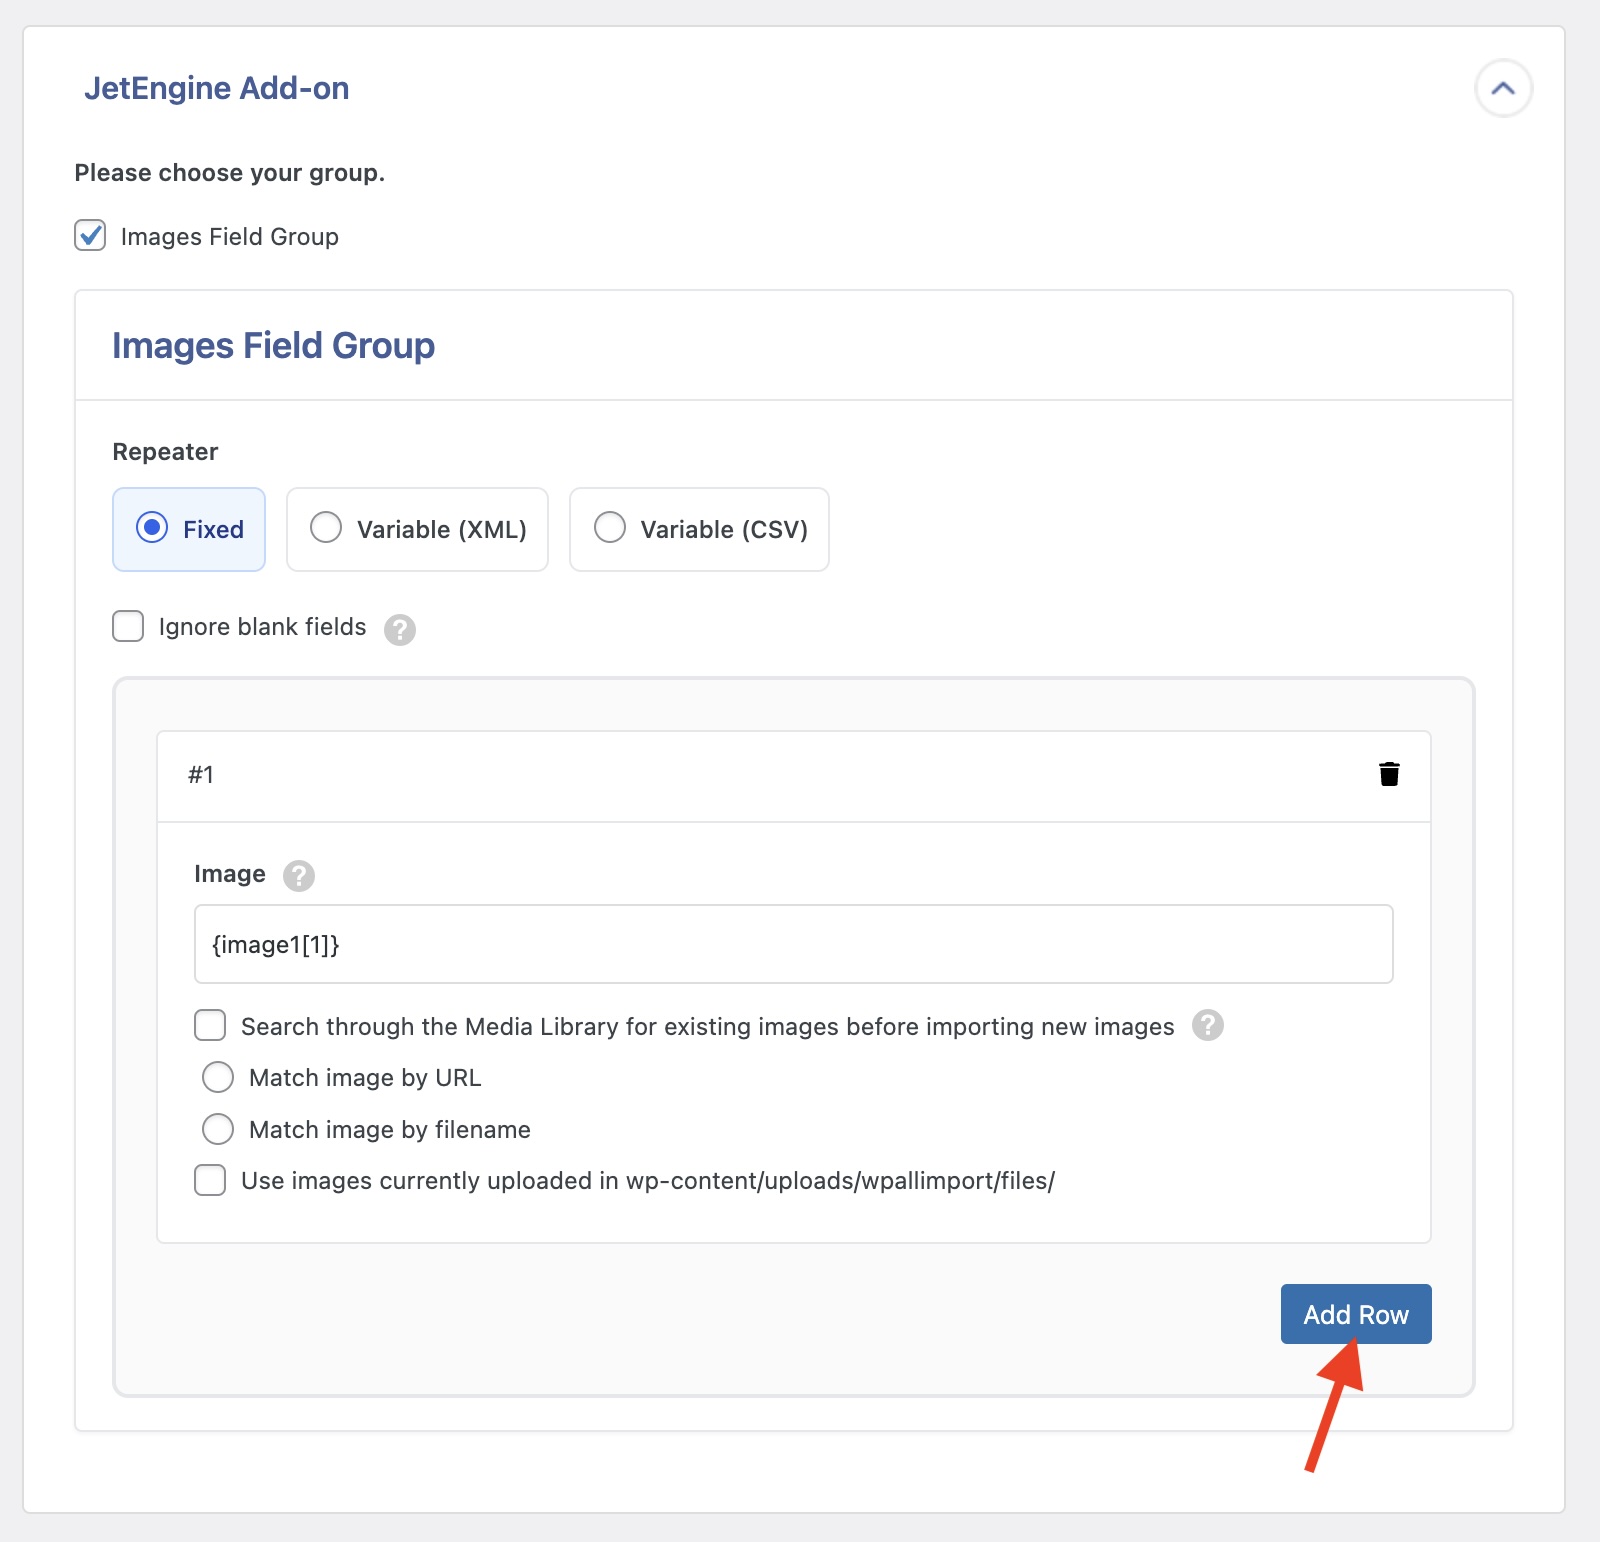
Mode 2: Variable Repeater Mode (XML)
Use this option if your repeating data is stored in XML format as “sibling” elements:
<images>
<image>image_example_1.jpg</image><image>image_example_2.jpg</image><image>image_example_3.jpg</image><image>image_example_4.jpg</image><image>image_example_5.jpg</image>
</images>
Dragging & dropping won’t create the correct XPath expressions when using this option. You need to modify your XPath expressions using WP All Import’s FOREACH syntax.
To learn more, check this video where “Variable (XML)” is used.
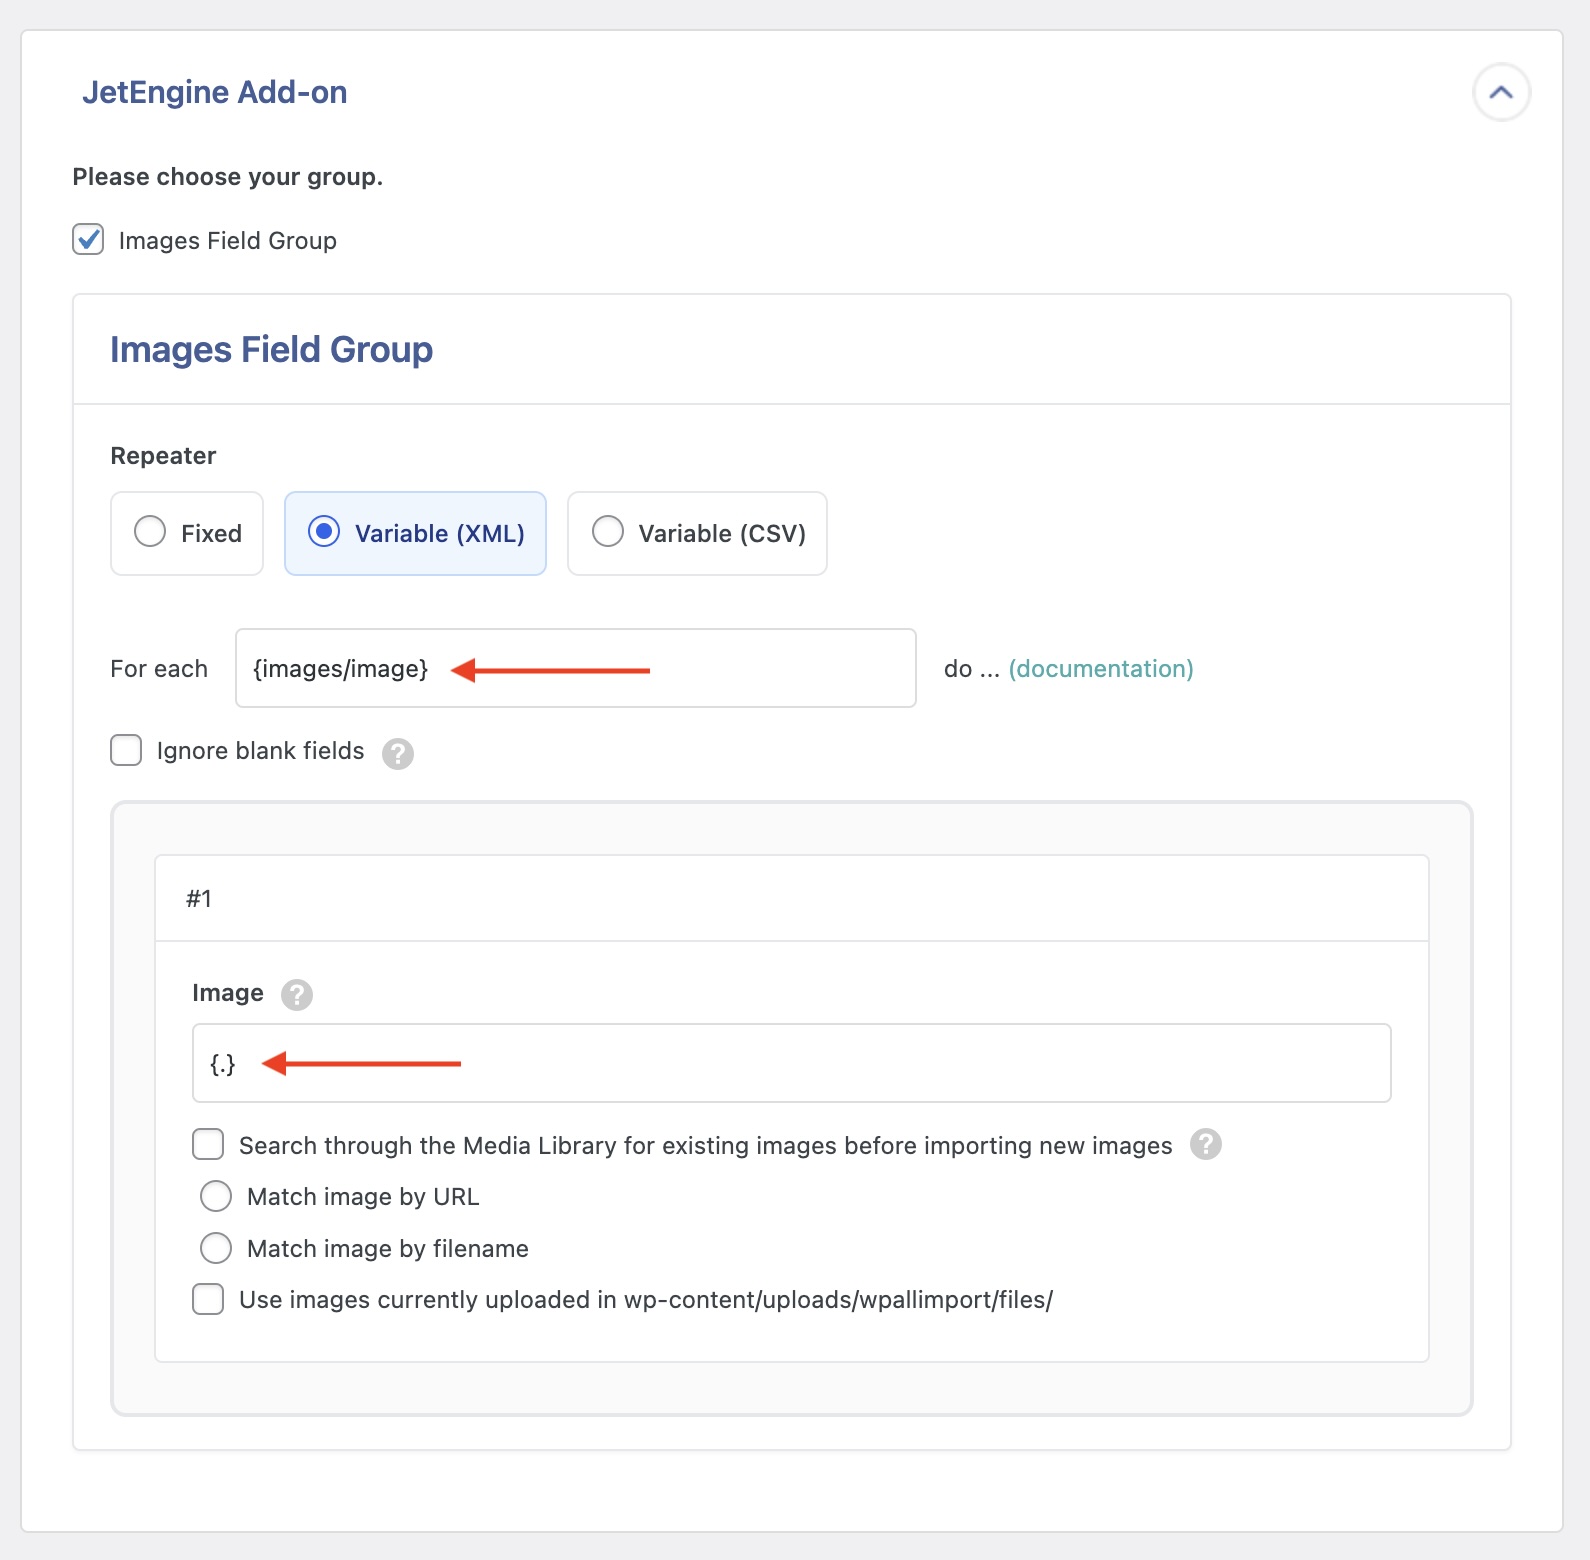
Mode 3: Variable Repeater Mode (CSV)
Use this option if your repeating data is stored in a single column in your CSV file and is separated by a separator character.
For instance, if you have a repeater field containing ingredients (Name and Measure – i.e., 1/2 cup is the measure and butter is the name), and the names & measures are stored in separate columns in your CSV file:

Since this repeater data is comma-separated, change the Separator Character to a comma, and then drag & drop the name & measure columns into the appropriate sub-fields in the repeater field:
When this data is imported, the first item in the name column will be associated with the first item in the measure column, the 2nd item in the name column with the 2nd in the measure column, and so on.
For more information, see How to Import JetEngine Repeater Fields.