
How to Easily Import WooCommerce Products with Images

Product images are a key part of every WooCommerce catalog, helping customers see what they’re buying. When importing products, these images must be linked to the correct items and assigned as featured images, gallery images, or variation images.
WooCommerce’s built-in CSV importer can import product images from public URLs or files already in the WordPress Media Library. However, a dedicated import plugin offers greater flexibility when working with different image sources, preventing duplicate downloads, or configuring image metadata.
In this guide, we’ll show you how to import WooCommerce products with images using WP All Import.
Table of Contents
- Step 1: Start a New Product Import with Automatic Setup
- Step 2: Review Automatic Setup Analysis and Mapped Fields
- Step 3: Fine-Tune Image Sources and Gallery Rules
- Step 4: Configure Product Import Settings
- Step 5: Run the Import and Verify the Product Image Data
- Import Multiple Images to Product Variations
- How to Troubleshoot Failed Product Image Imports
Step 1: Start a New Product Import with Automatic Setup
Head over to All Import › New Import inside your WordPress admin. Right at the top of the page, click the Set up automatically banner to launch the setup wizard.
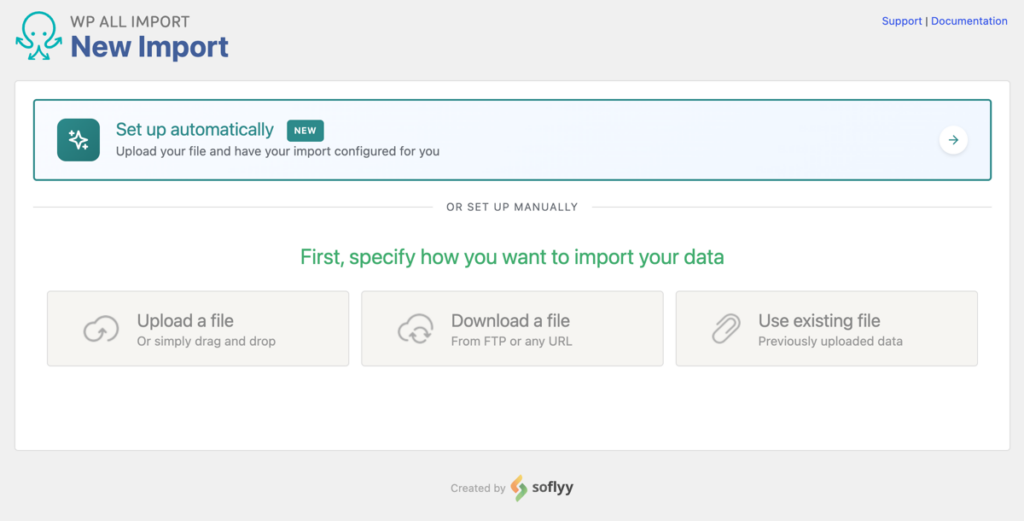
WP All Import gives you several ways to bring in product data depending on where your file lives:
- Upload File: Drag and drop your spreadsheet file directly from your computer (supporting CSV, Excel, XML, or ZIP archives up to 256 MB).
- Download from URL: Enter a live supplier link or a shareable Google Sheets link.
- Existing File: Select an existing spreadsheet already saved on your web server.
- FTP/SFTP: Connect straight to an external storage server where your inventory feeds are stored.
Once your file is loaded, select WooCommerce as the target system and choose Products (Simple, Variable, Grouped) as the post type.
Click the Start Automatic Setup button. WP All Import reads through the spreadsheet records, works out whether your catalog contains simple or variable items, identifies image columns, and pairs them to WooCommerce fields automatically.
Step 2: Review Automatic Setup Analysis and Mapped Fields
Once the background analysis wraps up, the wizard displays the Your Import Is Ready overview card. This screen gives you a quick snapshot of the parsed catalog, including the detected item type, total product count, the number of mapped fields, and an overall confidence score.

Take a quick look through the Field Mappings list below the card. In an image-focused product import, this is where you confirm that your photo columns (such as featured image links, comma-separated gallery columns, or Media Library filenames) have been assigned to WooCommerce image fields.
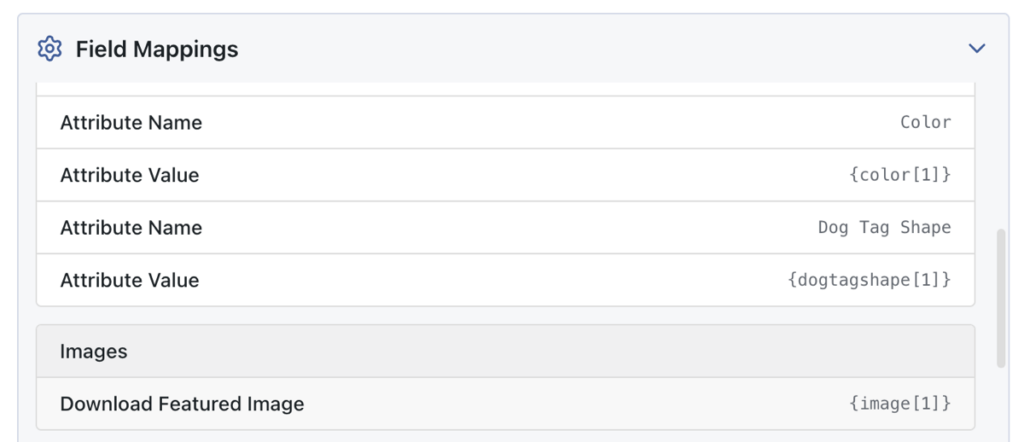
If your catalog has clean image links and standard product details, your setup is already done. You can launch the import immediately, or click Review Import Configuration if you want to inspect media settings, set thumbnail rules, or test image downloads before publishing.
Step 3: Fine-Tune Image Sources and Gallery Rules (Optional)
Automatic Setup handles field mapping for you, so manual configuration is optional. However, product images often require specific business rules, like preventing duplicate media uploads, building galleries from delimited cells, or applying image SEO metadata.
To inspect or adjust these settings, click Manual Setup beneath the summary card. This brings you into the template editor with your product fields and photo locations already mapped.
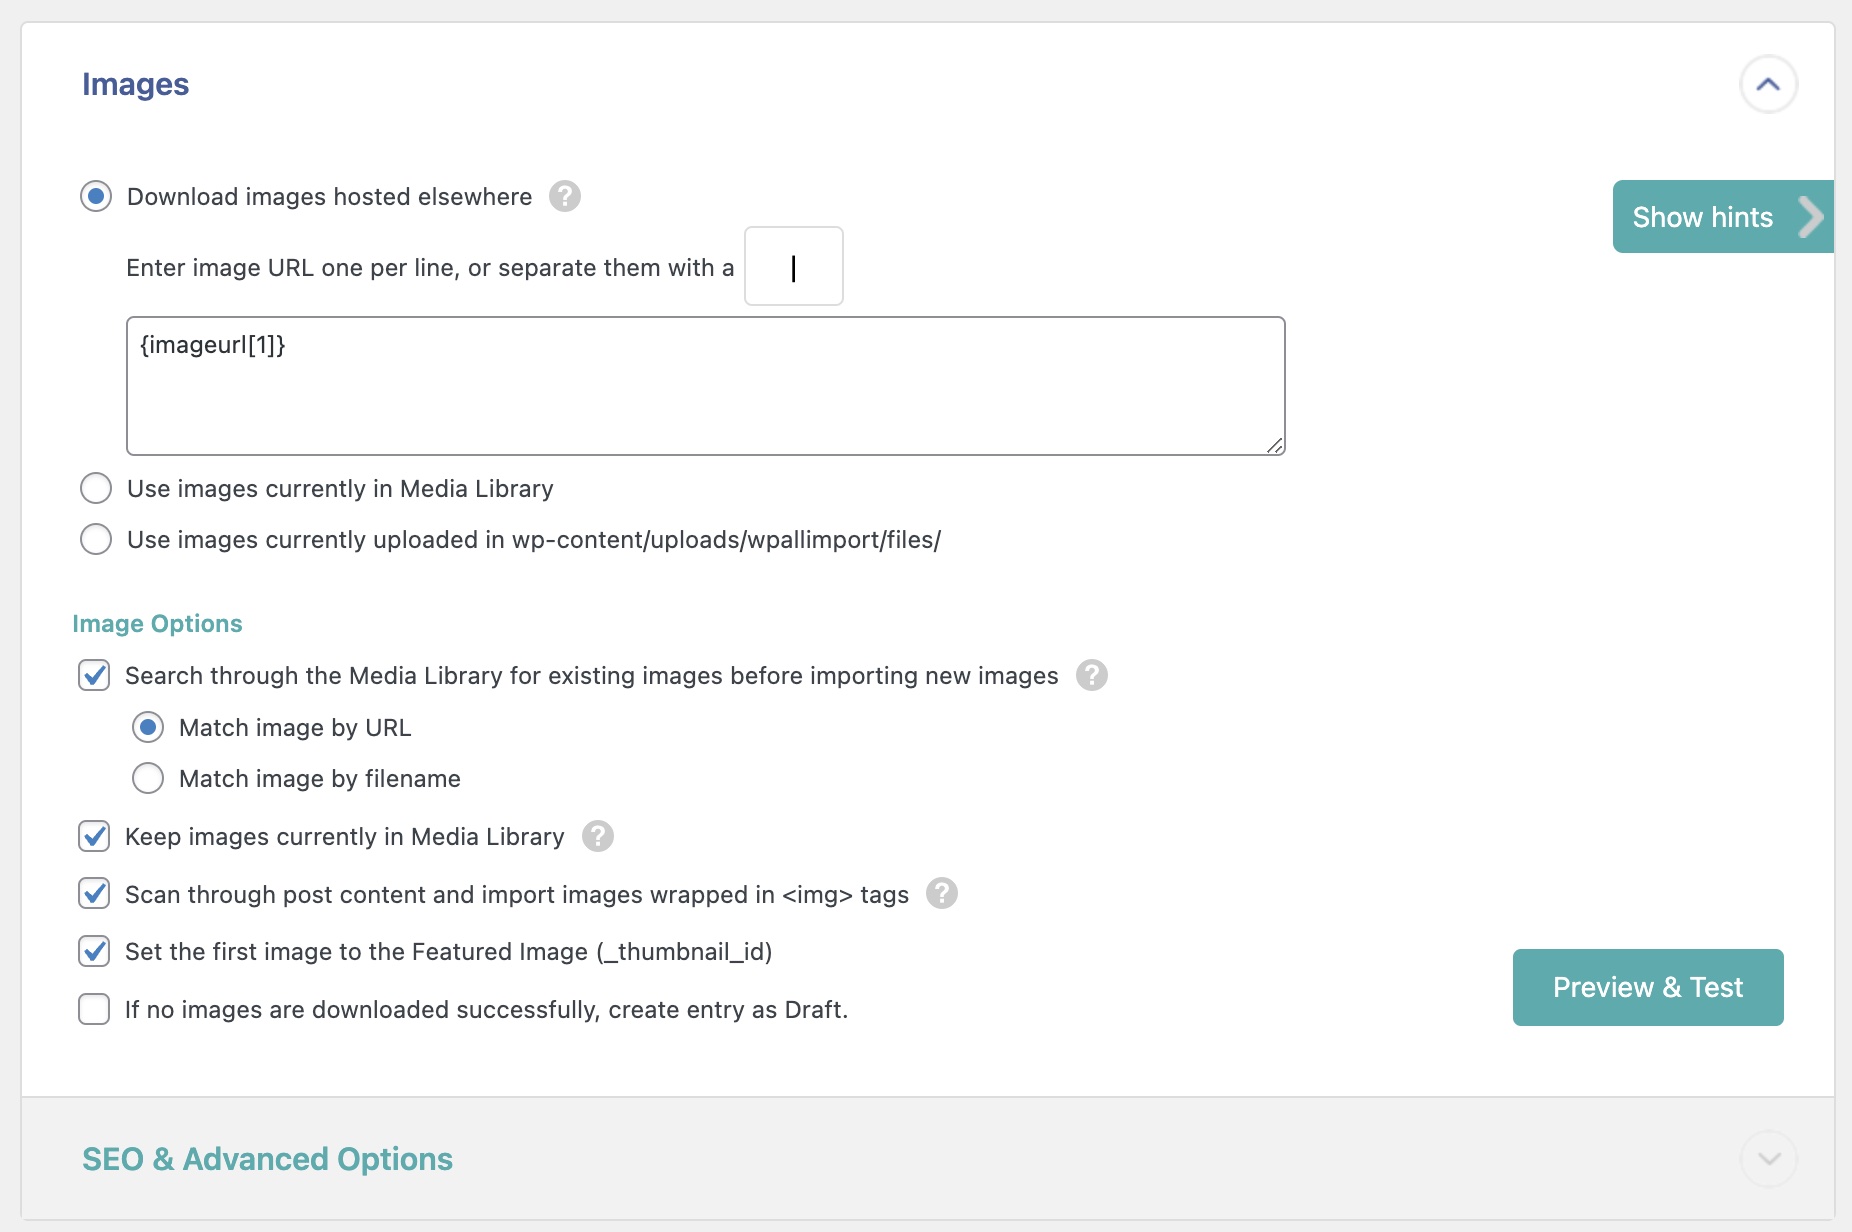
Scroll down and open the Images panel to review how WP All Import manages your media:
Download Images Hosted Elsewhere
This option is active by default whenever your spreadsheet contains external photo links. WP All Import fetches each file over HTTP or HTTPS, saves it into your WordPress Media Library, and attaches it directly to the product.
If a supplier spreadsheet stores multiple photo links inside a single table cell, enter the separator character (such as a pipe | or comma ,) in the delimiter field. WP All Import splits the string into individual files, assigns the first photo as the main featured image, and places the remaining photos into the WooCommerce product gallery in their original sequence.
Use images currently in the Media Library
Choose this method if your product photos are already uploaded to WordPress. Instead of passing full URLs, your spreadsheet only needs to provide image filenames (such as classic-tshirt-navy.jpg).
WP All Import searches your existing media records, matches the filename from your spreadsheet, and links the image directly to the product. This approach completely skips file downloads and prevents your server from filling up with duplicate image files.
Use Images Uploaded to the Server Folder
For catalogs with thousands of high-resolution product photos, downloading images one by one over HTTP can trigger server timeouts. A more reliable alternative is uploading your photo files directly to /wp-content/uploads/wpallimport/files/ using FTP or SFTP beforehand.
When this option is selected, WP All Import matches the filenames in your spreadsheet to the files waiting in that directory. When a matching filename is found, the plugin registers it in the WordPress Media Library and links it to the product immediately.
Configure Media Safeguards and Gallery Settings
The lower half of the Images panel contains crucial safeguards for managing media storage and product presentation:
- Prevent Duplicate Downloads: Enable Search through the Media Library for existing images before importing new images. You can match existing files by URL or filename. When WP All Import detects an existing photo, it links that file instead of downloading a duplicate copy.
- Draft Status for Missing Images: Check If no images are downloaded successfully, create entry as Draft. This prevents products with broken supplier image links from appearing on your live storefront without a product photo.
- HTML Description Images: Enable Scan through post content and import images wrapped in tags if your supplier descriptions include inline
<img>tags that you want downloaded into your local Media Library.
SEO & Advanced Metadata Options
Expand the SEO & Advanced Options section at the bottom of the Images panel to optimize your photos for search engines:
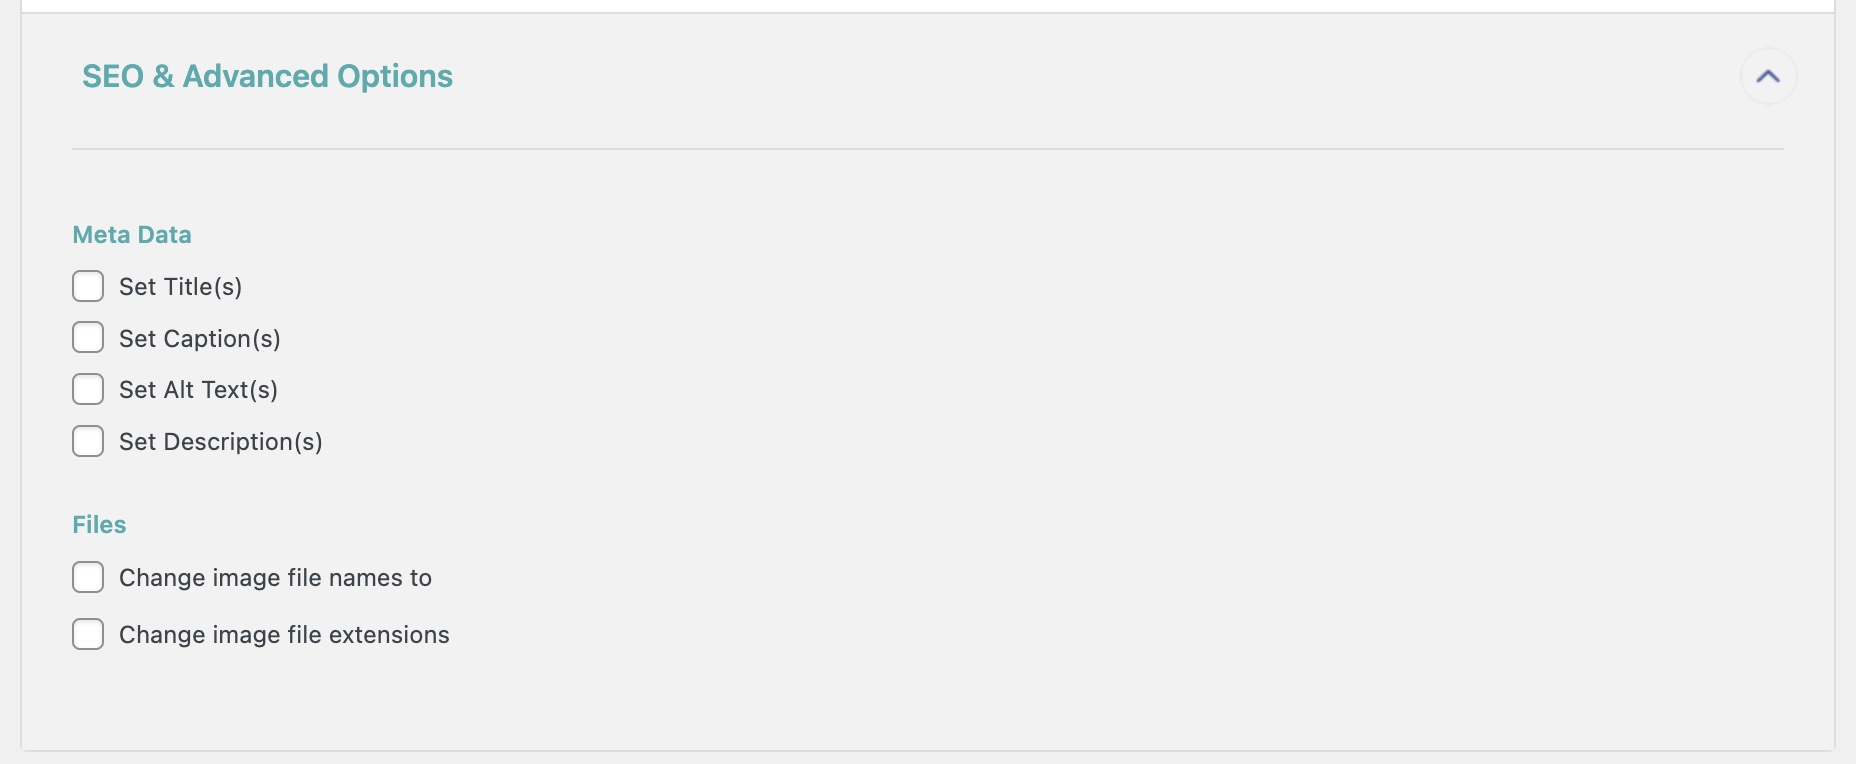
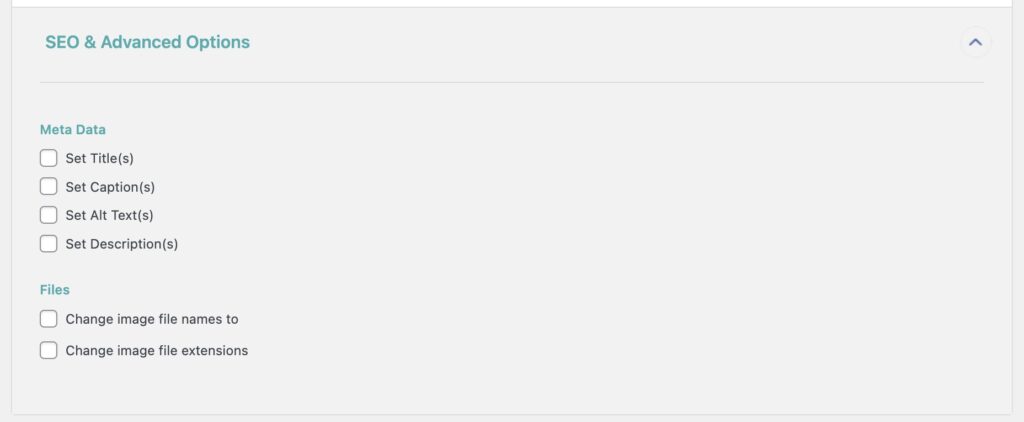
- Search Metadata: Map spreadsheet columns directly to Image Title, Caption, Alt Text, and Description fields so your product photos retain accessibility tags and keyword rankings.
- File Renaming: Standardize image naming conventions across your catalog on upload (for example, generating filenames from product SKUs or titles).
- Extension Cleanup: Automatically convert file extensions to lowercase to avoid broken links caused by case-sensitive web servers.
Before leaving this panel, click the Preview button. WP All Import tests the image download on a sample record and renders the photo inside a modal, allowing you to confirm that URLs resolve and galleries display properly before running the full import.
Step 4: Configure Product Import Settings
The Import Settings screen controls how WP All Import matches records, manages subsequent catalog updates, and processes file chunks.
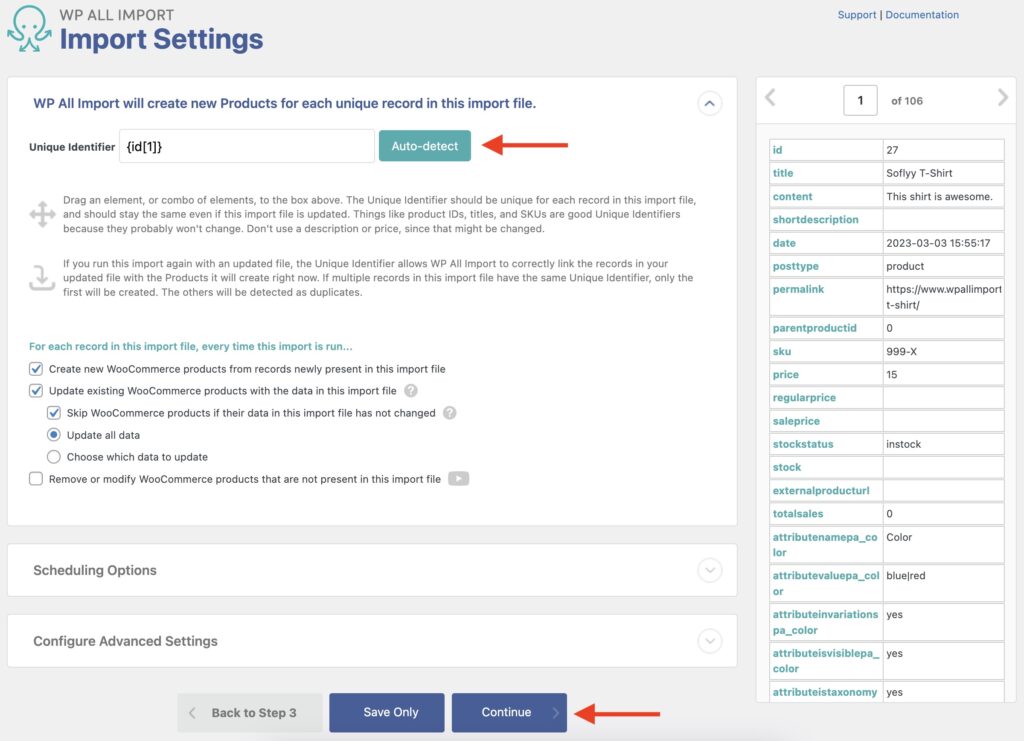
WP All Import uses a Unique Identifier to distinguish between products and prevent duplicate entries. Click the Auto-detect button to let the plugin select a reliable key (typically the product SKU or post ID). If you run this import again in the future, this identifier tells the plugin which existing items to update.
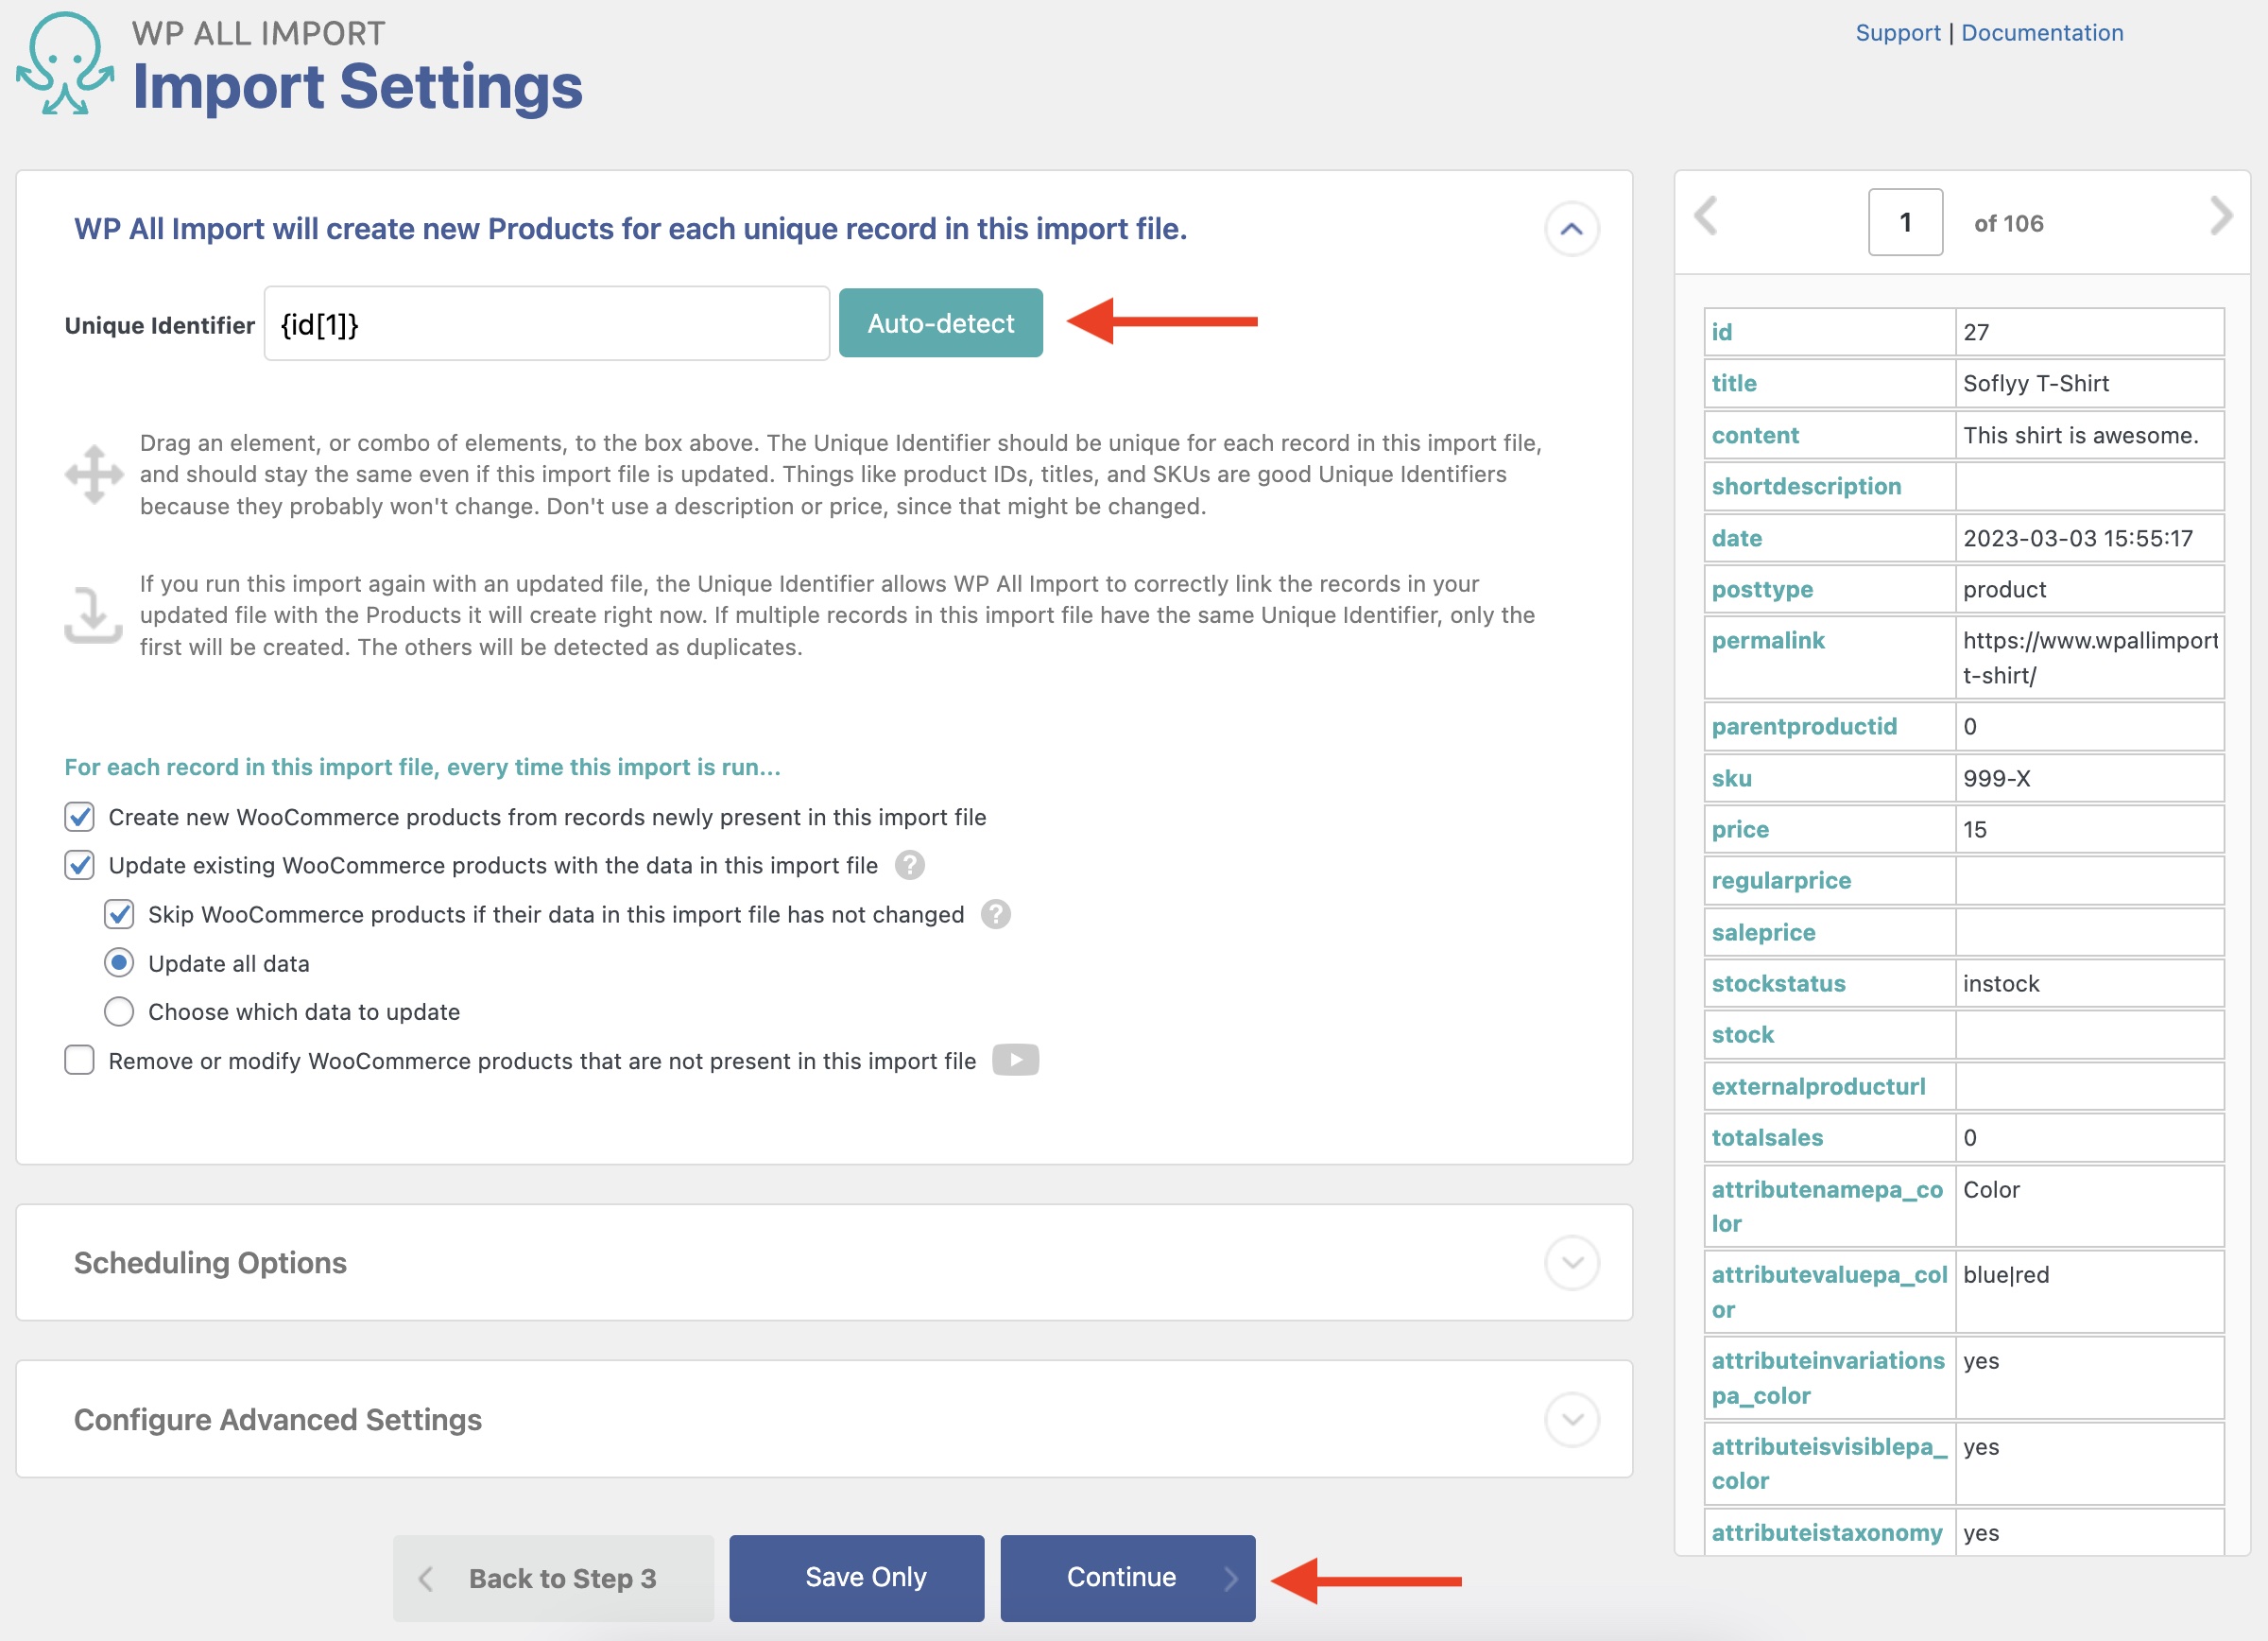
If you receive recurring inventory feeds from suppliers, the update settings allow you to refresh your catalog without unnecessarily re-downloading media:
- Update specific fields only: Choose to update only prices and stock quantities on re-import while leaving your existing product photos and galleries untouched.
- Download new images when files change: Instruct the plugin to add new gallery images only when a supplier adds fresh photo URLs to their feed.
Expand the Scheduling Options panel if you need your product and image imports to run automatically. You can configure server cron jobs or use WP All Import’s Automatic Scheduling service to fetch new supplier data and image links on a weekly or daily schedule.
Step 5: Run the Import and Verify the Product Image Data
Click Continue to proceed to the final confirmation screen, where a summary outlines your import rules.
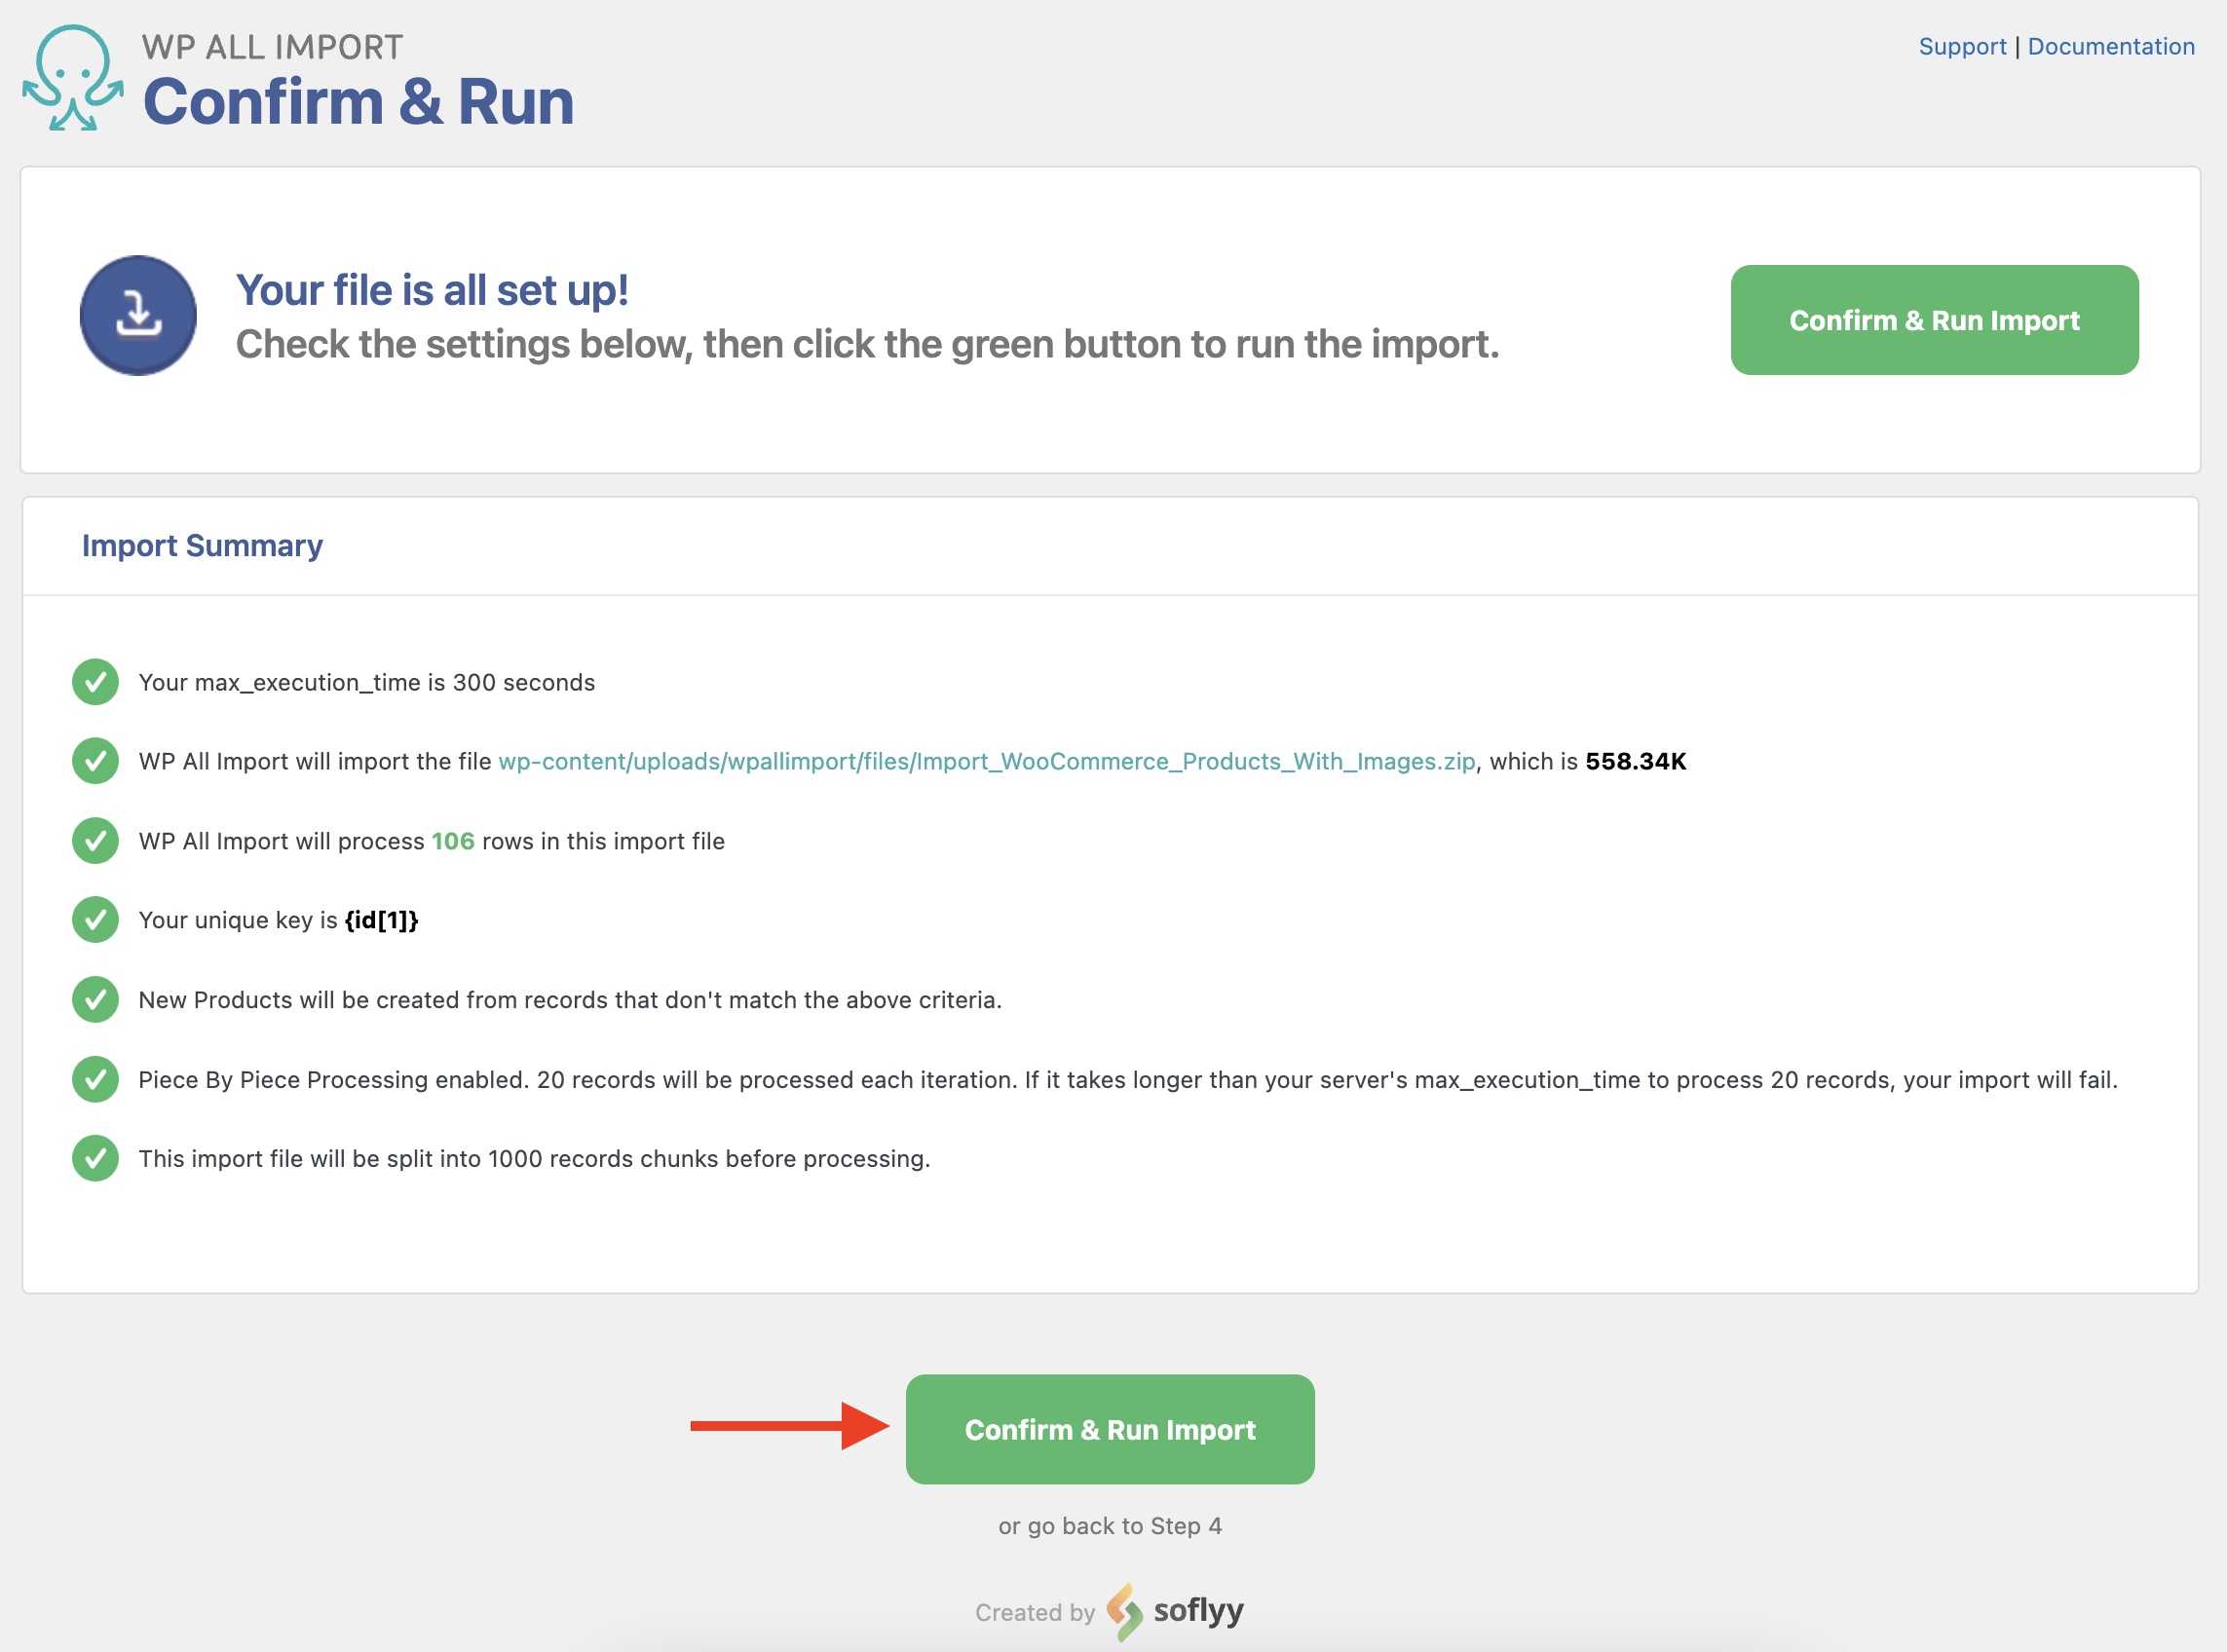
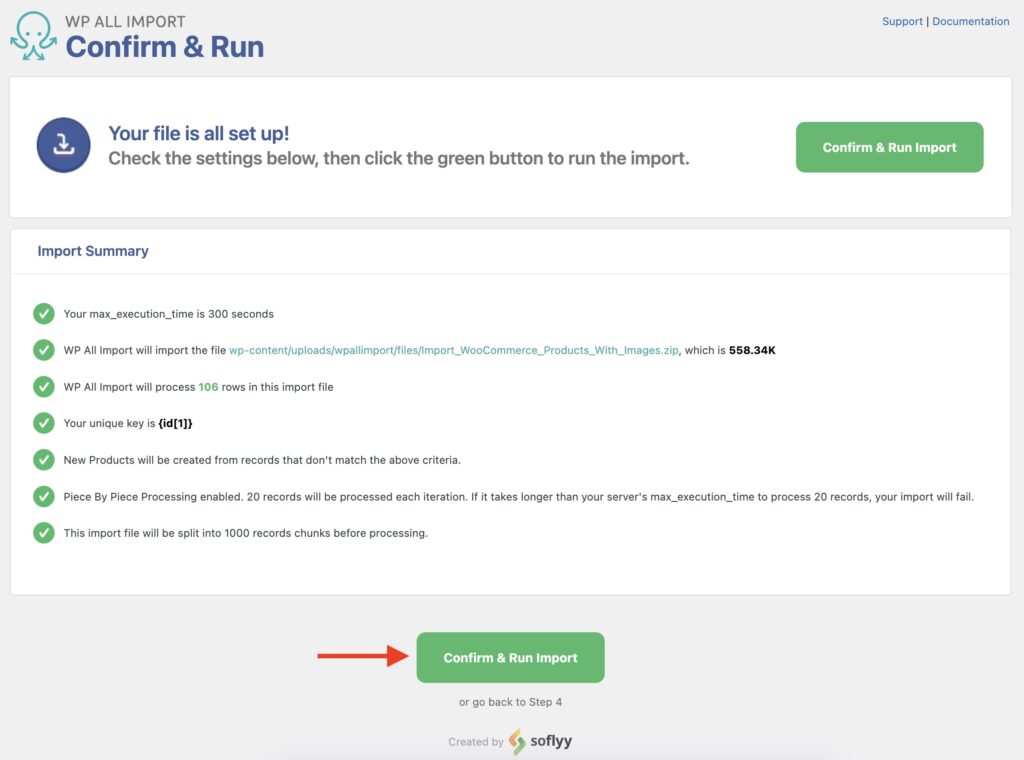
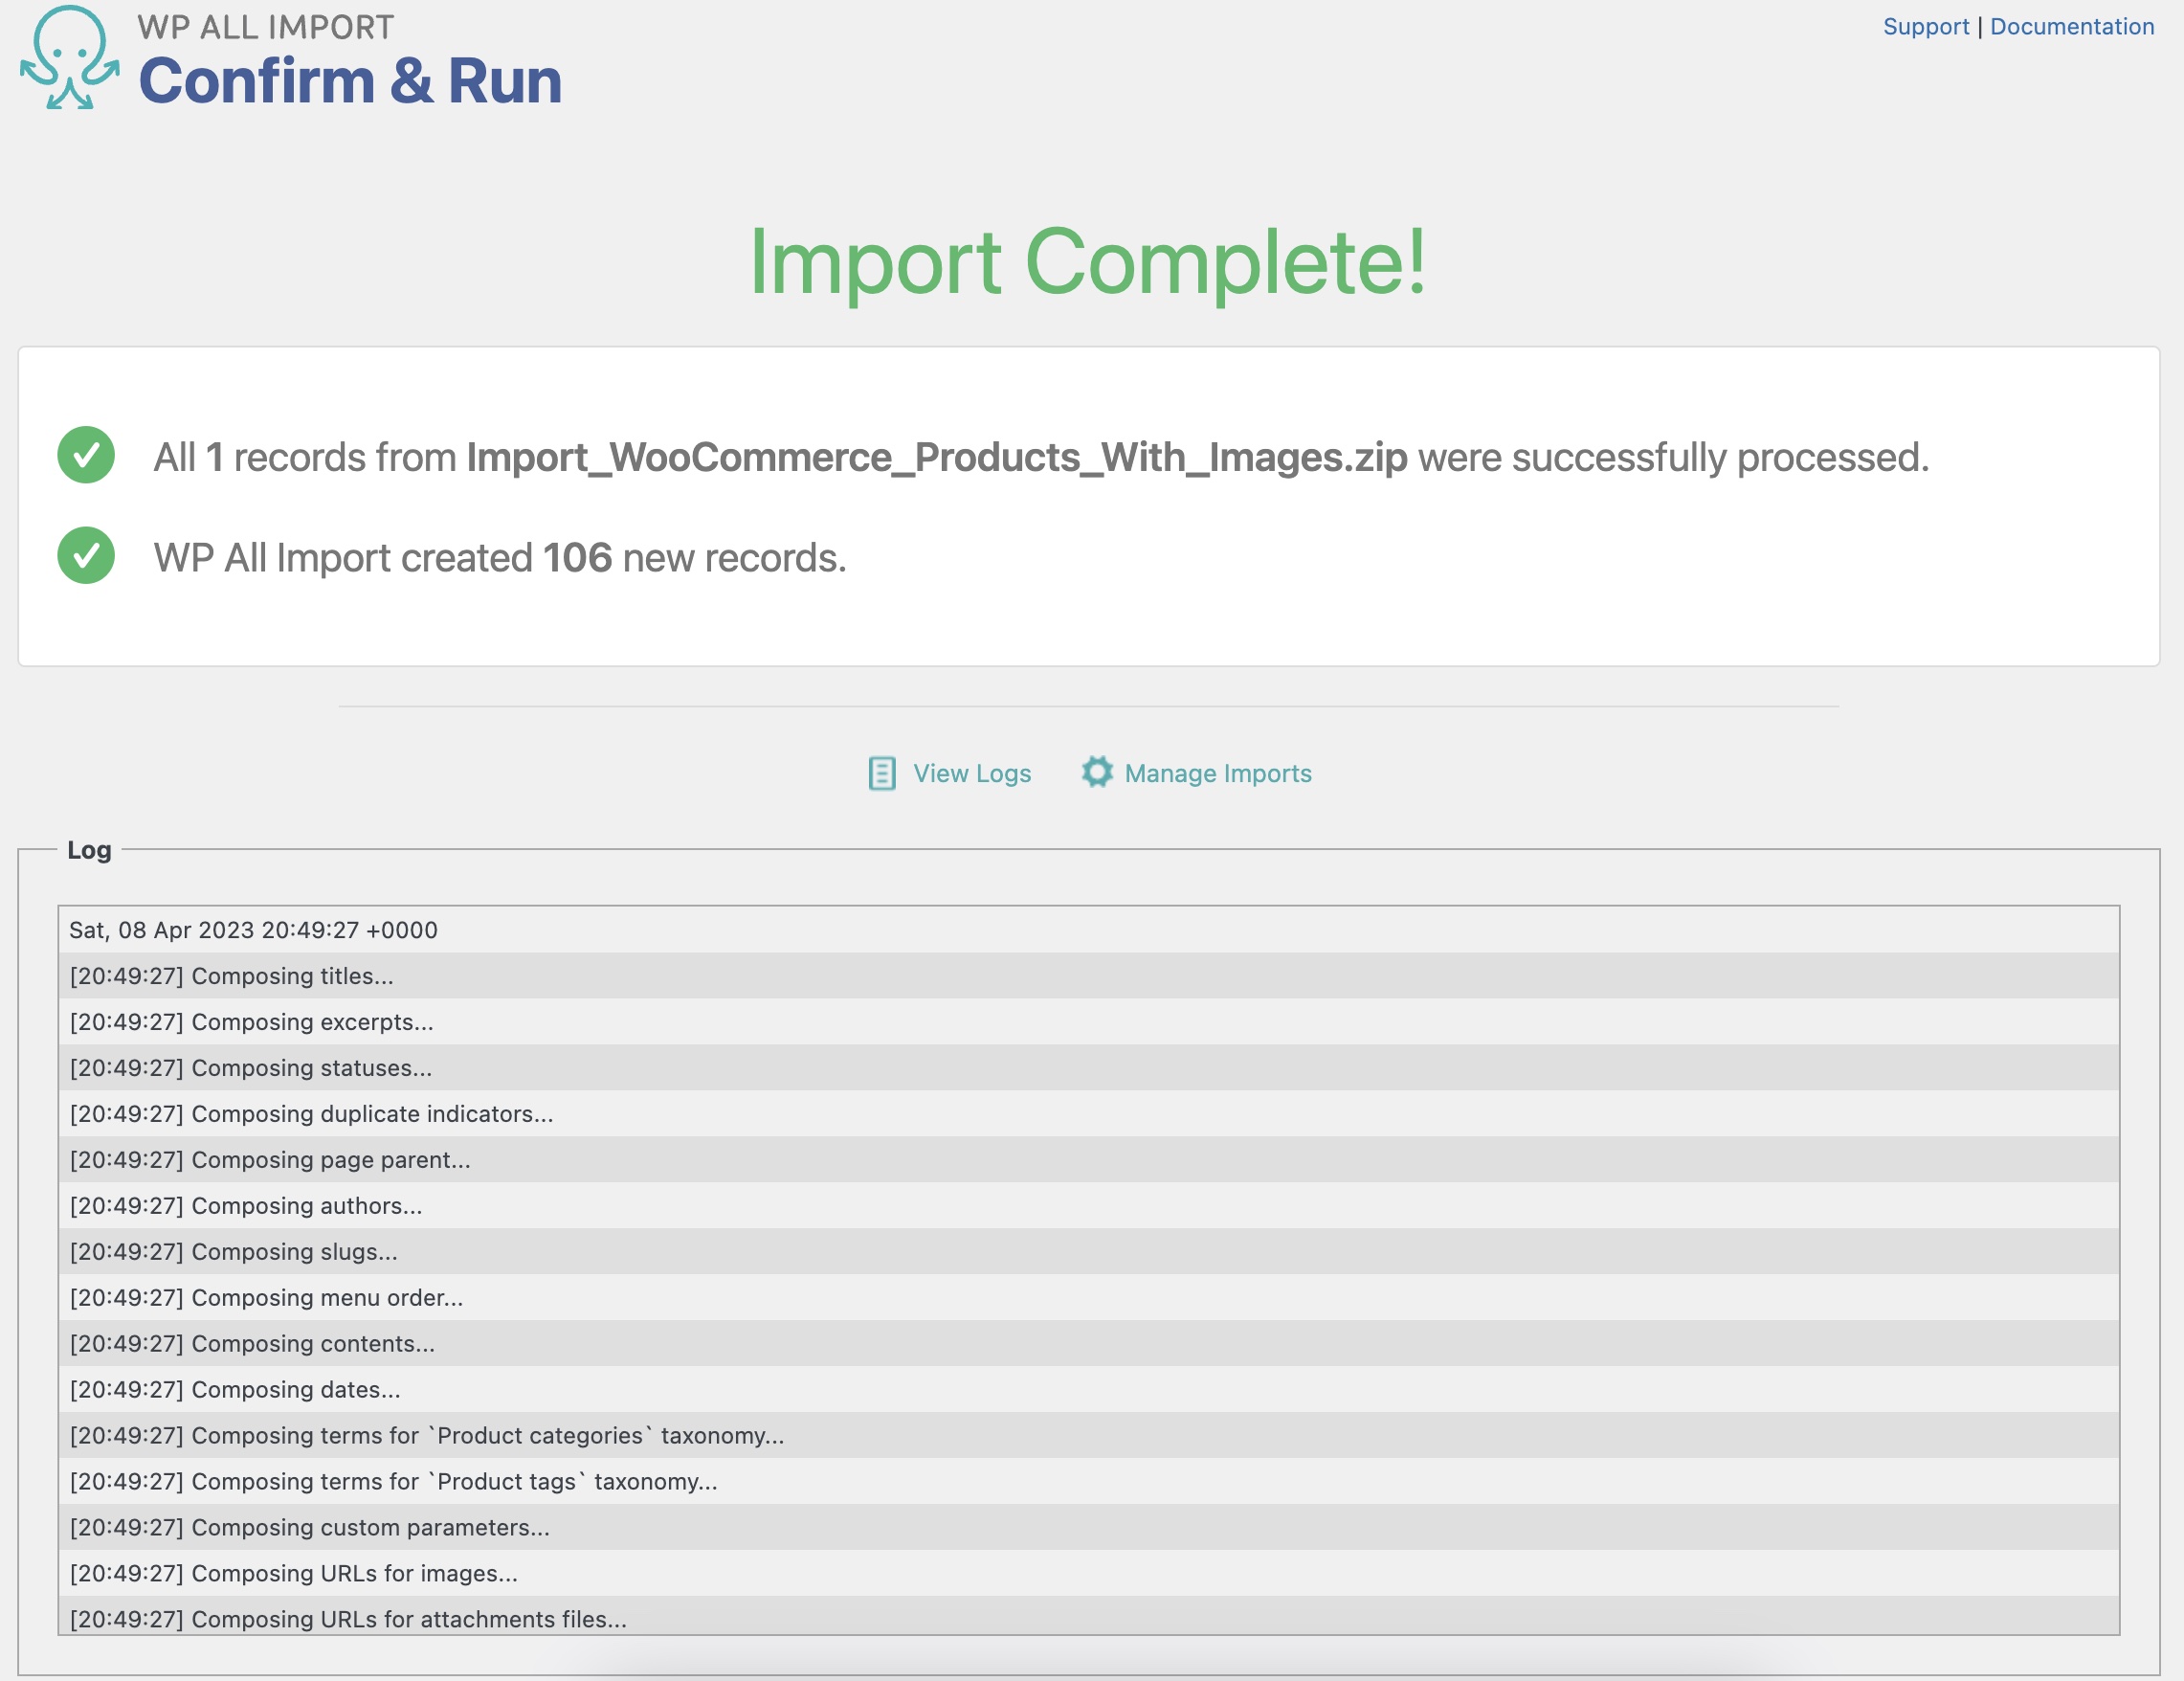
Click Confirm & Run Import. WP All Import processes the catalog, streams image downloads from your selected sources, and displays a live progress counter. When the import completes, a summary screen details how many products were created, updated, or skipped.

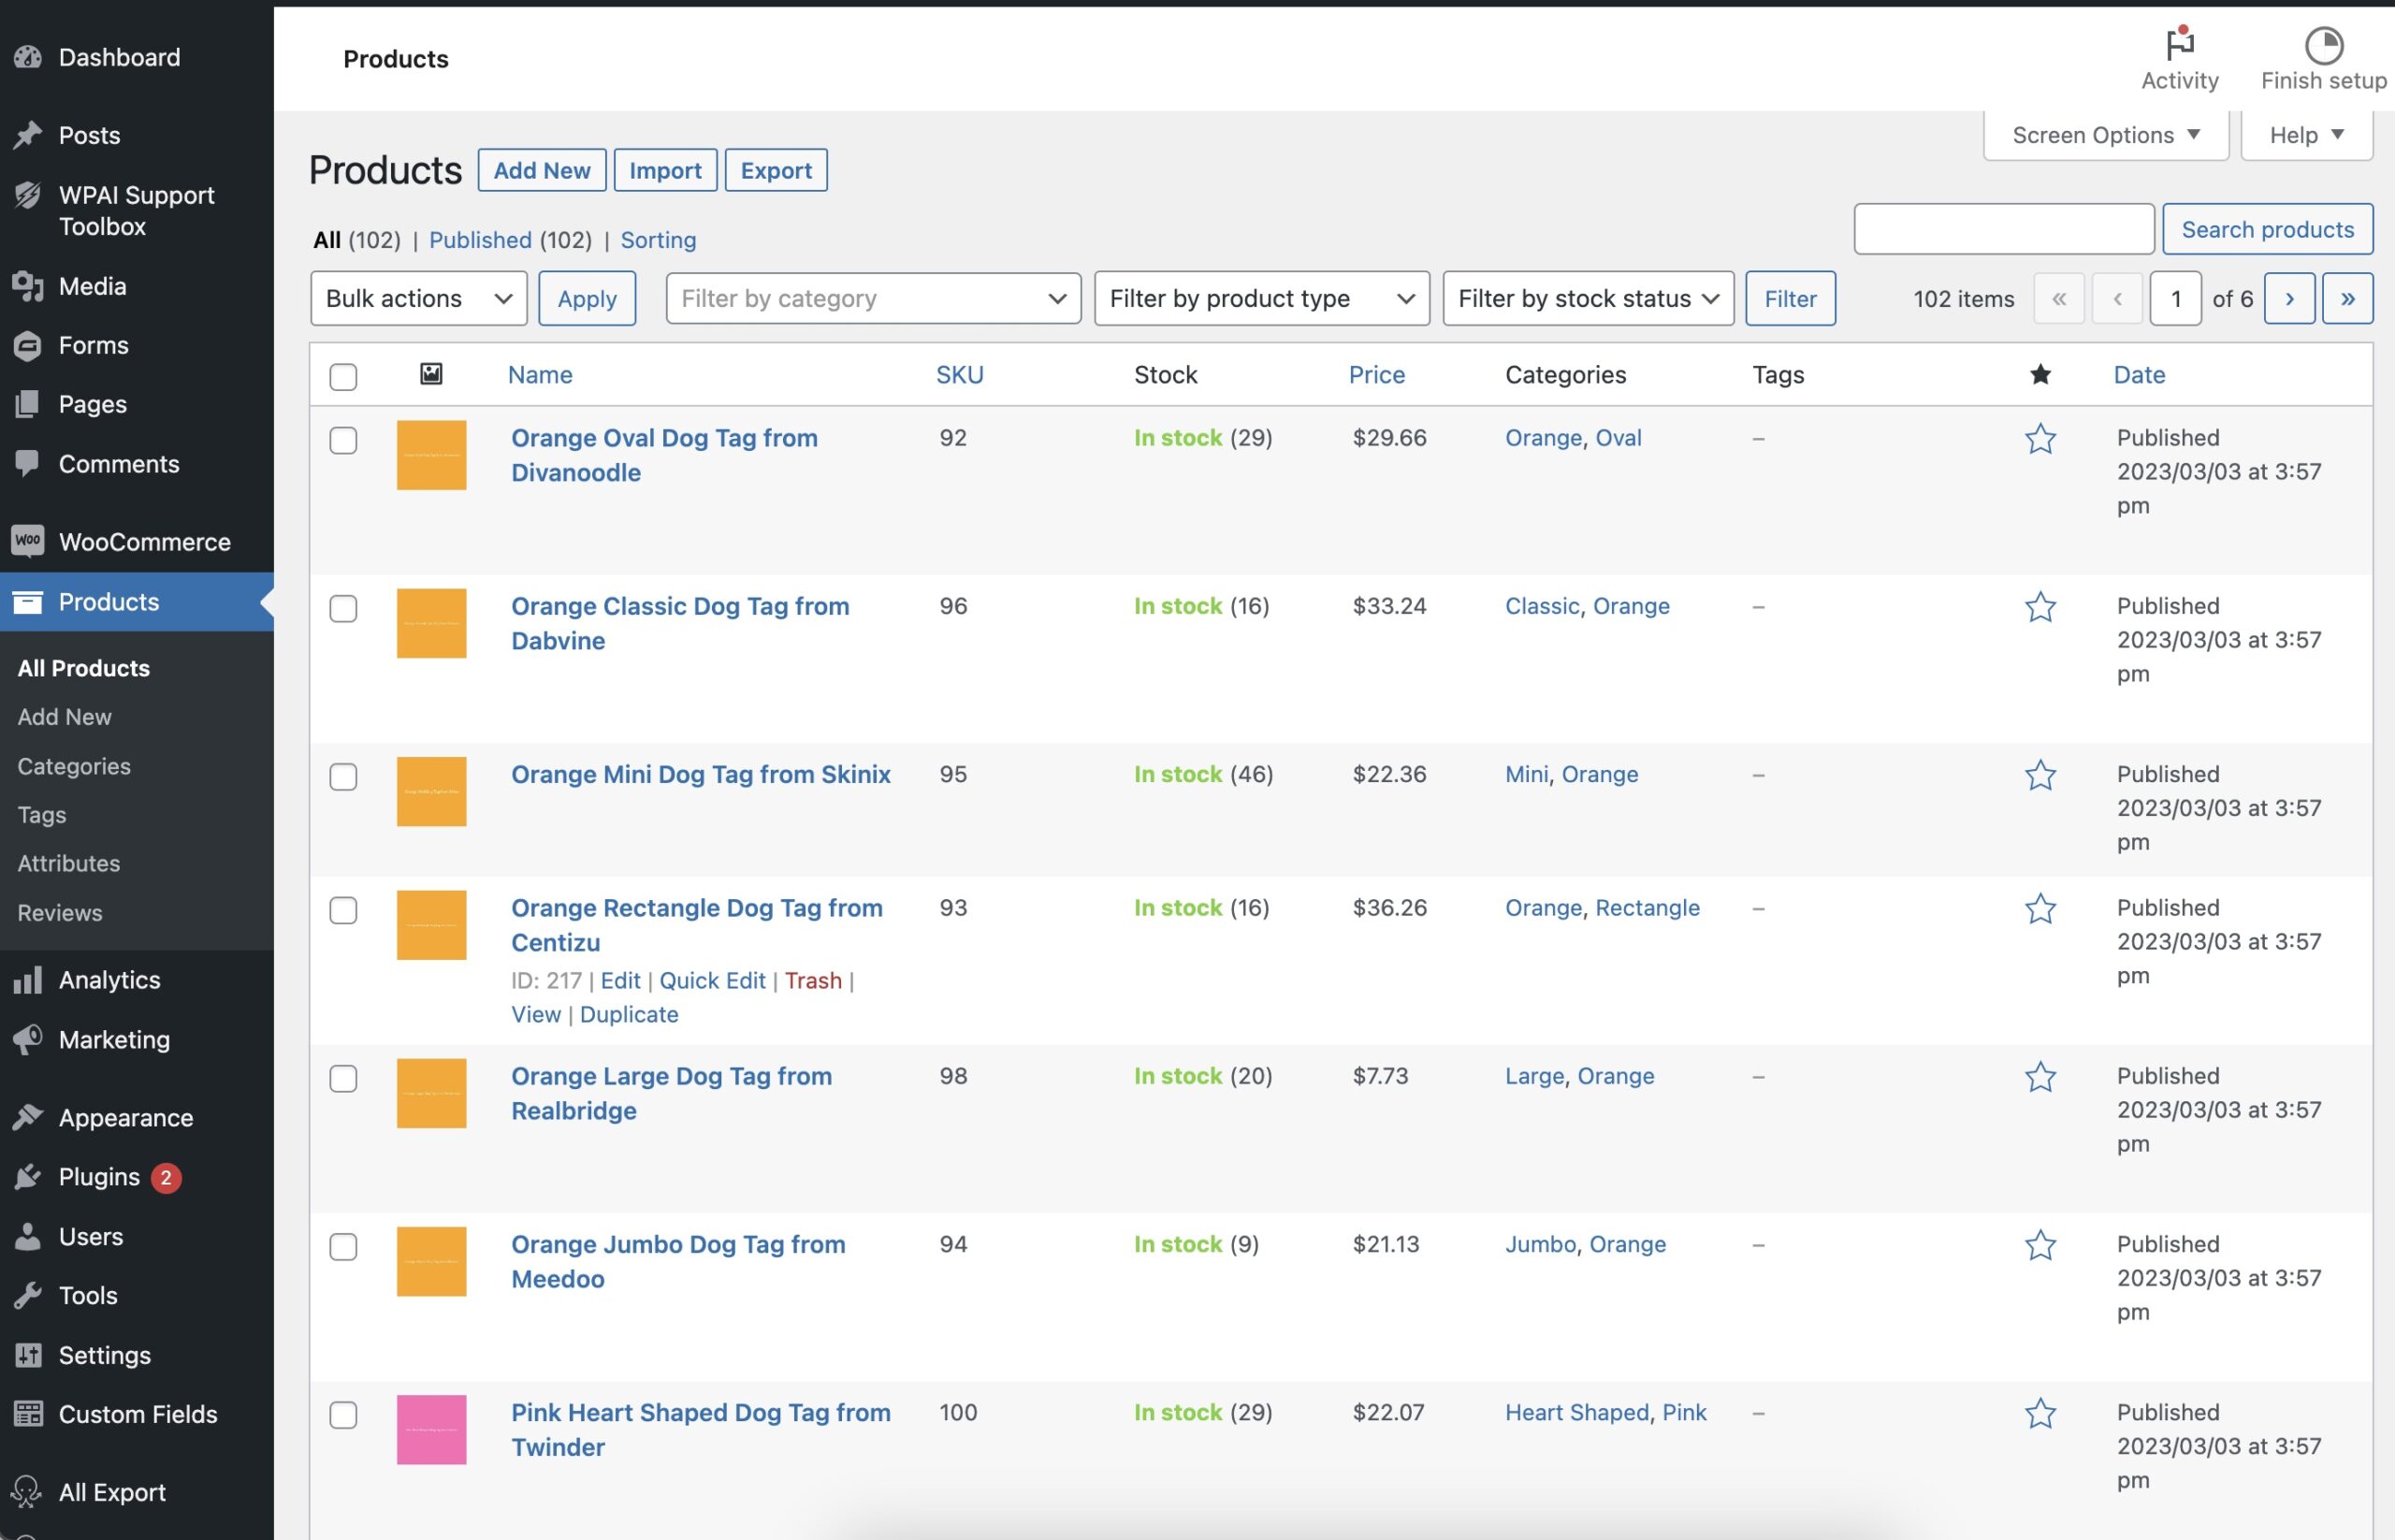
Finally, navigate to Products › All Products in your WordPress dashboard to verify that your imported products and their image galleries display properly on your live store.
Import Multiple Images to Product Variations
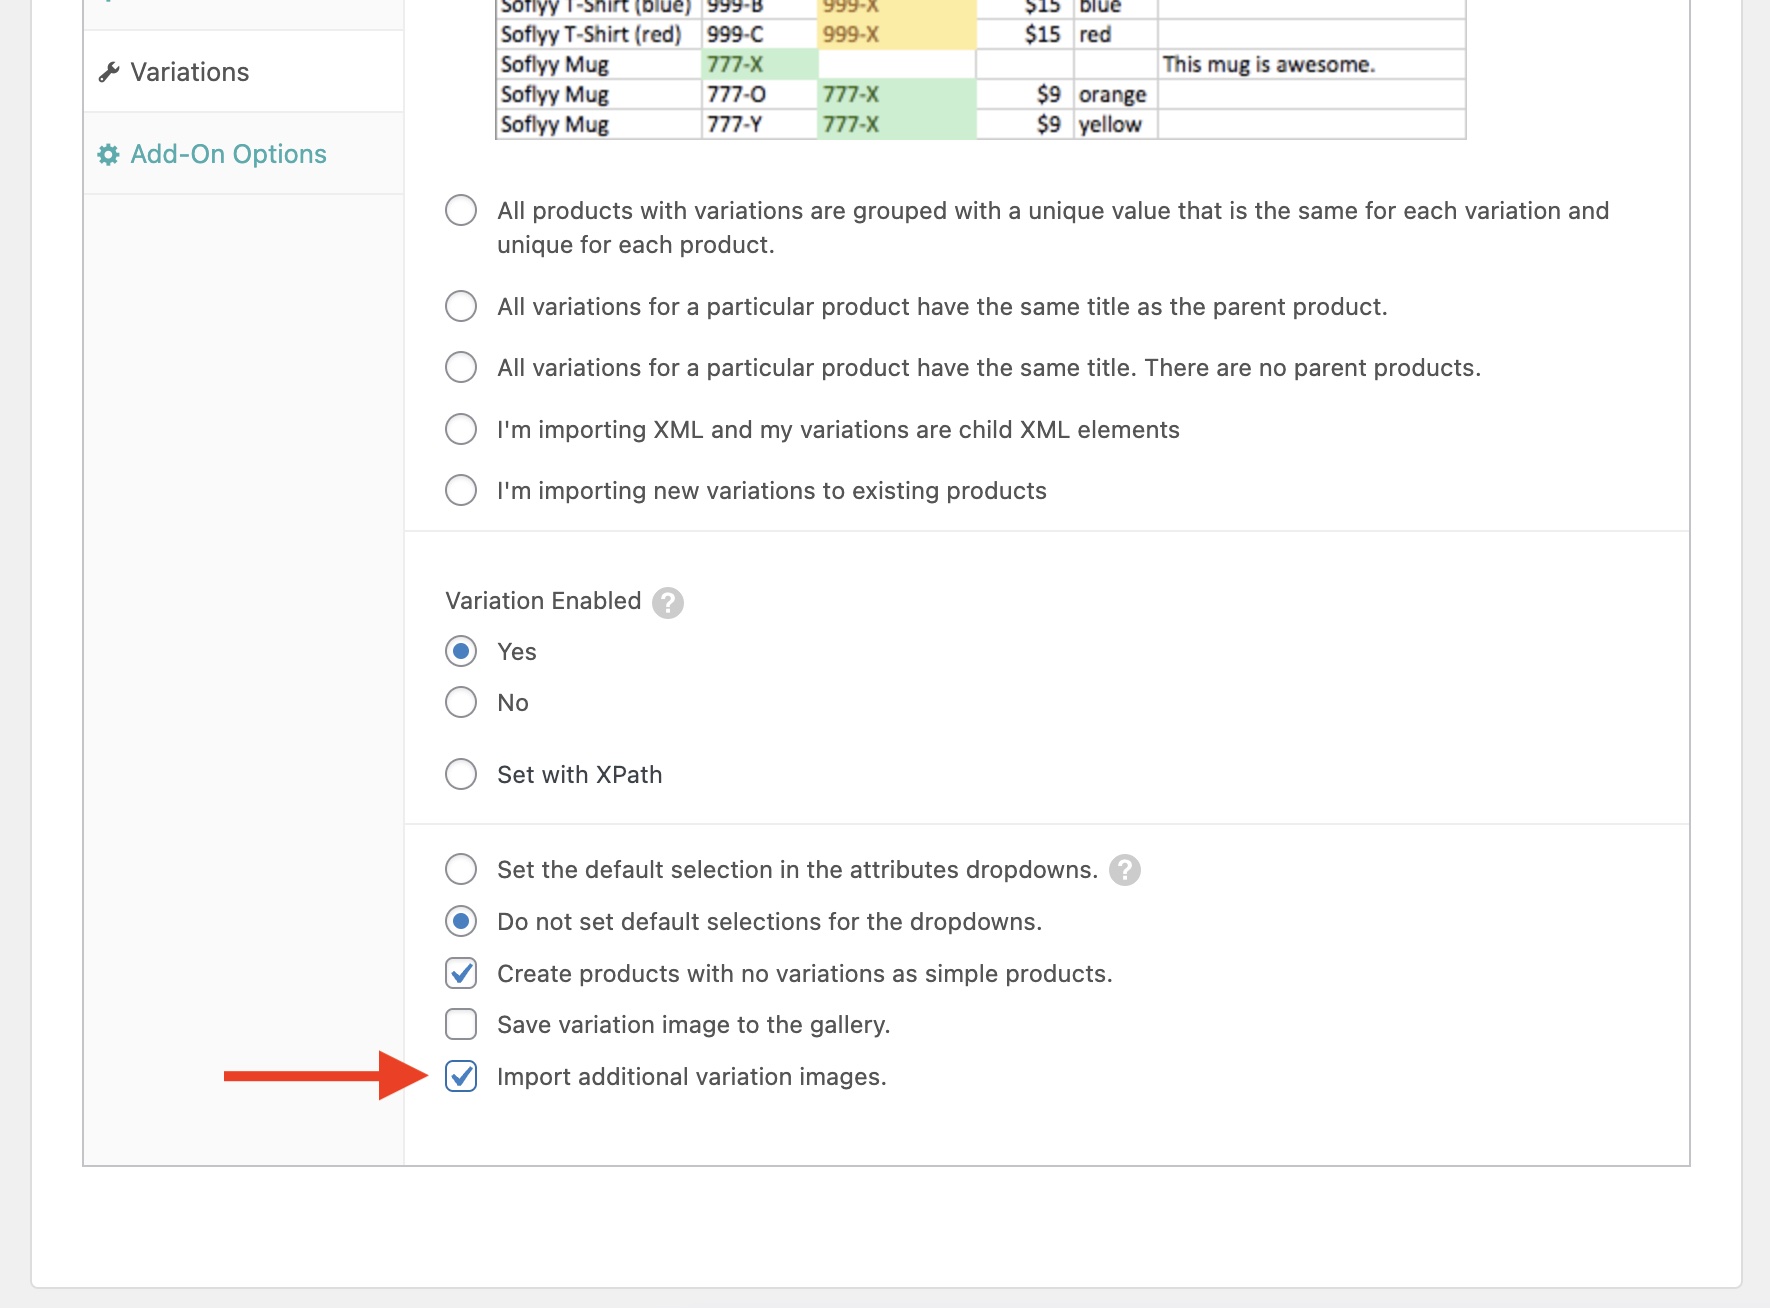
By default, WooCommerce only permits a single image per variation. If your products have multiple angles or color-specific galleries (for example, four photos of a blue shirt and four photos of a red shirt), you need a variation gallery plugin, such as:
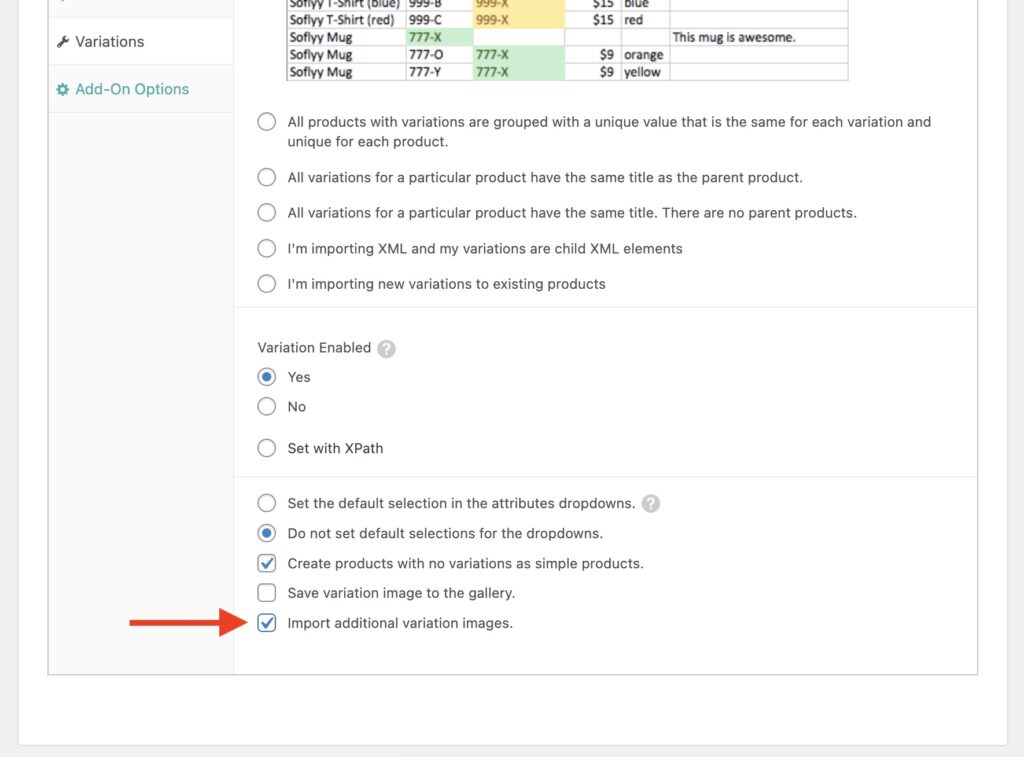
When one of these plugins is active, open the Images panel in WP All Import and check Import additional variation images. The plugin will recognize the third-party gallery fields and attach your extra photos directly to each child variation rather than bundling them into the main product gallery.
How to Troubleshoot Failed Product Image Imports
Product photos cause more import errors than any other field. If images fail to download or attach to your products, check these four common bottlenecks:
- Check the Import History Log: Go to All Import › Manage Imports and open the log for your import run. WP All Import records specific HTTP response codes (such as
404 Not Foundor403 Forbidden), showing you exactly which image URLs failed. - Verify Public URL Accessibility: Open a failing image link in an incognito browser window. If the image does not load directly, the supplier server may have hotlink protection enabled, require user authentication, or block automated scraping scripts.
- Use the Built-In Preview & Test Tool: In the template editor’s Images panel, click Preview. Enter an image URL from your spreadsheet to test whether your server’s PHP configuration can download the file over HTTP/HTTPS before running the full import.
- Increase Server Execution Limits: Catalogs with hundreds of high-resolution images can exhaust server processing limits. If imports halt halfway through, lower your batch chunk size under Import Settings › Configure Advanced Settings, or increase your server’s
max_execution_timeandmemory_limitinphp.ini.
Frequently Asked Questions About Importing WooCommerce Products and Images
How do you import WooCommerce products and images with WP All Import?
To import WooCommerce products and images with WP All Import:
- Navigate to All Import › New Import and click the Set up automatically banner.
- Upload your file (CSV, XML, Excel, or Google Sheets URL) and choose WooCommerce Products.
- Click Start Automatic Setup to let the plugin detect product types and map image fields automatically.
- Review mapped fields on the summary card, or open the template editor to adjust image sources.
- Click Run Import to download images and publish your products.
Can I import multiple images per product into WooCommerce?
Yes. WP All Import supports multiple images per product from a single spreadsheet cell. Enter the image URLs separated by a character like a comma or pipe. In the Images panel, specify that character as the delimiter; WP All Import downloads each photo, sets the first as the featured image, and assigns the remaining photos to the WooCommerce product gallery.
How do I import product images from a URL into WooCommerce?
To import product images from external URLs, select Download images hosted elsewhere in WP All Import’s Images section. Map your spreadsheet’s URL column into the field. WP All Import downloads each image over HTTP or HTTPS, uploads the file to the WordPress Media Library, and links it to the imported product.
Can you import WooCommerce products with images for free?
Yes. WooCommerce includes a built-in CSV importer under Products › All Products › Import that imports images from public URLs or existing Media Library files, but it cannot schedule recurring imports or configure image alt text and other image metadata during import. WP All Import provides these and many other advanced capabilities.
Get Oxygen
Build it your way with Oxygen.
Not per year, not per site, not per seat. 60 day money back guarantee.