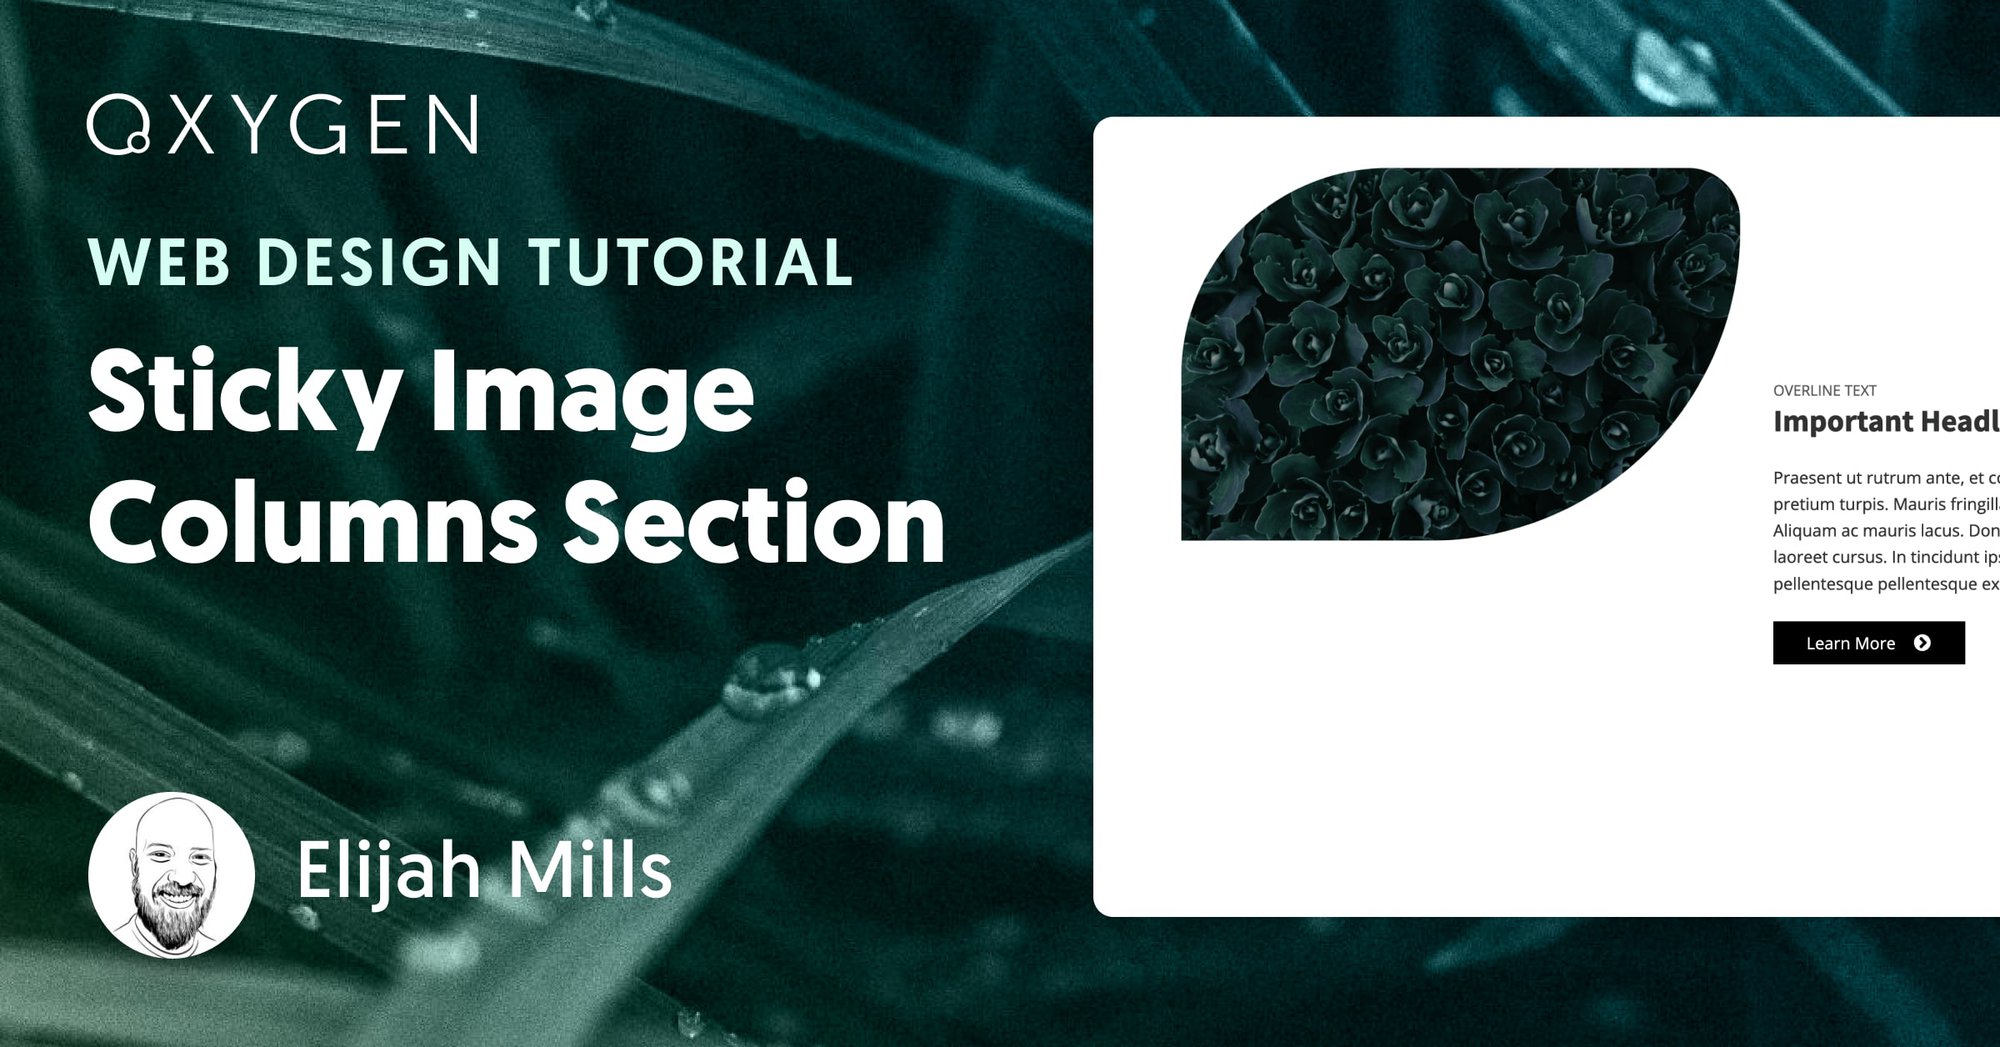
Tutorial: How To Make A Sticky Image Columns Section In WordPress
In this video tutorial, we’ll create two different sticky image column sections for your WordPress website with Oxygen.
While this tutorial focuses on Oxygen, you can also follow a similar process to create sticky image column sections for sites built with Elementor or Divi.
The first section contains a fading sticky image on one side and content on the second side. The fading effect occurs as the user scrolls down the page. To create this effect, we’ll use some CSS positions, and some custom data-attributes, and the design will be made entirely with Oxygen elements and features.
Next, we’ll create a second sticky image section that uses a transition effect to change the image as a user scrolls through the content on the page. To make this design, we’ll create a custom animation using keyframes via some custom CSS, and then create an Intersect Observer in JavaScript.
For the code used in the video, please visit https://gist.github.com/Spellhammer/cd7d9674ce484813e6cb9c3a76d2758b.
Video Table of Contents:
- 0:00 Introduction
- 1:32 Setting up the Sticky Image Column
- 4:40 Adding a Fade Effect
- 5:58 Setting up the Content Column
- 9:19 Adding Anchor Animations
- 12:27 Elevating the Design With a Transition Effect
- 12:40 Preparing the Sticky Column
- 13:14 Adding an Observation Class
- 16:00 Writing the Transition Effect’s CSS
- 17:41 Creating the Javascript
- 19:25 Adding an Intersect Observer
- 22:00 Final Thoughts
Additional Resources:
- CSS Positions: https://developer.mozilla.org/en-US/docs/Web/CSS/position
- Using Data Attributes: https://developer.mozilla.org/en-US/docs/Learn/HTML/Howto/Use_data_attributes
- CSS keyframes: https://developer.mozilla.org/en-US/docs/Web/CSS/@keyframes
- Document.readyState: https://developer.mozilla.org/en-US/docs/Web/API/Document/readyState
- IntersectObserver: https://developer.mozilla.org/en-US/docs/Web/API/IntersectionObserver