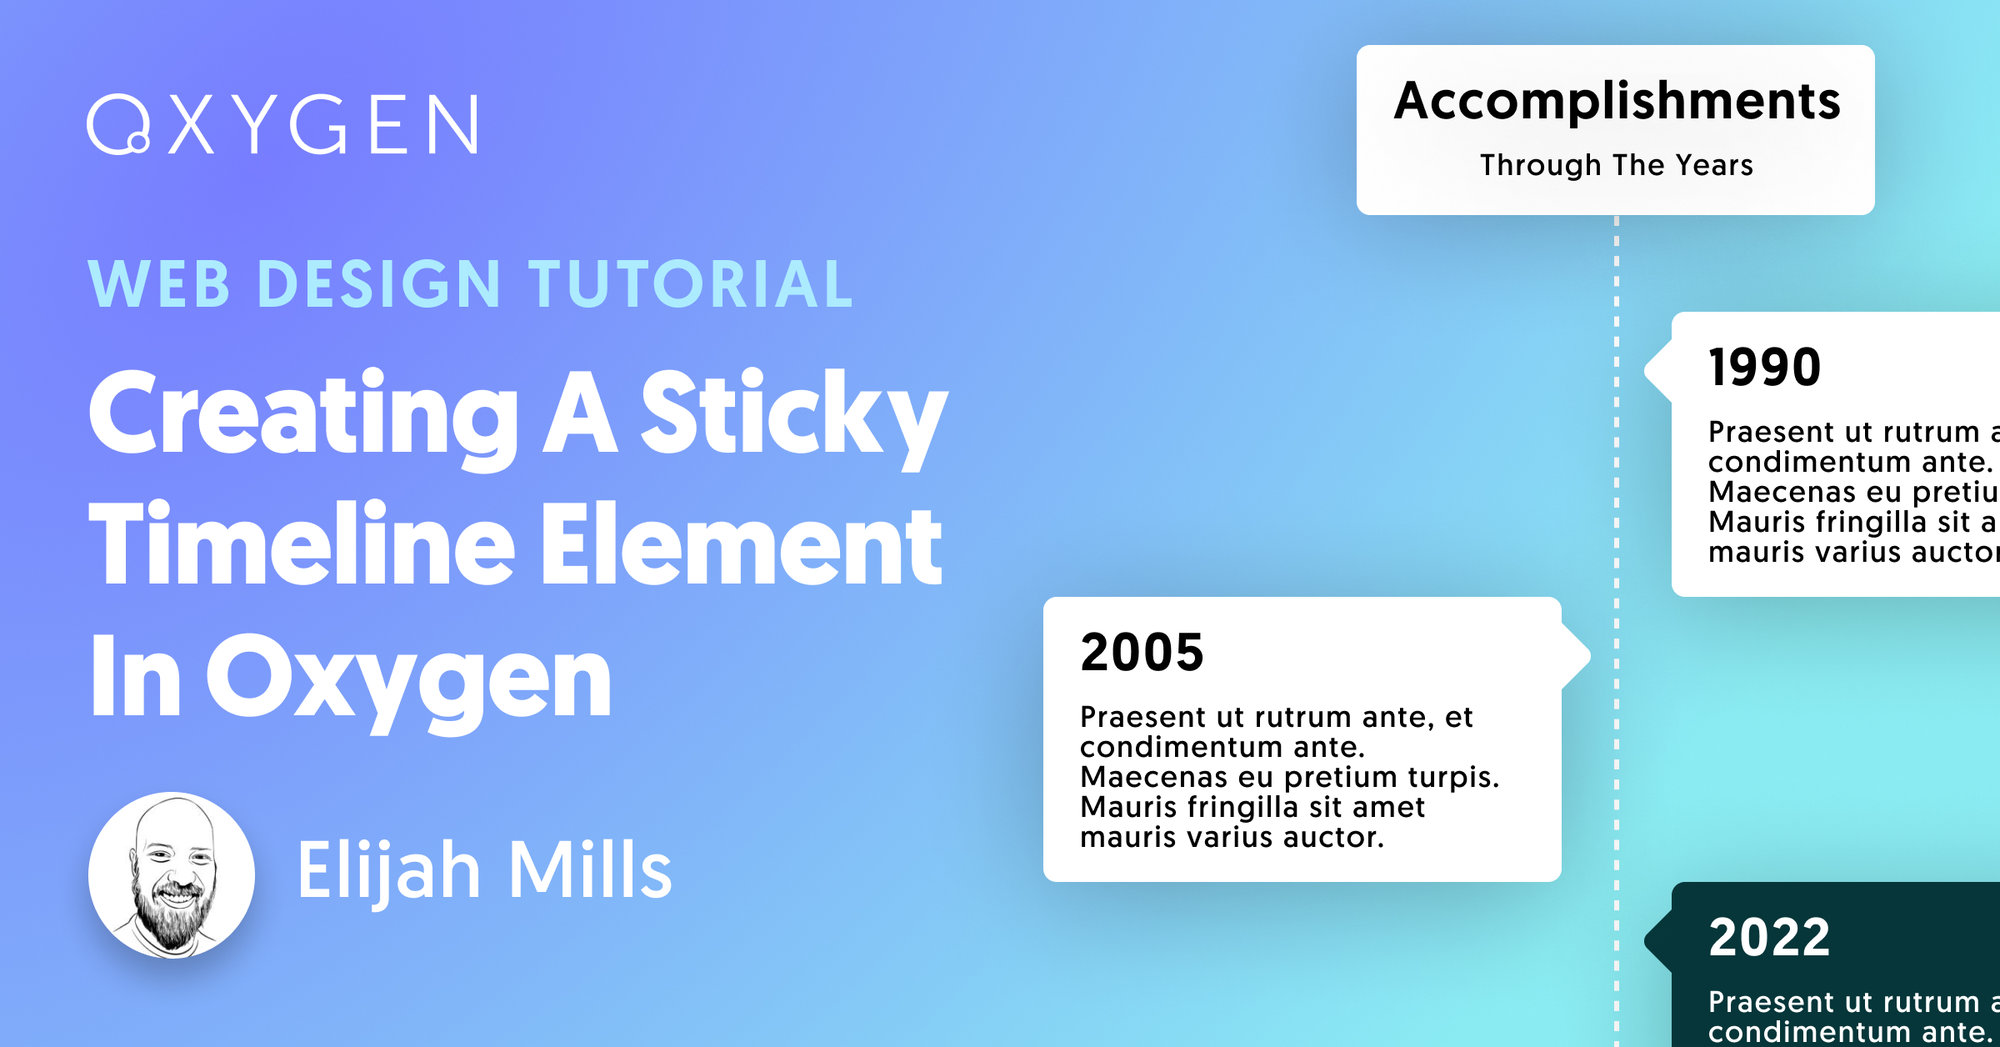
Tutorial: Creating A Sticky Timeline Element In WordPress With Oxygen
In this WordPress tutorial, we’re creating a sticky timeline effect using Oxygen.
We’ll start by creating several classes specific to the timeline, that we’ll use to design our timeline cards and other various timeline parts. Within each of these classes we’ll use several CSS properties, such as pseudo-classes, gap, negative-margin, and z-index to make our timeline have some great visuals.
After this, we’ll create our sticky timeline element. This element will follow us down the page as we scroll through the timeline.
Next, we’ll use the built-in Animate on Scroll library to create animations that slide the timeline cards in as a user scrolls down the page.
We’ll finish by making our design responsive and ready for mobile viewers.
Video Table of Contents:
- Introduction: 0:00
- Designing the Timeline elements: 0:24
- Creating the Timeline: 10:50
- Adding the Sticky element: 13:28
- Animating the Timeline: 17:15
- Making the Timeline mobile-friendly: 18:39
Resources:
- Pseudo-classes: https://developer.mozilla.org/en-US/docs/Web/CSS/Pseudo-classes
- Position: sticky: https://developer.mozilla.org/en-US/docs/Web/CSS/position#sticky